Terrain Spotlight: Giftbox Garage
Posted on Monday Jul 03, 2017 at 05:00pm in Models
- by Iain Wilson
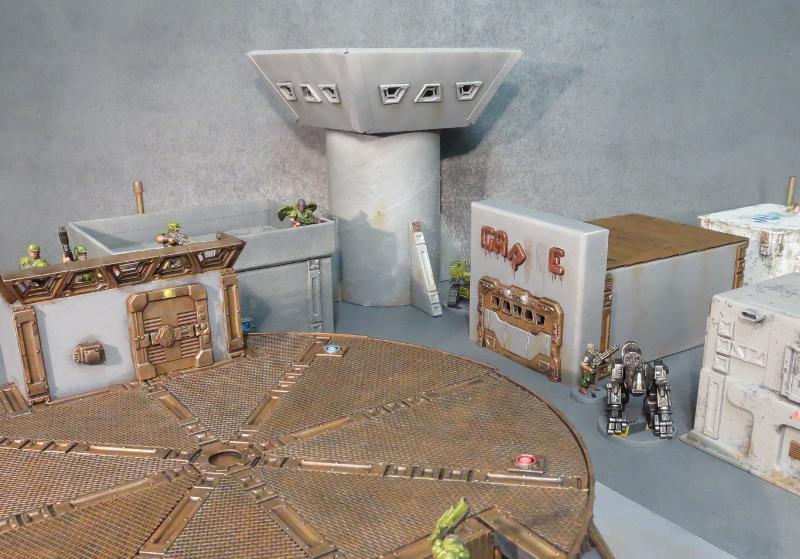
A while back, I shared a scifi western-themed building constructed from a Plast Craft Games plastic kit and the Maelstrom's Edge terrain sprue. This week, I wanted to have another try at that vaguely-western, raise-facade, scifi styling, but with more of a mass-produced, cheap colony building sort of vibe. Something a little more urban, but with a nod back to the frontier. This is what I came up with:
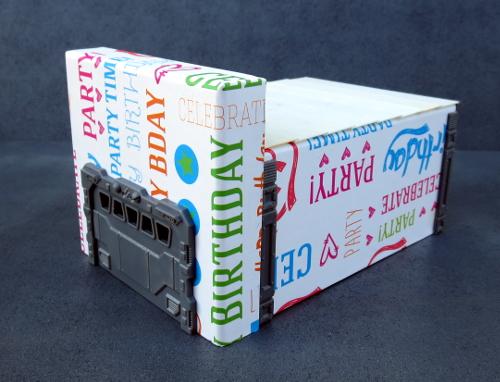
This is built from one of my favourite bases - the good old cardboard giftbox.
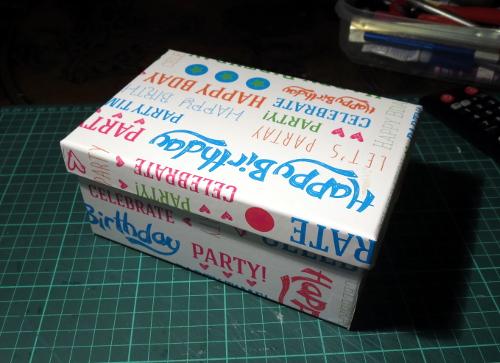
You can pick these up from just about anywhere that sells giftwares or from many craft shops, and they're generally fairly inexpensive. Craft shops will also often have raw cardboard versions without the printing on the outside, which does have the bonus of looking slightly less hideous while you're putting it together, but can have a rougher surface texture.
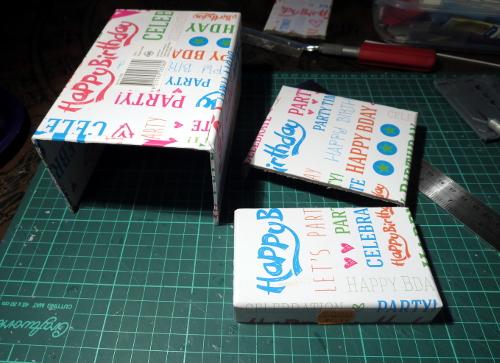
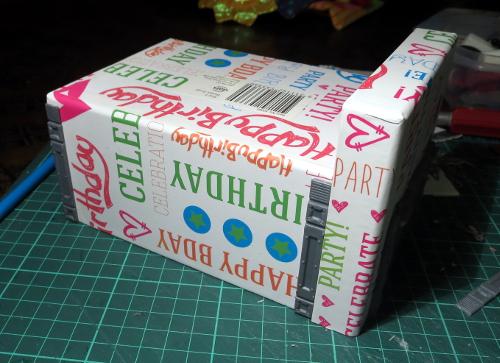
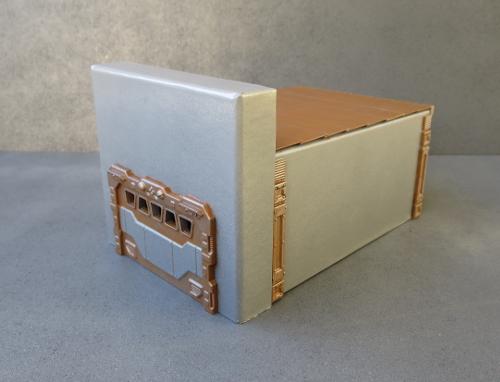
For my previous giftbox buildings, I used the lid upside down on top to form a walled-in roof area. This time, I used the lid for the facade. So the first step was to cut the lid to the height that I wanted the front of the building. I also cut away the end wall of the box, so that the hole for the front door only needed to go through the facade - The door inset is deeper than the width of the card, so would I otherwise have needed to cut a second door hole in the end of the box and hope that they lined up properly.
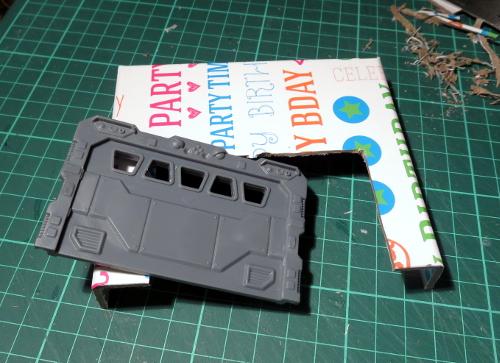
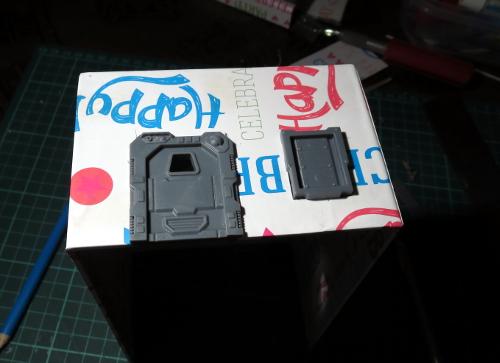
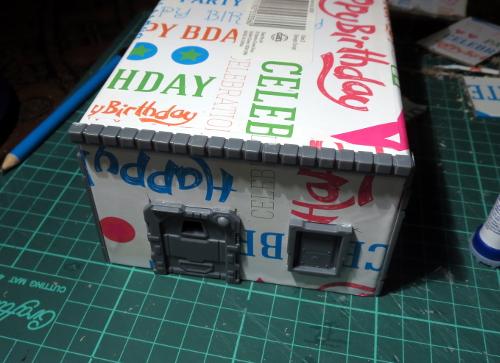
Speaking of a door hole: I took the garage door from the terrain sprue, sat it in place against the facade, and traced around the back of it before cutting out the resultant rectangle. The garage door was then glued in place.
The same process was used on the intact end of the box to add a small door and shutter window from the terrain sprue.
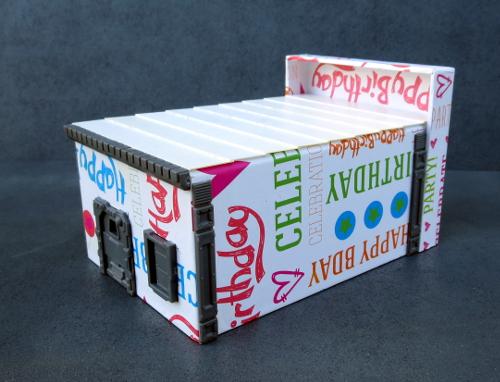
The facade was then glued in place.

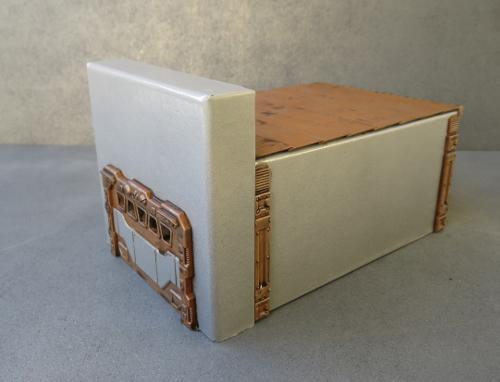
I glued a couple of support struts onto either side of the building, for a little texture.
A row of lintel pieces from the terrain sprue were glued onto the top edge of the back wall.
I then layered strips of plasticard along the roof, working up towards the front of the building.
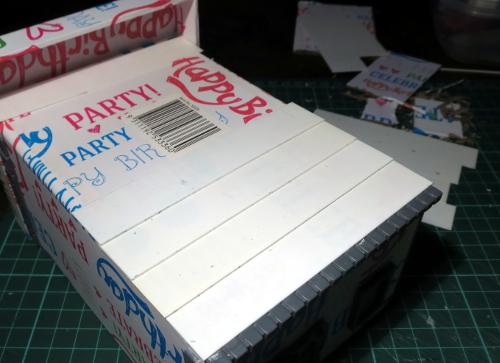
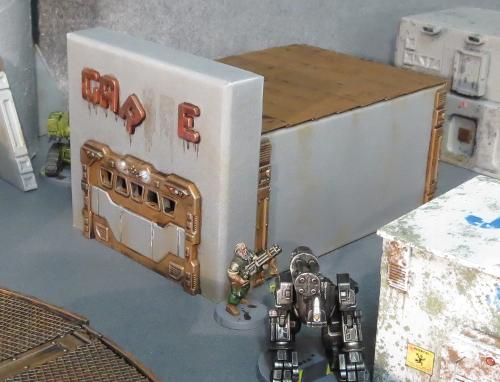
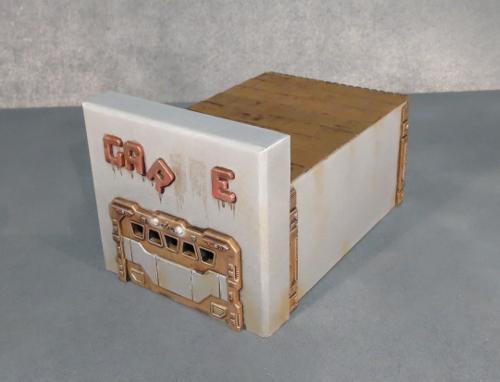
The final building, ready for painting:
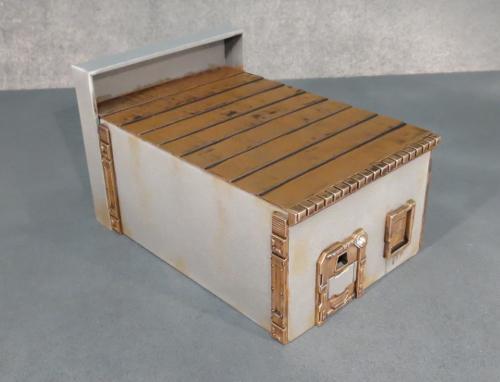
Quick and easy paintjob, that will be quite familiar for anyone who has been following these articles. I started with a black spray undercoat, to give a solid layer to cover over the printing.
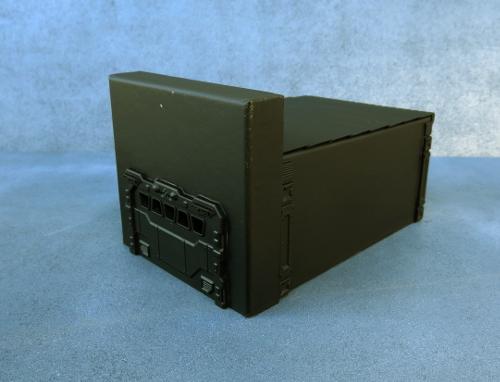
This was followed by a spray of flat grey, and while this was still wet I oversprayed this from above with a lighter grey to add a little bit of a natural highlight.

The metal parts were then picked out with Vallejo Beasty Brown.
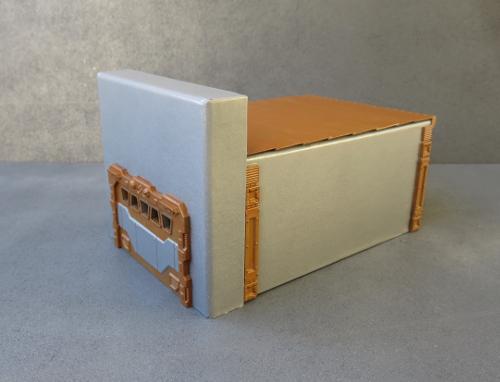
Then a drybrush of P3 Pig Iron.
Then a wash of the most useful paint on the planet: Army Painter Strong Tone.
A final drybrush of silver over the metal bits and some detail work, and the newest addition to the table is ready to go.
This design can be very easily tailored to different buildings through using different sized boxes and choosing different sprue components. If you would like to build your own, you can pick up the Maelstrom's Edge terrain sprue from the webstore here. As always, feel free to share your creations on the Comm Guild Facebook page!
For other Maelstrom's Edge modeling articles, including tutorials and walkthroughs of a wide range of different building and miniature projects, check out the article roundup here.
Tags: buildings conversion modeling spotlight terrain terrainsprue tutorial walkthrough
