Entries tagged [robots]
Model Spotlight: Epirian Drones
Posted on Monday Feb 19, 2018 at 05:00pm in Models
- by Iain Wilson
Drones - the ubiquitous workhorse of the Epirian Foundation. Built around a standardised chassis that can be bolted onto a wide array of different locotion and weapon options, the humble drone can be found all over Foundation-settled worlds performing a wide range of tasks. Particularly valued by Contractor military units, the Drone's various weaponised configurations are found at the forefront of any engagement harrassing enemy units and getting into those hard to reach places. Here, we'll take a closer look at the options available on the plastic Drone sprue.
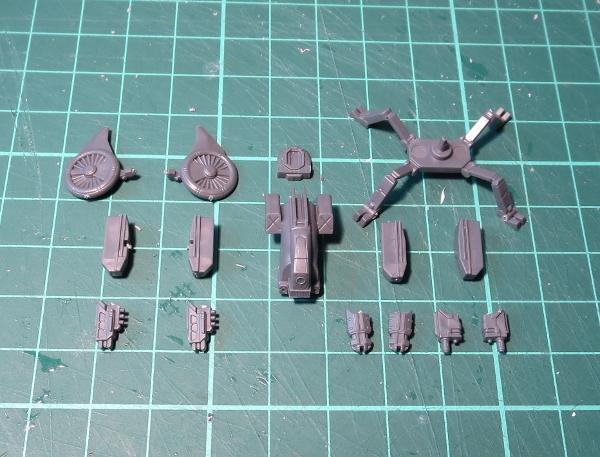
The Drone kit comes with parts to build either of two variants: the flying Firefly drone, or the agile, ground-hugging Spider drone.
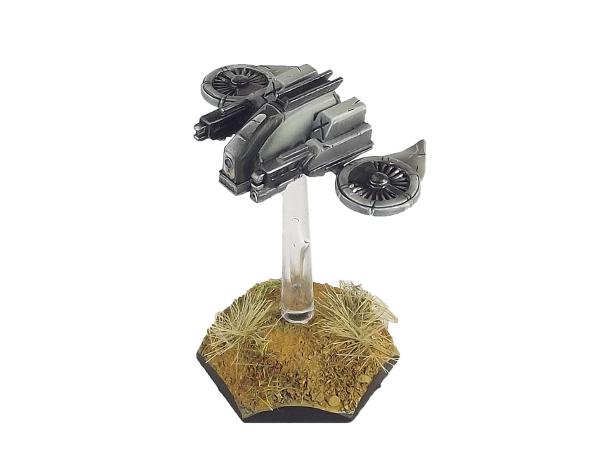
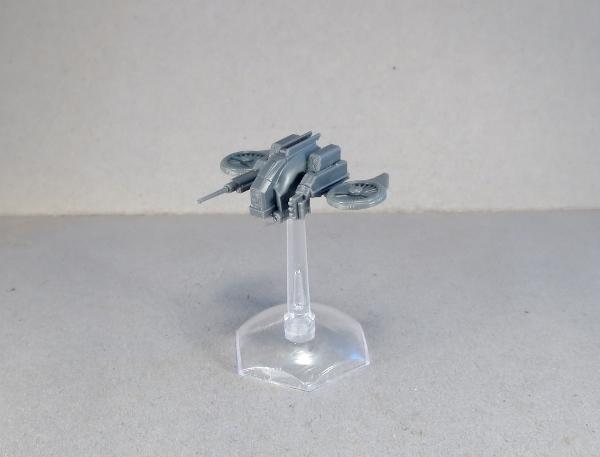
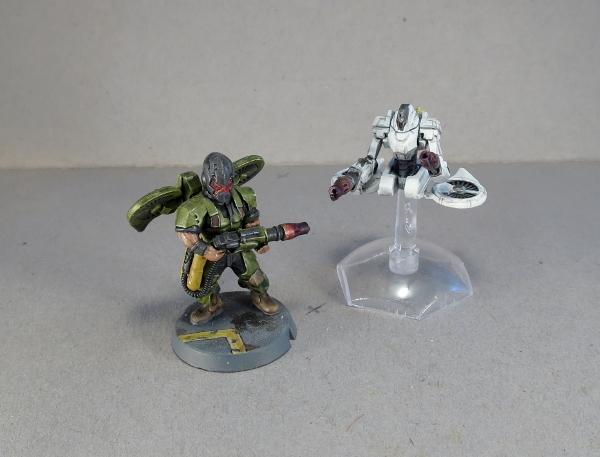
The Firefly is the fastest drone in the Foundation's arsenal, and the lightest armed. Held in the air by two dorsally mounted rotors, the Firefly is capable of vertical takeoff and landing (VTOL) and can travel up to 150 km/hr. Its primary purpose is as a forward scout, using its advanced sensor and communications suite to send information back about enemy positions. Its armour and weaponry is minimal and the Firefly can be easily taken out by even small arms fire - providing the shooter can hit its rapidly-moving frame. The Firefly is equipped with a Drone Class Laser System.
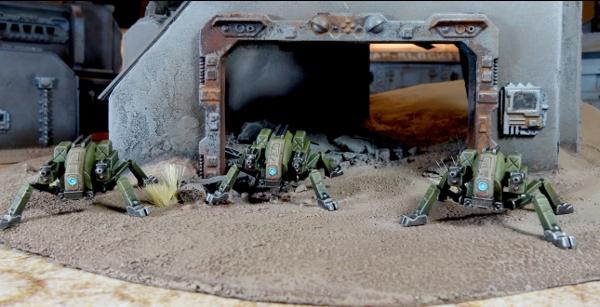
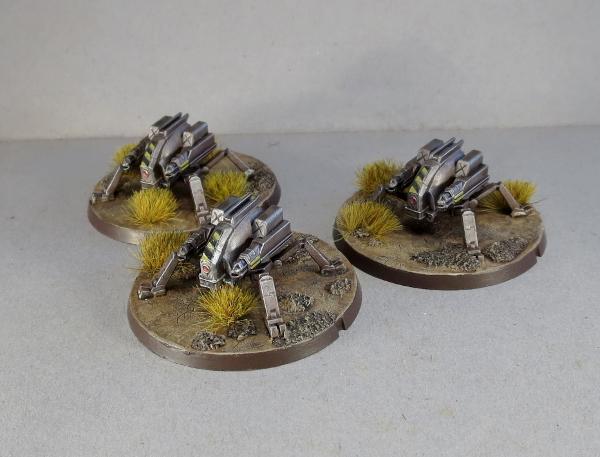
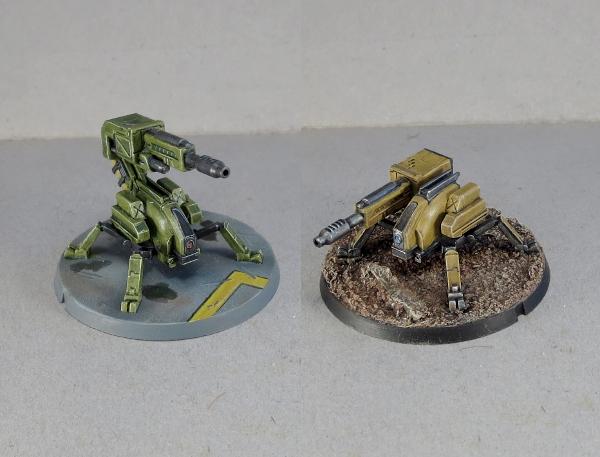
Slower than some of its drone counterparts but fitted with heavier weaponry, the Spider Drone is a popular choice for automated defences inside buildings where a Scarecrow's range is limited. Originally designed to operate within the rough terrain of mining tunnels, the Spider moves on multiple armoured legs, allowing it to keep its balance on the most unsteady of terrain.
The steadiness of its body allows more powerful guns with higher recoil to be added, and most combat Spider variants forgo the sensor suite used in Firefly, Rover and Stalker drones to accommodate more ammunition and heavier armour. Spiders can be equipped with Cutter Light Machine Guns or Flakk Guns.
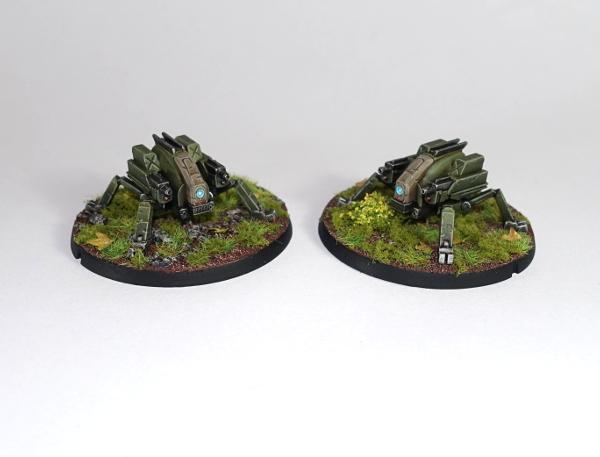
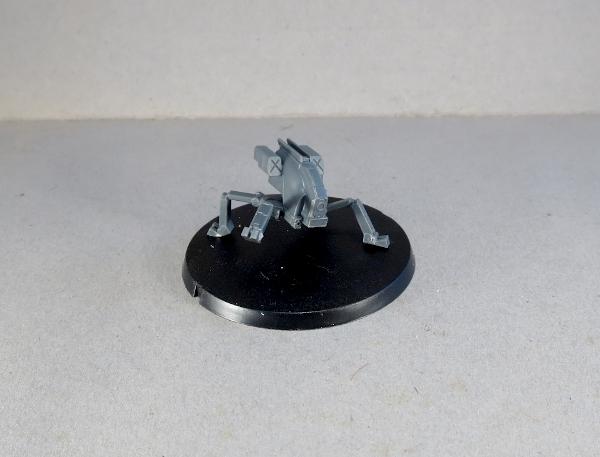
Because the sprue was developed before the rules were finalised, there wound up being a couple of extra parts on the sprue that were originally intended to be another weapon option, but which also serve nicely as antenae for identifying 'leader' models, or for converting your own different drone classes, like this Sensor Drone:
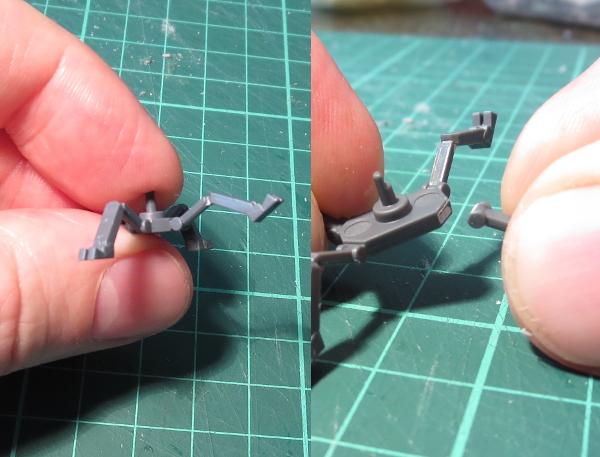
If you would like your drones to look a little more mobile, the thin legs of the Spider lend themselves well to conversions. You can easily repose them by either carefully bending at the joints, or by slicing through the joint and reattaching at a different angle.
For those wanting the Drones to pack a bit of punch on the battlefield, you could try out the reasonably simple Scorpion Drone conversion detailed here, which takes the Spider Drone and equips it with a Maglock Chaingun from the Hunter Mech kit.
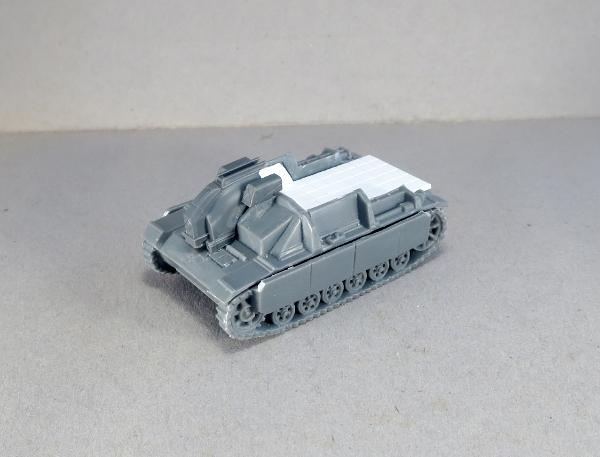
Getting a little more adventurous with the converting, I like to think that the Drone chassis would find its way into all sorts of different applications where having some robotic assist might make a task easier or more efficient. Like this Light Carrier Drone, converted from a Drone chassis and a Battlefront 15mm plastic tank kit, with a little plasticard.
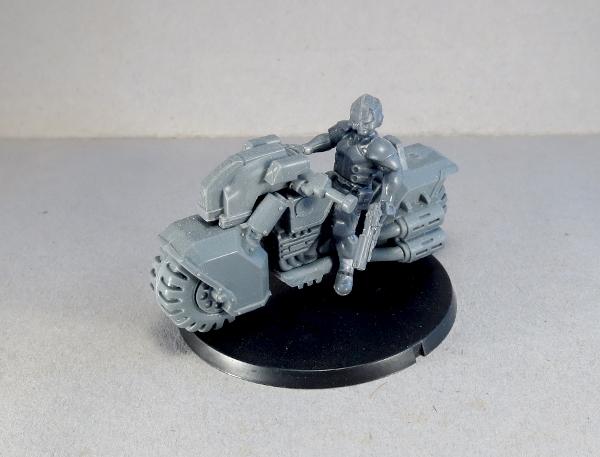
Or this (work-in-progress) Journeyman Patrol Bike, converted from a Games Workshop bike and an Epirian Bot Handler, with the Drone chassis up front for steer assist and targeting.
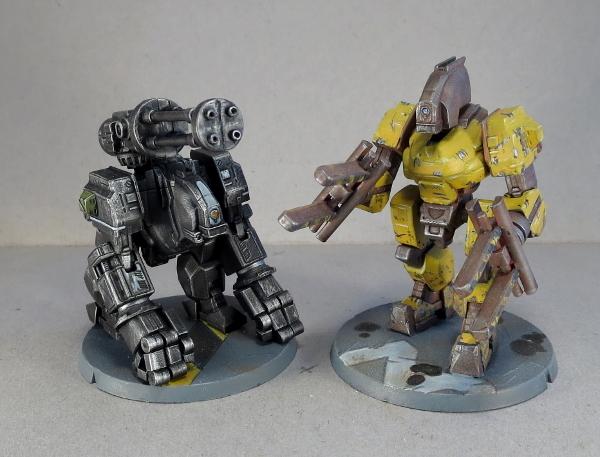
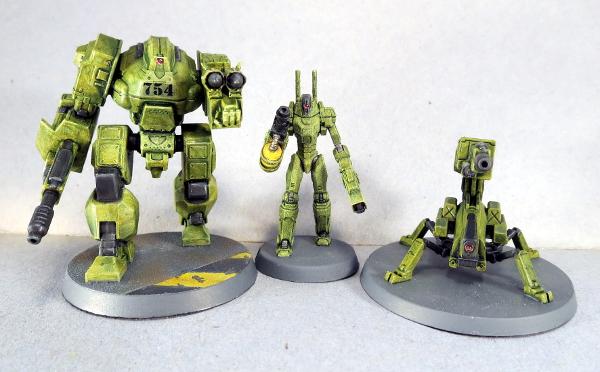
You can also use the Drone chassis as a head for larger bot constructs, like these 'Silverback' and 'Mule' Hunter Mech conversions.
All of that can, of course, leave you with a bunch of leftover flight turbines, which can be used to build a jump pack-equipped Epirian Warden, or some floating 'Sentinel' Drones, using the turbines and the top of a Scarecrow - tutorial coming soon for that one!
What have you done with your Drones? We would love to see your creations on the Comm Guild Facebook page!
To pick up the Drone kit, or any of the rest of the Maelstrom's Edge model range, visit the webstore here.
For other Maelstrom's Edge modeling articles, including tutorials and walkthroughs of a wide range of different building and miniature projects, check out the article roundup here.
Painting Tutorial: Lens Painting
Posted on Tuesday Nov 22, 2016 at 05:00pm in Tutorials
 - by Iain Wilson
Time for another painting tutorial! This time around, I'm having a look at lenses.
Epirian bots have a single eye lens which creates a great focal point on the model's 'face' if it's painted in a nicely contrasting colour. Below, we'll go through three different, easy techniques for painting these lenses without losing too much hair in the process.
The Wash Method
This method tends to not look quite as effective as some others, but has the benefit of being quick and easy to do. Start by painting the lens silver.

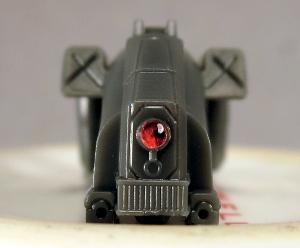
Then add a wash of the colour you want the lens - in this case, I've used Army Painter Red Tone. This will give you a sightly shimmery, coloured lens. If the lens is convex (as with the drone lenses) you'll also get a lighter point of colour in the middle. For flat lenses, like on the Hunter bot, you can replicate this by adding a small dot of white or pale grey after the ink has dried.
The Specular Method
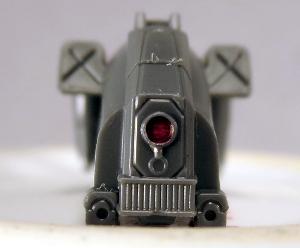
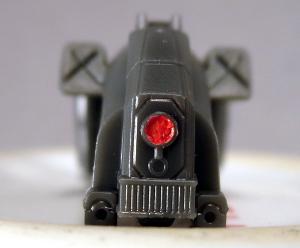
This is a variation on the common blending method used for lenses and gemstones and the like. Start with the main colour you want the lens to be - the below is Vallejo Bloody Red.

Using a fine brush, apply a small amount of black ink to the top right of the lens. You want enough that it pools against the side, but not so much that it runs over the whole lens. If this gives you a particularly stark transition from the red to the inked area, you can blend the two in a little once the ink has dried by adding a small dot of red back into the middle of the lens, overlapping onto the edge of the inked area.
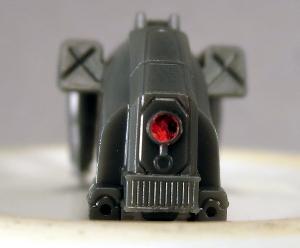
Finally, using some thinned white paint, apply a tiny dot in the middle of the dark inked area, and highlight the bottom left edge of the lens.
The Glue Method
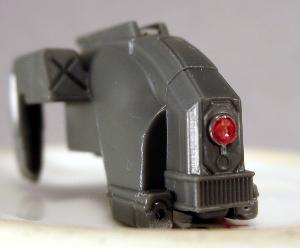
Start with your chosen base colour - I've gone with red again, because I like red lenses...
Now squeeze out a small amount of superglue onto a pallet or other flat surface. Pick up a tiny drop of glue on the tip of a pin, and apply it to the lens. It may take a little experimenting to get the right amount (You might want to practice on something that doesn't matter first, as it's next to impossible to clean excess glue off again if you use to much). You need enough that it forms a small bubble of glue covering the lens with the surface tension of the glue holding it in place, but not so much that it runs out past the edges of the lens. Leave the model sitting with the lens horizontal to dry.
As the glue dries, it will most likely shrink a little, and will leave a nice, shiny, glass-like coating over the lens.
You can also us this technique with clear craft glue, although as that sort of glue tends to be thicker and tackier than superglue it can be tricky to get a small enough amount in the right place. You could probably also use gloss sealer, although depending on the size of the lens and the amount of sealer you apply, it may take longer to set properly.
And there you have it: Three different ways to paint your robots' optic lenses. Go forth and assemble your robot legions, and as always feel free to share your creations on the Comm Guild Facebook page (https://www.facebook.com/groups/MaelstromsEdge)!