Painting Tutorial: Lens Painting
Posted on Tuesday Nov 22, 2016 at 05:00pm in Tutorials
 - by Iain Wilson
Time for another painting tutorial! This time around, I'm having a look at lenses.
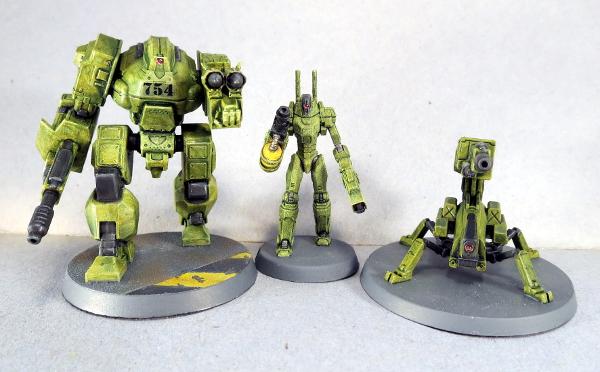
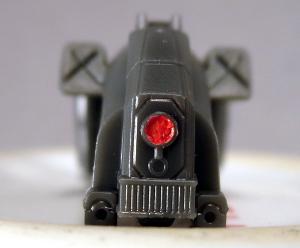
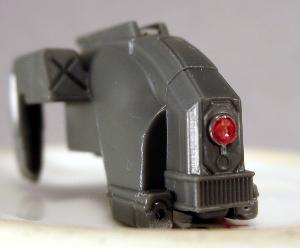
Epirian bots have a single eye lens which creates a great focal point on the model's 'face' if it's painted in a nicely contrasting colour. Below, we'll go through three different, easy techniques for painting these lenses without losing too much hair in the process.
The Wash Method
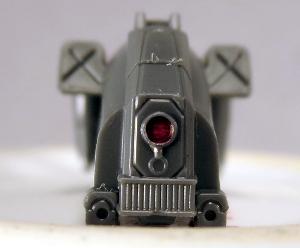
This method tends to not look quite as effective as some others, but has the benefit of being quick and easy to do. Start by painting the lens silver.

Then add a wash of the colour you want the lens - in this case, I've used Army Painter Red Tone. This will give you a sightly shimmery, coloured lens. If the lens is convex (as with the drone lenses) you'll also get a lighter point of colour in the middle. For flat lenses, like on the Hunter bot, you can replicate this by adding a small dot of white or pale grey after the ink has dried.
The Specular Method
This is a variation on the common blending method used for lenses and gemstones and the like. Start with the main colour you want the lens to be - the below is Vallejo Bloody Red.

Using a fine brush, apply a small amount of black ink to the top right of the lens. You want enough that it pools against the side, but not so much that it runs over the whole lens. If this gives you a particularly stark transition from the red to the inked area, you can blend the two in a little once the ink has dried by adding a small dot of red back into the middle of the lens, overlapping onto the edge of the inked area.
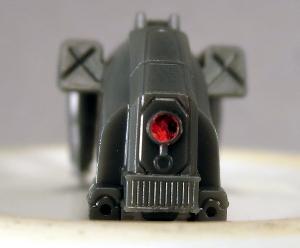
Finally, using some thinned white paint, apply a tiny dot in the middle of the dark inked area, and highlight the bottom left edge of the lens.
The Glue Method
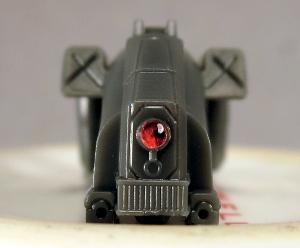
Start with your chosen base colour - I've gone with red again, because I like red lenses...
Now squeeze out a small amount of superglue onto a pallet or other flat surface. Pick up a tiny drop of glue on the tip of a pin, and apply it to the lens. It may take a little experimenting to get the right amount (You might want to practice on something that doesn't matter first, as it's next to impossible to clean excess glue off again if you use to much). You need enough that it forms a small bubble of glue covering the lens with the surface tension of the glue holding it in place, but not so much that it runs out past the edges of the lens. Leave the model sitting with the lens horizontal to dry.
As the glue dries, it will most likely shrink a little, and will leave a nice, shiny, glass-like coating over the lens.
You can also us this technique with clear craft glue, although as that sort of glue tends to be thicker and tackier than superglue it can be tricky to get a small enough amount in the right place. You could probably also use gloss sealer, although depending on the size of the lens and the amount of sealer you apply, it may take longer to set properly.
And there you have it: Three different ways to paint your robots' optic lenses. Go forth and assemble your robot legions, and as always feel free to share your creations on the Comm Guild Facebook page (https://www.facebook.com/groups/MaelstromsEdge)!

Like this? Like us on facebook to see more...