All Your Base, Tutorial Part 1
Posted on Tuesday Nov 29, 2016 at 05:00pm in Tutorials
 - by Iain Wilson
Once upon a time, there was an more-or-less universally accepted standard that gaming miniatures' bases would be either covered in flock (shudder) or covered in sand and painted light green. We've come a long way since then, with the common standard now to have sand painted brown with a couple of tufts of static grass to brighten things up a little.
If that's leaving you less than inspired, then this article might be for you! Over a couple of weeks, I'm going to run through a few different ways to pretty up your bases, ranging from easy to 'might need a little practice' in complexity.
First off the blocks: Industrial Grey
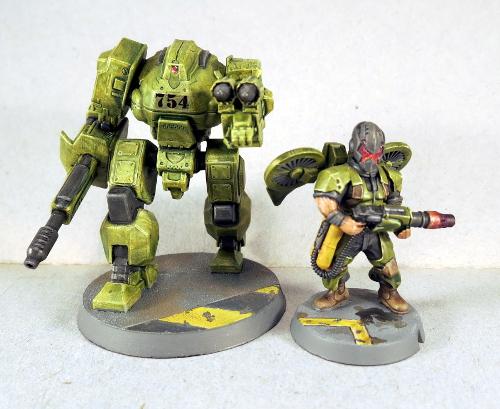
This style is intended to represent industrial or urban cement-paved areas, and can be as simple or as complex as you want it to be (or as your painting skills will allow!)
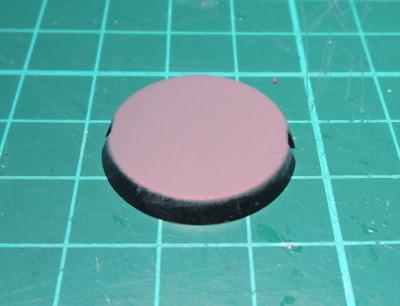
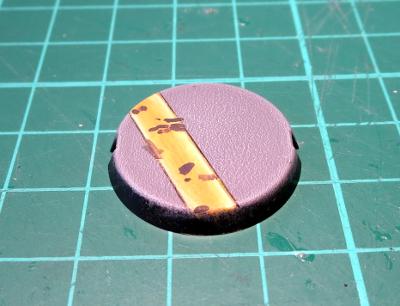
Start with a medium grey - I've used Vallejo Basalt Grey.
Then drybrush with a lighter grey - in this case, Vallejo Light Grey.
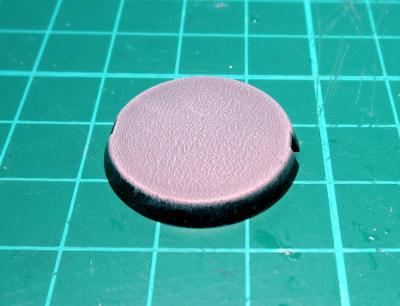
You could leave it there, but where's the fun in that?
You can use a ruler or a cast off piece of sprue to mark out lines on the cement, to represent part of the sorts of markings you might find on cement floors - hazard lines, lane markings, etc.
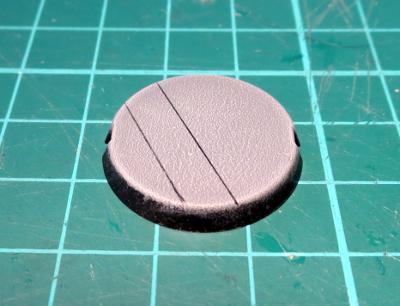
Paint in between the lines with an appropriate colour. Yellow is a great contrast against the grey, or white is good for a more subdued look.
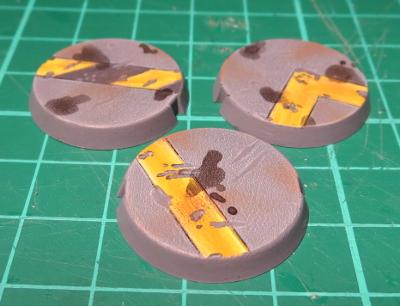
Then you can add weathering, dirt and stains to your heart's content. For the chips, paint small splotches of your original medium grey and highlight around the edges with the light grey. Dirty things up by drybrushing with a little brown, and add drops of ink for oil or chemical stains.
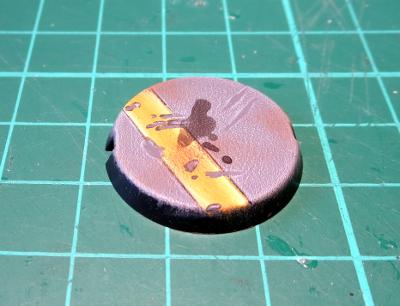
Finally, paint around your base edges.
There are several schools of thought on base edges. Some painters like to go with a colour that complements whatever is on top of the base. Some prefer a contrasting colour, or different colours to denote different units, or even just good old black. There's no right or wrong - just go with whatever you think looks best.
Next: Let it snow!
There are various hobby 'snow' products on the market for creating wintery bases or terrain, but to me they never look quite right, as they're too grainy. Instead, I like to go with something like this:
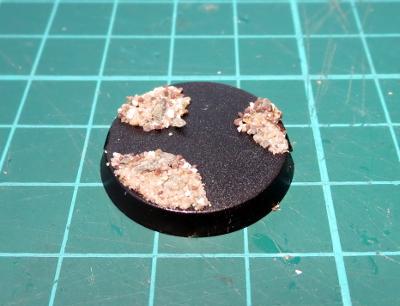
Start by gluing a few small lumps of sand or fine gravel to your bases for a little texture. If you're doing this with the bases separate to the models, make sure you leave space in between the rocky clumps for the model's feet.
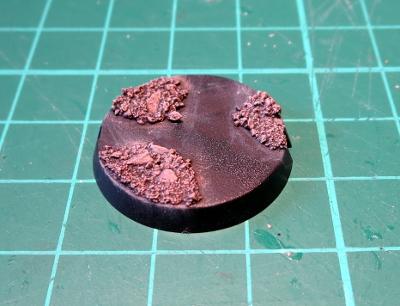
Once your glue has set, paint the rocks up. I've opted for a black wash to start out. This is followed by a heavy drybrush of brown (I used Citadel Tallarn Flesh here) and then a light drybrush of light grey (the Vallejo again). That's not a hard and fast formula - rocks come in all sorts of colours and textures, so use whatever colours will make for the nicest contrast with your miniatures.
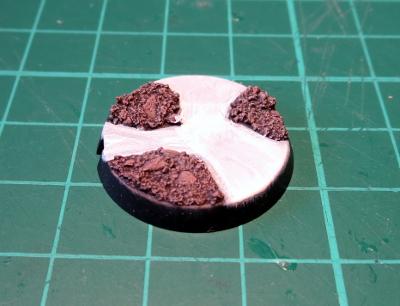
Once that's done, the flat space in between becomes snow. If you want to (and I would recommend it on larger bases), you can break up the flatness by adding smooth bumps with Green Stuff or Milliput, or just leave them flat. Paint with white.
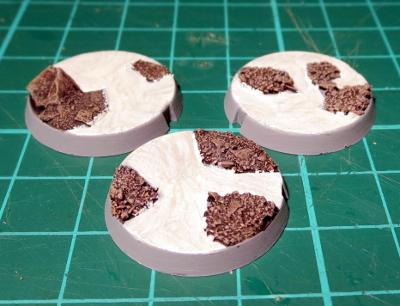
The last step is a little hard to photograph, so you'll have to take my word for it that it looks better in person. To get a nice, shiny snow look, I use a pearlescent paint. You can find a few variations on a similar theme in most craft shops - either a pearl white paint, a pearly gloss sealer, or a pearl medium which you add to your paint. Whichever you wind up with, paint a coat or two over your white, and then finish by painting the base edges.
Moving on: Rocky Wasteland
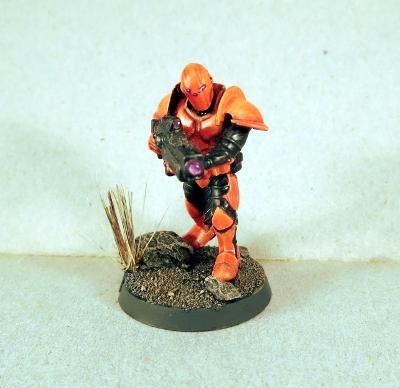
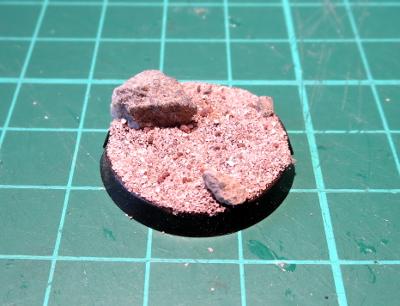
OK, so this one isn't actually too far removed from the standard sand-and-static-grass option, but without the static grass. Start by gluing some fine gravel mix - Mine is a mix of silver sand, regular sand and some crushed up slate. I like to add some bigger pieces of stone scattered around these bases as well to create a little bit of a feature.
Paint: start with a black or brown wash to get into all the crevices.
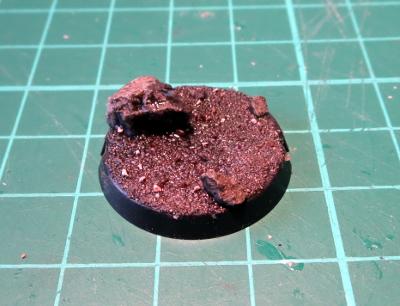
The drybrush with browns and/or greys (or whatever other colours you want your wasteland to be). I've used light grey and Coat D'Arms Hairy Brown here.
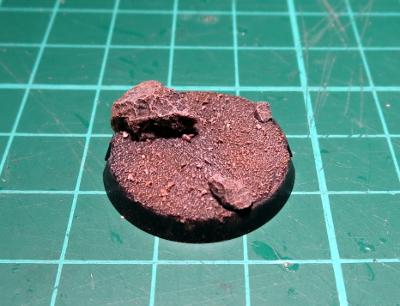
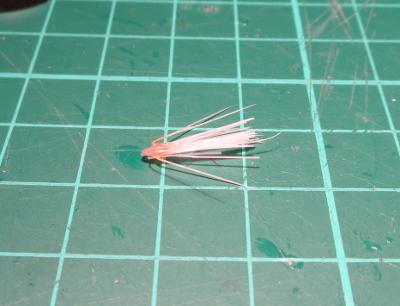
That's the boring part. Now to add some zing! Find yourself an old toothbrush, and pull out one of the clumps of bristles - use pointy pliers if they're reluctant to come out. There will sometimes be a small piece of metal in the fold at the bottom of the bristle that helps hold them in the toothbrush. If there is, discard that.
Before you let go, add a little superglue into the folded bottom of the bristle clump to hold it all together.
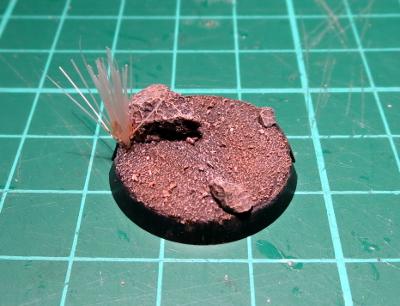
Then apply a small dollop of clear craft glue or superglue to the bottom of the bristles and press them into place on your base.
If you have a nice hollow to glue the bristles into, superglue will work fine. If they're sitting more on top of the gravel, the craft glue is better as it is thicker and will pool around the base of the bristles to give them a little stability.
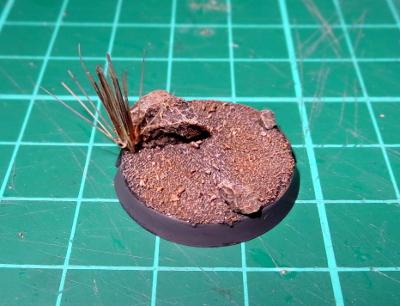
Once your glue is set, paint by washing with brown ink, and then drybrush a little bone or light green over the top to pick out the individual bristles again. Then paint your base edge.
As a final note on this one - If you're making up your base separately to the model, it's a good idea to either leave a couple of spots with no gravel for the model's feet to glue into, or pin the model to the base, as model feet don't tend to glue well to sand or gravel due to the lack of flat surface to grab onto.
In part two, we try to make your bases more riveting, and wander off in search of a shrubbery. Stay tuned!
Feeling inspired? Want to share how you have based your models? Jump into the Comm Guild Facebook page (https://www.facebook.com/groups/MaelstromsEdge)!
