Entries tagged [contractor]
New Plastic Contractor Drones for the Epirian Foundation!
Posted on Monday Sept 01, 2025 at 05:00pm in The Epirian Foundation
Contractor Drones fill an essential role within militia units, allowing Contractors to focus on their objectives without the need to lug around heavy gear and weaponry on their own. More specialized drones even assist Engineer and Medical units, improving their odds of patching up their respective mechanical and biological patients.
We originally released a gun drone kits in resin way back in 2018, and followed it up with a support drone kit (also resin) in 2021. Along the way, though, we decided that this original design didn't quite fit the brief - from a gameplay perspective, they were too low to the ground, and looked too much like a spider drone with a weapon stuck on. So we've taken this opportunity to redesign the drones a little. The main difference is their height - with taller, bulkier legs, the weapon variants now hold their aim at around the same level as if the weapon was being held by a Contractor, which we felt was important to the unit's profile on the table.
We've also made it a little more modular - the support options slot into the same body piece as the guns now, rather than needing a completely separate model, and the guns can all be left unglued so that you can switch them out between battles. And, finally, we've included two more weapon options - the dual strike missile launcher that was an option that wasn't modeled in the first run, and a dual machine gun option that's new for V2!
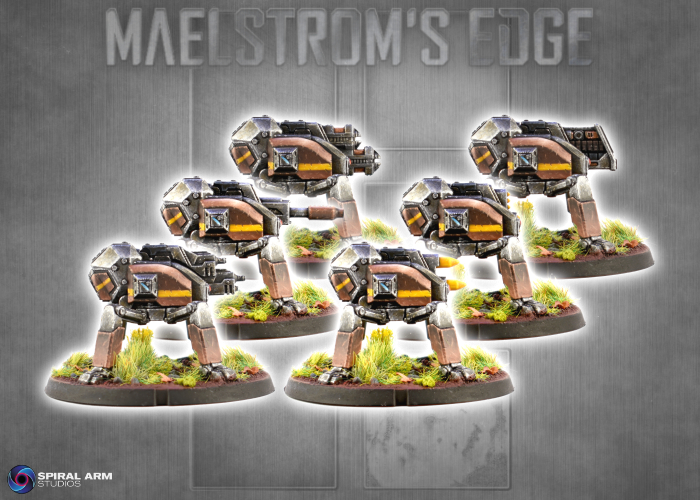
Get to work reinforcing your Epirian forces by grabbing the Contractor Drone kit, including two drone sprues, from the Maelstrom's Edge webstore here!

Our studio drones were painted by the very talented Todd McNeal at Toad Painting!
Tags: contractor drones epirian foundation
Conversion Spotlight: Epirian Pathfinders
Posted on Thursday Nov 14, 2019 at 05:00pm in Tutorials
I received a grab bag of all sorts of awesome resin parts from Victoria Miniatures this week, so decided it was time to take a break from terrain building and have a bit of a tinker with some infantry. I had thought a while back that Epirian Contractors were just crying out for shotguns, and so with some handy resin additions, I created a new unit of scouty Contractors, which I'm calling 'Pathfinders'.
There's very little converting required here - I just assembled the Contractors without arms. Although I couldn't resist a little bit of cutting things up, so I gave the squad leader a cap on his belt, by cutting off the top of a spare Contractor head.
Victoria's resin cloaks are designed to slot over the shoulders, and fit snugly around the Contractors' collars. These were glued in place with superglue. The shotgun arms needed just a little trimming at the shoulders to fit neatly, as the Victoria Miniatures torsos are slightly narrower than those of the Contractors.
Painting was a quick and easy 'paint in base colours and then give it a wash' job. It's not the prettiest, but it gets a unit on the table quickly. The green areas were painted with Army Painter Army Green, and Vallejo Yellow Green, and washed with Army Painter Military Shader. The metal parts were base coated with Vallejo Heavy Charcoal, given a light drybrush of P3 Pig Iron and washed with Dark Tone. For the shirt, I used Army Painter Barbarian Flesh, Vallejo Heavy Brown for the leather parts, and Coat D'Arms Bone for the shirt. These were washed with Army Painter Strong Tone - This is a fairly heavy contrast with the bone, so creates a bit of a dirty, muddy look. If you are looking for a softer shading effect, you could use Mid Brown or Soft Tone instead of the Strong Tone.
To finish things up, I highlighted the green areas with Coat D'Arms Putrid Green, gave the skin, shirt and leather a highlight of bone, and painted the eyeshades with Heavy Brown, P3 Cygnus Yellow and some white highlights. The bases were basecoated with AK Red Brown Leather and washed with Army Painter Mid Brown.
To build your own Pathfinder unit, you can pick up the plastic Contractor kit, along with the rest of the Maelstrom's Edge range, from the Maelstrom's Edge webstore.
As always, feel free to share your models and terrain, or ask any Maelstrom's Edge- or hobby-related questions on the Comm Guild Facebook page!
For other Maelstrom's Edge modeling articles, including tutorials and walkthroughs of a wide range of different building and miniature projects, check out the Hobby section of the Maelstrom's Edge website here.
Tags: contractor conversion epirian modeling spotlight walkthrough
Modeling Spotlight: Kitbashed Epirian Contractor Truck
Posted on Monday Feb 18, 2019 at 05:00pm in Tutorials
- by Iain Wilson
Running around is all well and good, but sometimes it's preferable to travel in style. So with that in mind this week I decided to add some extra mobility to my Epirian force in the form of a contractor truck, built from a somewhat neatened-up Games Workshop Ork Squigbuggy.
The basic truck chassis was perfect for the look that I wanted, with the main challenge being to remove anything overtly 'orky'. The ramshackle look is great, but not really in keeping with the Epirian aesthetic. And obviously, the ork crew themselves had to go. The only problem there was that the driver's feet are moulded to the pedals. So job number one was to remove those feet with a chisel-blade hobby knife.
Removing the metal 'teeth' on the front grill was more problematic, so I replaced the grill piece entirely with a new one cut from textured plasticard.
Likewise, there was just too much detail on the rear tray to be easily removed, so I built a new tray out of layered 1mm plasticard, with a centre detail piece cut from plastic mesh.
I considered trimming up the doors, but was on a roll with the plasticard by this point, so quickly knocked up two new door panels and added some Epirian badges using tile-texture plasticard.
The extra plating on the sides of the front cowling was considerably easier. I cut away anything that didn't belong, and gave the trimmed surfaces a light sand to make sure they were smooth.
Humans being somewhat smaller than orks, the driver needed a seat added to fit in properly, so I assembled one out of 1mm plasticard and some more of the tile. For the driver himself, I used an Epirian contractor with the legs cut and repositioned.
The proportions had worked out all wrong to use the original pedals, so the driver's feet both wound up resting on the middle pedal. I added some pieces of plasticard over the other two to cover up the holes left from cutting off the original driver's feet.
I've been making it a feature of my Epirian conversions to include a drone head, and the intake on the hood seemed like an obvious spot to put one, with a little trimming to make it sit as flush as possible.
Rather than trying to wedge a second seat into the asymmetrical cabin, I decided to make it a single-seater and add a drone-controlled weapon in the (ahem) shotgun spot. I built this using a few pieces pilfered from the Master Bot Handler and Scarecrow kits, with a base from a Spider Drone leg piece with the actual legs removed.
To give the weapon a clear fire arc, I cut apart the roll cage and shortened the crossbar so that it would only extend over the driver's seat.
At this point, it was time to putty up any gaps, notably around the base of the drone and the driver's repositioned legs. The roll cage was left unglued for now, and there would be a little more putty filling required once I was ready to put it in place, but this couldn't happen until after I had painted the driver and cabin. (In hindsight, I also should have left the driver separate, as it proved rather difficult to paint him in place!)
The final step was to add some arms for the driver - I needed some outstretched arms, so wound up using Master Handler arms with Contractor shoulder pads added, and the hands replaced with open contractor hands to grip the steering wheel. And with that, the truck was all set for painting.
Painting used the same scheme as I have used on my previous green Epirians - Vallejo Yellow Green washed with Army Painter Green Tone, although in this case I spent a little more time layering the ink to create neater shading and highlights.
I added damage to the paintwork by sponging with Vallejo Heavy Charcoal and then highlighting the lower edges of the paint chips with yellow green.
The metal parts were painted with Vallejo Basalt Grey, washed with a coat of Secret Weapon Soft Body Black, and then drybrushed with Vallejo Light Grey. I followed this up with a final wash of Army Painter Dark Tone.
The next step will be to work up a rules card for this thing, probably with some homebrew rules for transporting units to make use of that trayback!
What have you done to personalise your forces? As always feel free to pop along and share your work, or ask any Maelstrom's Edge- or hobby-related questions on the Comm Guild Facebook page!
You can pick them up the Epirian models used here, along with the rest of the Maelstrom's Edge model range from the webstore here.
For other Maelstrom's Edge modeling articles, including tutorials and walkthroughs of a wide range of different building and miniature projects, check out the Hobby section of the Maelstrom's Edge website here.
Tags: contractor conversion epirian modeling spotlight walkthrough
Community Spotlight: Epirians on Guard
Posted on Wednesday Nov 02, 2016 at 05:00pm in The Epirian Foundation
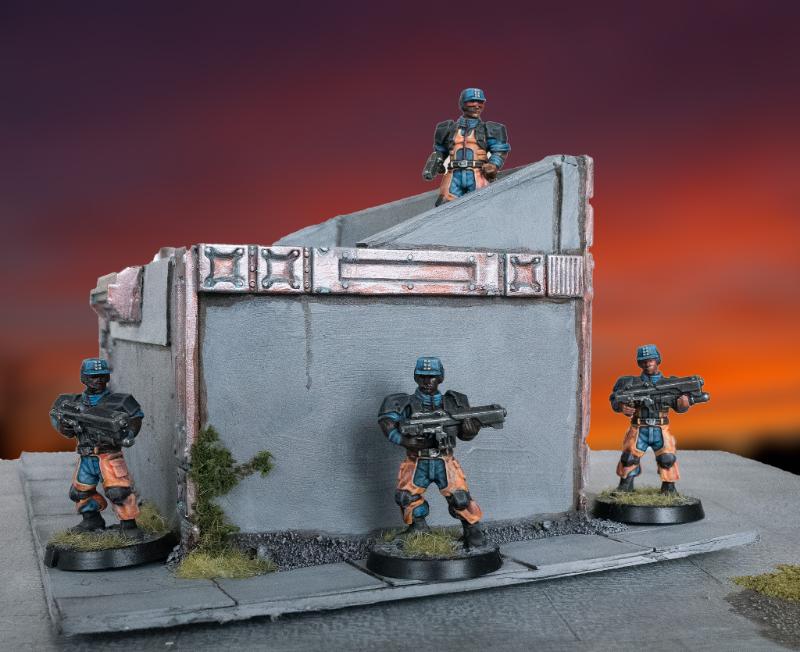
Sgt Oddball's Epirians make an appearance once again, this time around a small structure he has built. The striking use of bright colour really helps the Epirians to stand out against the cool greys and metallics of the building.
The Comm Guild's community spotlight focuses on sharing something from the Maelstrom's Edge community each week, if you have anything you'd like to get in to the queue, please get in touch with us via the Maelstrom's Edge website
Tags: contractor epirian modeling painted terrain
Spotlight: Epirian Contractors
Posted on Monday Oct 31, 2016 at 05:00pm in The Epirian Foundation
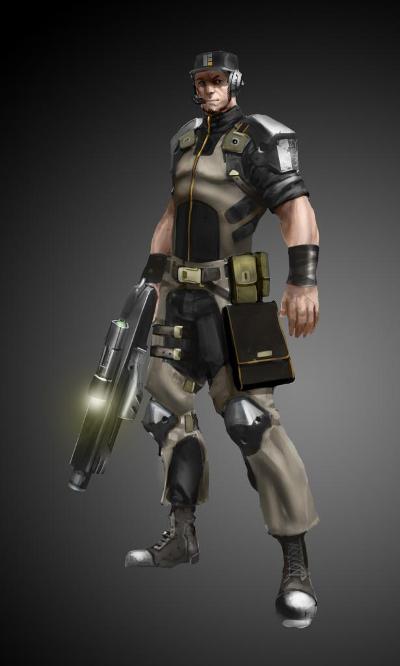
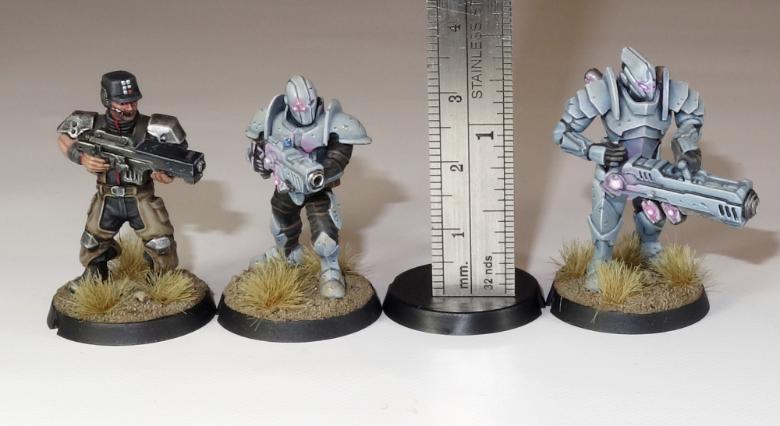
It feels like an eternity since we first released images of the Epirian Contractors. Our first sculpt with a new sculptor and manufacturer, getting the scale right took a number of back-and-forth attempts but after a few revisions we were able to create a model that was in scale with our Karist range and served as the starting point for the full Epirian range.
The Epirian sprue has a nice crisp level of detail and managed to cram a lot more on than we thought possible, which is why there are two pistols on each sprue. 5 heads and 5 pairs of arms opens up a lot of nice options for posing. Our Epirian models have a slight lean to them which makes them very difficult to photograph effectively but this is something we think we have continued to improve at. The lean does mean that the models look very nice when they are posed with a slightly raised leg, standing on a rock or similar.
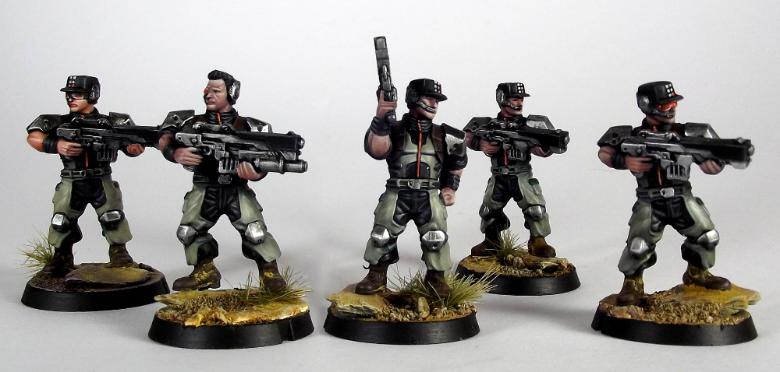
The Epirian hats proved to be a dividing aesthetic. Some people love them, some people hate them. Fortunately, we were able to provide helmets as an alternative option for those who prefer to avoid the more casual hat look. A marmite feature!
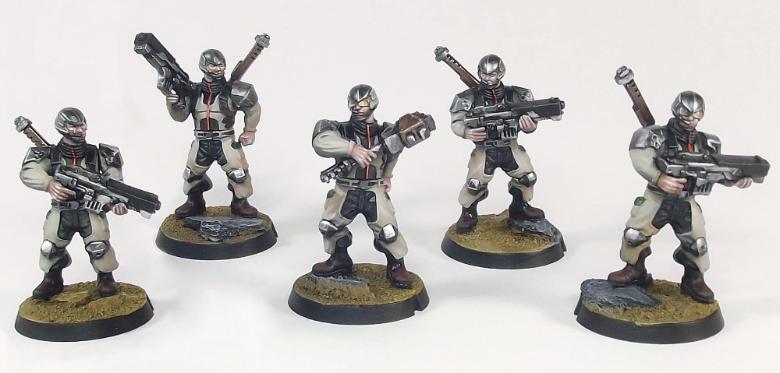
The Epirian Contractors are our second best selling models, and are available in sets of 6 from the Maelstrom's Edge website.
Tags: contractor epirian model spotlight
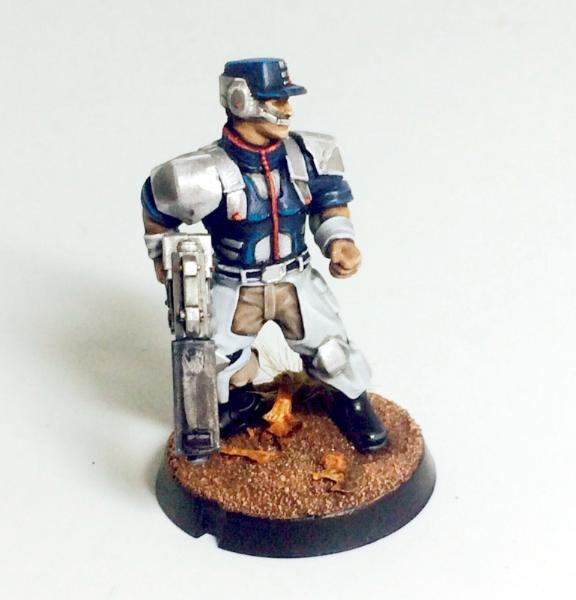
Friday Photo - Light Blue Epirian Scheme
Posted on Friday Sept 23, 2016 at 05:00pm in Models
This week's photo is of a nice, light blue colourscheme for the Epirians. A lot brighter and less military drab than most of our other palettes, this scheme uses a classic blue/orange colour combo to good effect. The model has also been assembled with stuff underfoot, changing the default pose of the Epirian Contractor.
We don't have any robots painted up in this colourscheme yet, but would love to see some if anyone out there wants to have a go!
Tags: contractor epirian painted
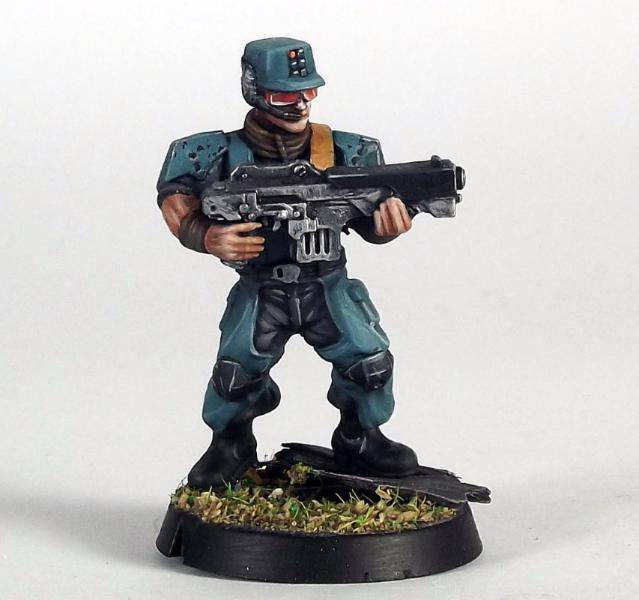
Friday Photo - Epirian Contractor in a White and Blue Colourscheme
Posted on Friday Sept 02, 2016 at 05:00pm in The Epirian Foundation
Part of our early testing for getting our final colourscheme together was sending our models out to a bunch of talented painters and getting them to completely make up their own colourschemes.
Today's photo is one of those - an Epirian Contractor in a white and blue colourscheme.
There is a lot going on in such a small space for this model, with the windswept leaves on the base working really nicely with the at-ease but on guard pose, as if the contractor has just spotted something of concern.
Tags: contractor epirian painted