Terrain Spotlight: Landing Pad
Posted on Monday Jun 19, 2017 at 05:00pm in Models
- by Iain Wilson
Terrain is a bit of a passion of mine. It can make such a difference to your games having a table full of nice-looking terrain pieces, and this is helped along with the addition of a shiny, impressive centre piece to dominate the battlefield.
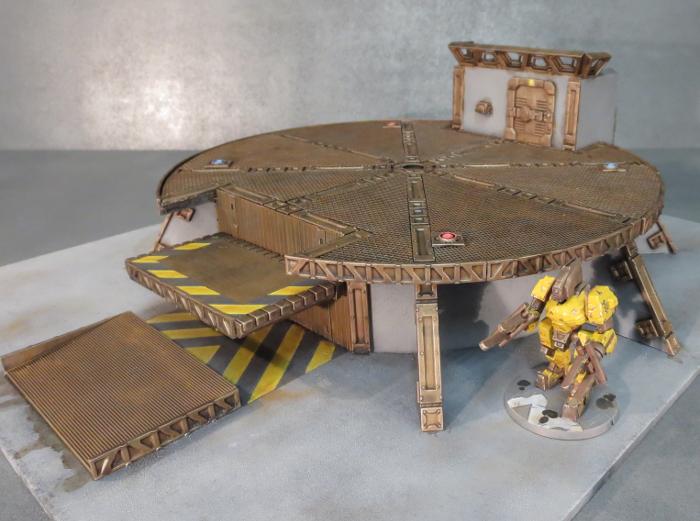
With that in mind, I set to work this week to build a landing pad for my table. Landing pads look great visually, can be easily tailored from game to game with the addition of some crates, landing craft or other small terrain features on top and make for nice line of sight blockers in the middle of the table.
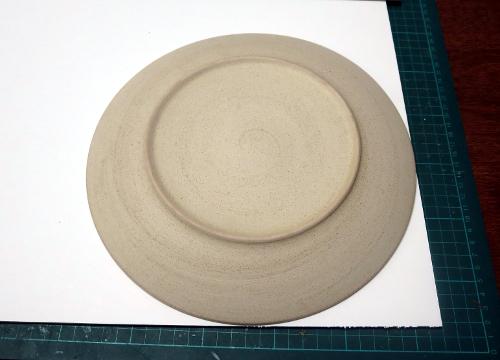
I started out, as so many of my projects do, with a few Maelstrom's Edge terrain sprues and a sheet of 5mm foamcore. A dinner plate served as a handy template for the pad itself.
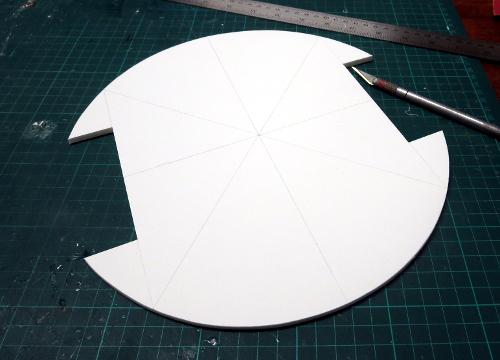
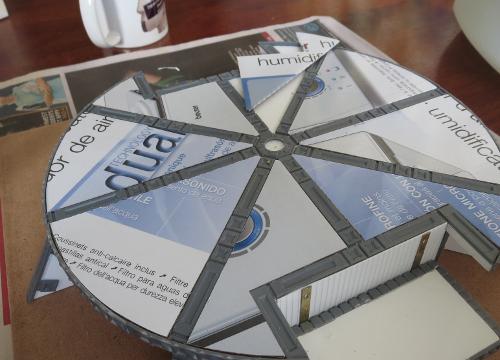
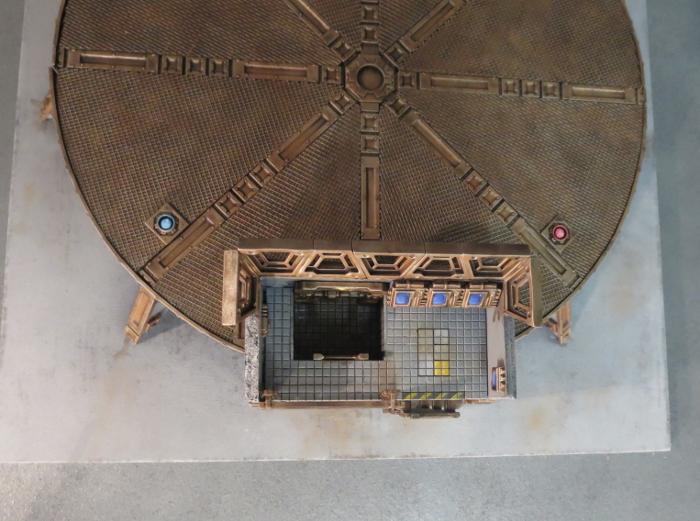
After tracing around the plate, I drew in an inset rectangle on opposing sides, to break up the circular shape a little in order to make the pad a little more visually interesting. The the shape was cut out with a hobby knife, and some guide lines drawn on for some detailing.
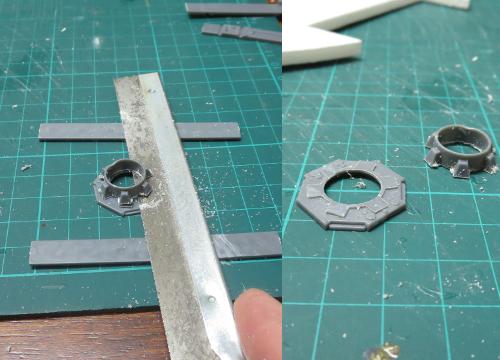
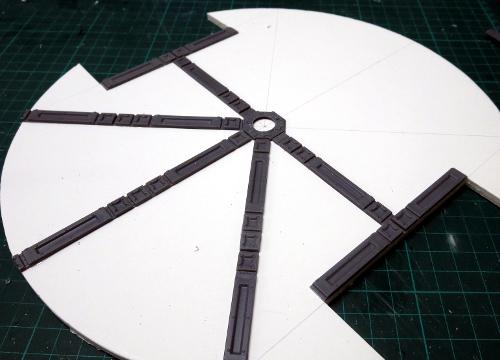
A round detail in the centre of the pad was created from the large pipe fitting, cut down to match the thickness of the support struts. I used a couple of spare struts as height gauges for a razor saw to cut through the pipe fitting sideways.
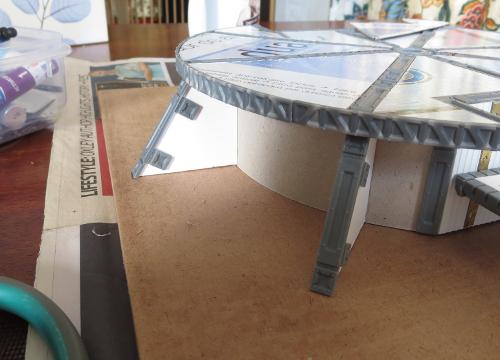
I then laid support struts out along the guide lines, cutting them to length so that they extended to the edges of the pad.
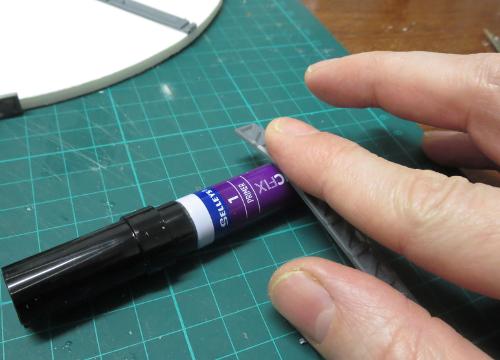
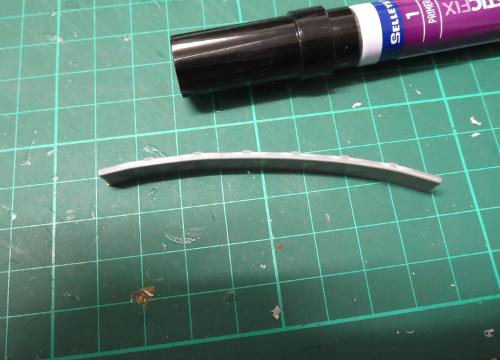
For some detail around the edge of the pad, I took some more support struts and rolled them carefully over a glue primer tube to give them a curve.
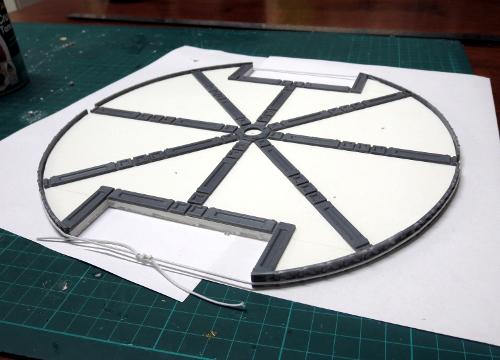
These were then glued around the edges of the pad, and held in place with some hat elastic until the glue set.
A landing pad on the ground is functional enough, but not much good for blocking line of sight, and certainly won't impress the neighbours. So I made a formwork from some more foamcore to go under the pad. In between each of the formwork supports, I spaced some off-cuts of foamcore to serve as guides for the outer wall.

The outer wall was made from thick card, which was bent around the outside of a coffee mug.
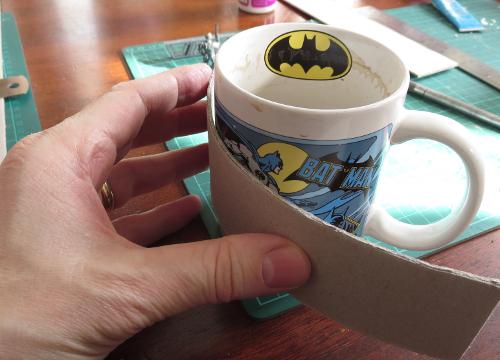
This was then glued in place around the outside of the support formwork, with the help of a few cardboard tabs to reinforce the joints.

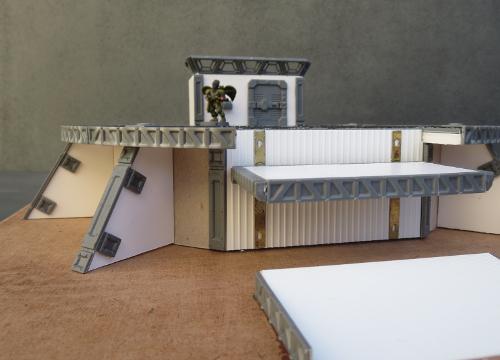
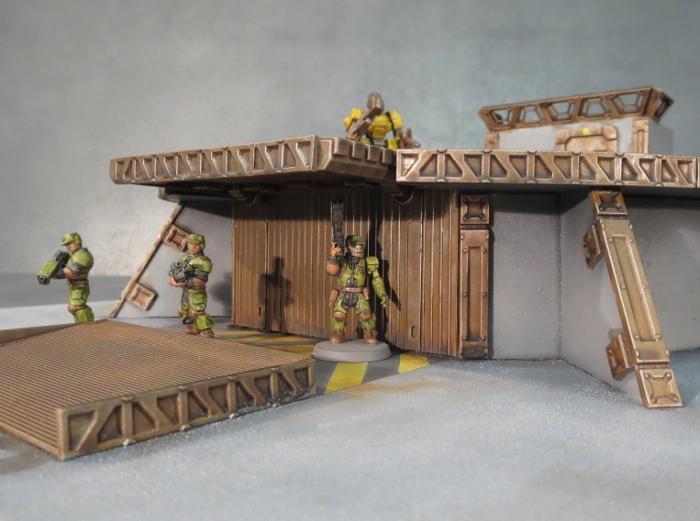
A little more foamcore and some doors from the terrain sprue created the bare bones of a control tower.
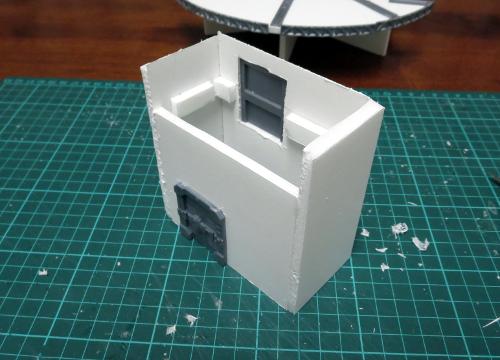
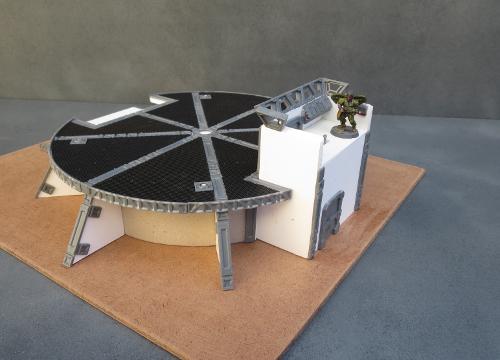
This will have multiple access points, through the lower door, a second door off the pad surface, and a ladder from the ground to the control platform. The ladder can be just glued directly to the wall, but this never looks quite right to me, as it would make climbing it a little problematic unless you cut recesses in behind it. In this case, I decided to space it out from the wall instead, using some off-cuts from the terrain sprue lintel piece.
Because the inside of the upper door can be seen from the control platform, I used a second door on the inside wall. Two doors back to back are a little thick for 5mm foamcore walls, so I trimmed the inner door's back down flush so it would fit in neatly.
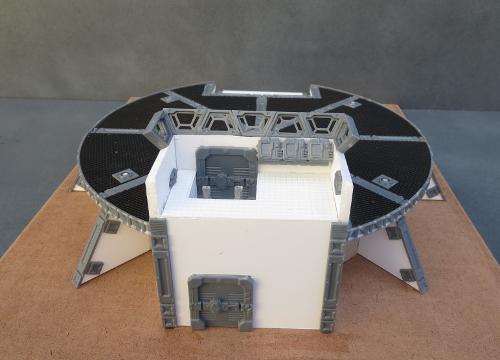
The floor of the platform was made from some tile-pattern plasticard, with a recess created for the inner door - this would have a short ladder up to the main platform.
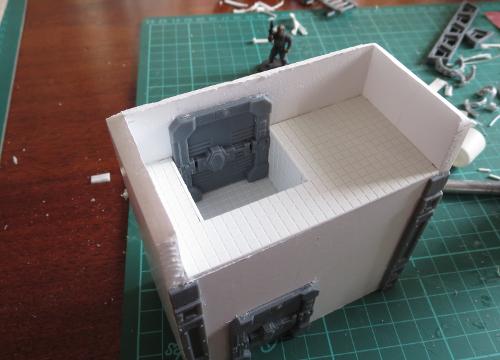
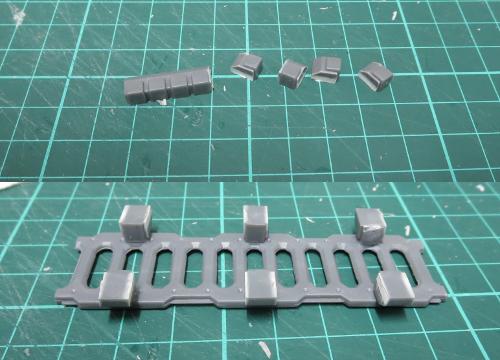
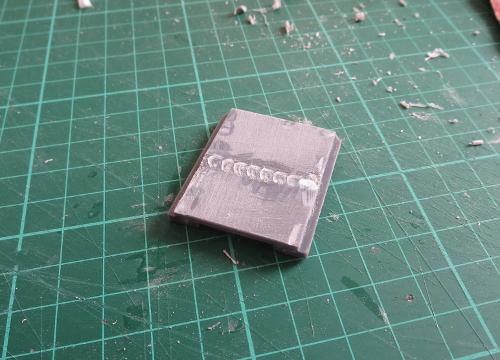
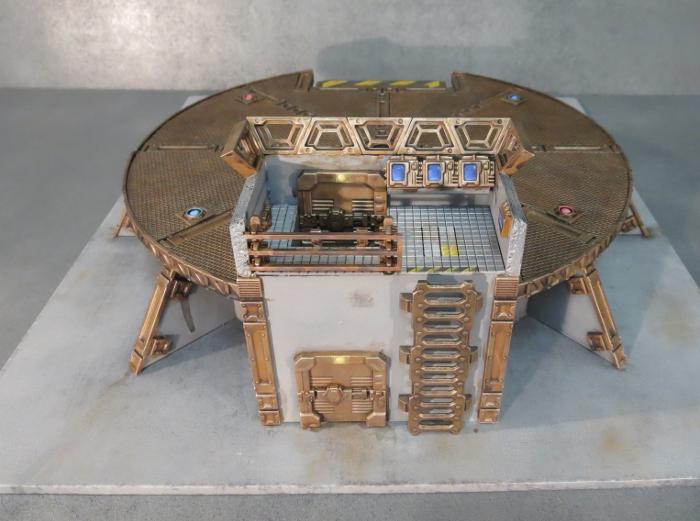
I also made some computer terminals using some computer panels and lintels.
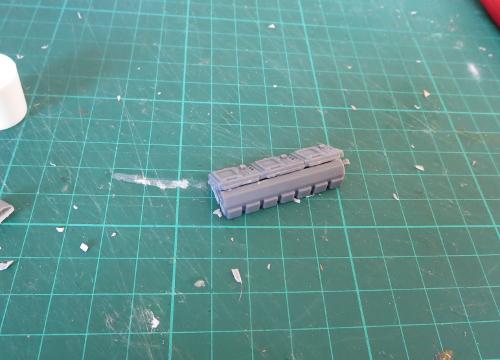
Opposite the control tower will be a lift. I wanted this to be functional, just for a little fun. So I made a wall section from some textured plasticard and glued on a couple of picture hooks that I had flattened out with some pliers and a hammer.
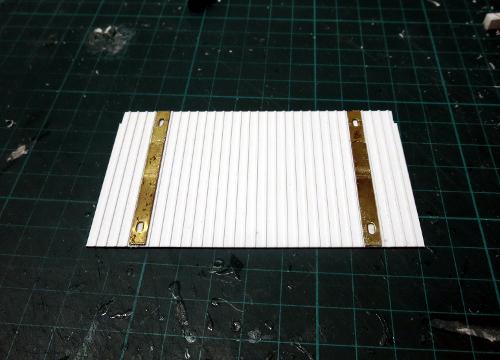
The lift platform was made from a rectangle of foamcore with detailing around the edges provided by some lintels and a support strut. On the bottom of one of the long sides I affixed some nice, strong, rare earth magnets. These allow the lift platform to be attached anywhere along the flattened picture hooks, and are strong enough to hold it up even with models standing on it.
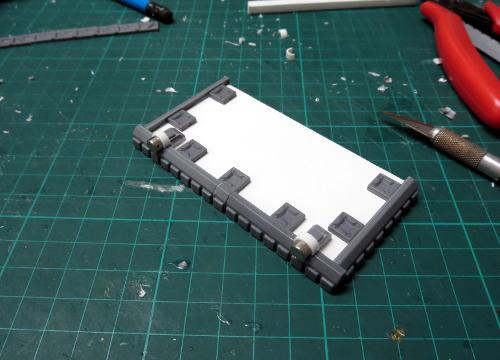
The base of the platform still needed some more detail, so I made some buttresses to going around the perimeter. These are just a wedge of foamcore and some pieces cut from support struts. Normally I layer a piece of 5mm and a piece of 3mm foamcore to match the width of the support strut, but this time I decided to go for something a little more visually striking and just used a piece of 5mm foamcore with extra reinforcing pieces added on either side.

These buttresses were then glued around the base of the platform, lining up with the support struts on the platform top.
The top of the platform needed some more detail, and so I cut some wedges of card to slot in between the support struts.
These were sprayed black, and then painted with a coat of PVA glue and pressed onto some plastic flyscreen. I used a sharp hobby knife to cut around the edges.
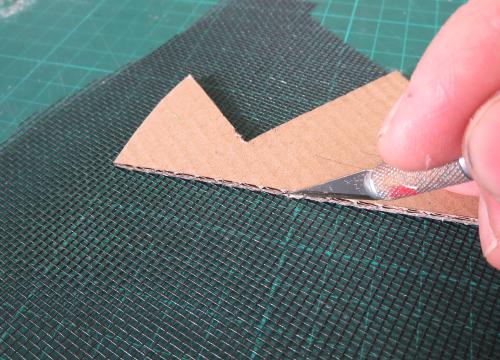
(Spraying them black before gluing the flyscreen on makes painting a little easier, as it can be tricky to cover all of the tiny little nooks and crannies in the flyscreen)
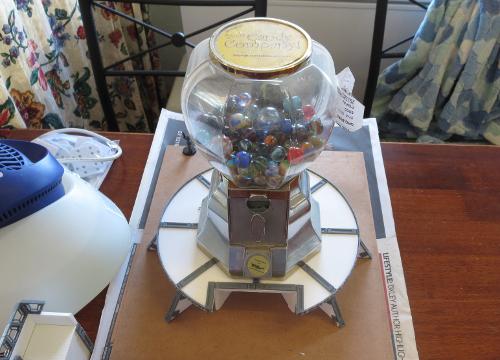
While the glue was setting on the flyscreen, I took the time to glue the landing pad down onto a base board of masonite. A handy, nearby gumball dispenser filled with marbles served as a weight to help the glue bond everything nice and tight.
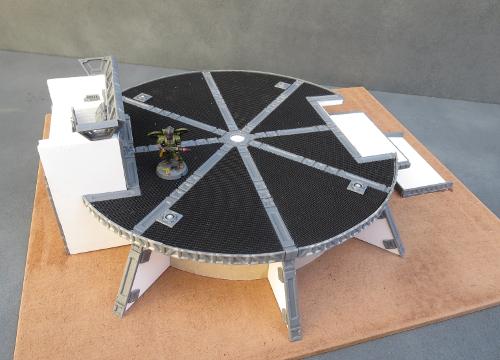
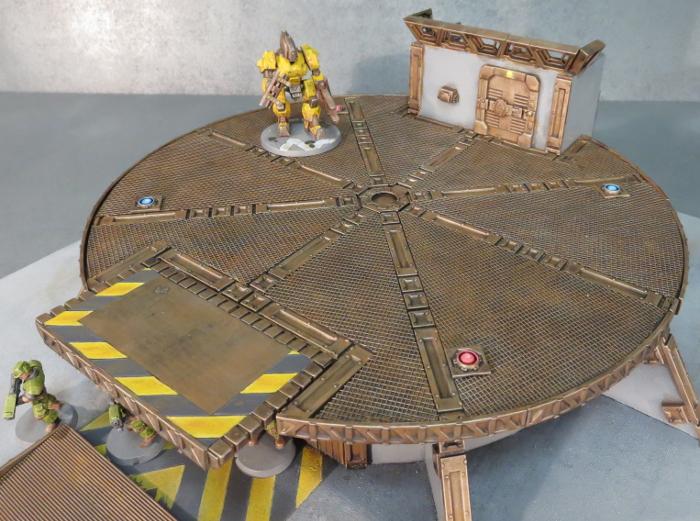
When everything was set, I glued the flyscreened wedges into place on the platform, and added some landing lights made from small pipe fittings and offcuts of sprue.

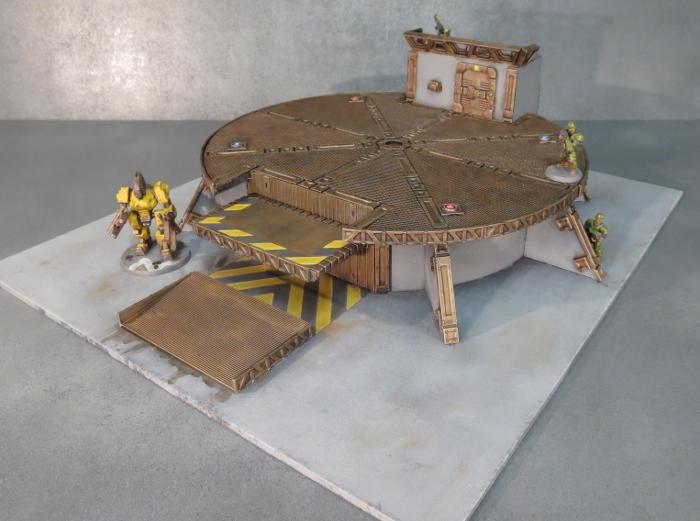
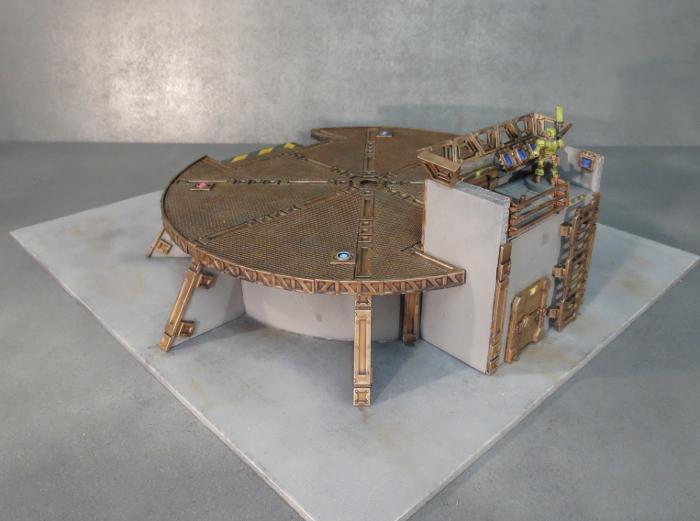
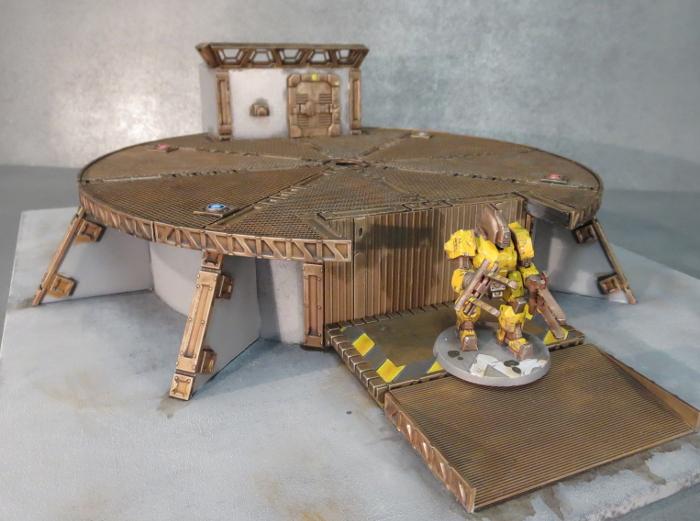
With the control tower then glued in place and a row of trapezoid windows added for controller protection, a ramp up to the lift built on the other side of the pad, and a few other little details here and there, construction was complete.
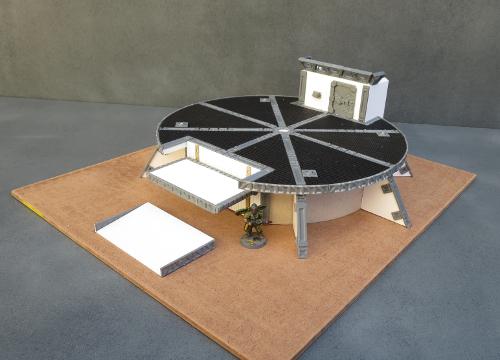
Painting was kept fairly simple: I basecoated with black spray, and then added a coat of grey for the base and walls. The metal parts were then painted using my weathered metal method shown here. Add in the details (including the obligatory hazard striping) and the job's done!
For other Maelstrom's Edge modeling articles, including tutorials and walkthroughs of a wide range of different building and miniature projects, check out the article roundup here.

Like this? Like us on facebook to see more...