Modeling Spotlight: Converted Broken Gnolti
Posted on Tuesday Jan 30, 2018 at 07:06am in Tutorials
- by Iain Wilson
This week saw the arrival of the biggest model yet for Maelstrom's Edge: The Gnolti!
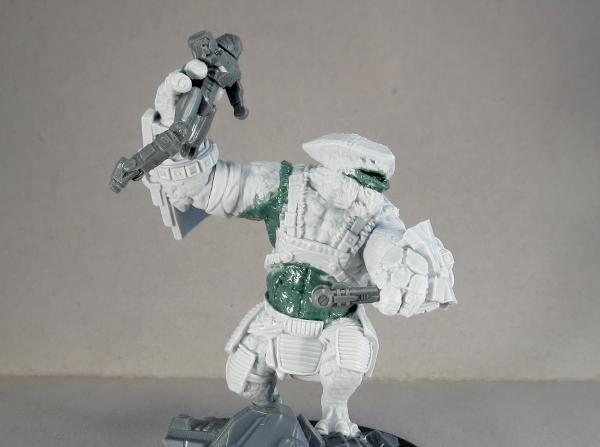
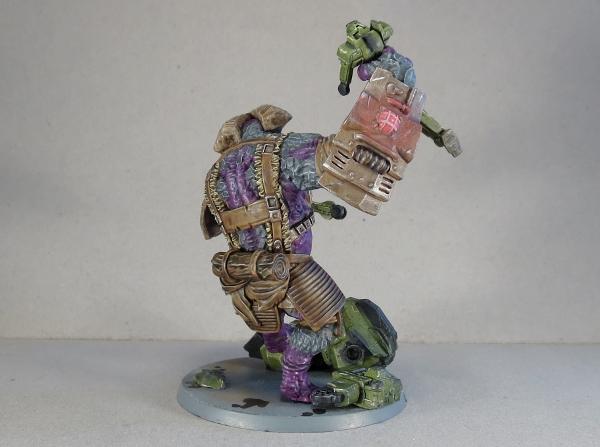
A gigantic chunk of brawn and armoured hide, the Gnolti is slow to anger, but unstoppable when roused. So as impressive as the model is, I decided I wanted to build one that showed a Gnolti really letting it all out. This was the end result:

The Gnolti is a multi-part resin kit, with a little posability in the forearms due to the circular connections. One of his hands is open, and this seemed like it was just asking to be holding something breakable. So, I sliced off the forefinger so that I could close in his grip a little, and reattached it with some green stuff, and gave him a little friend to play with, courtesy of the Epirian Scarecrow kit.

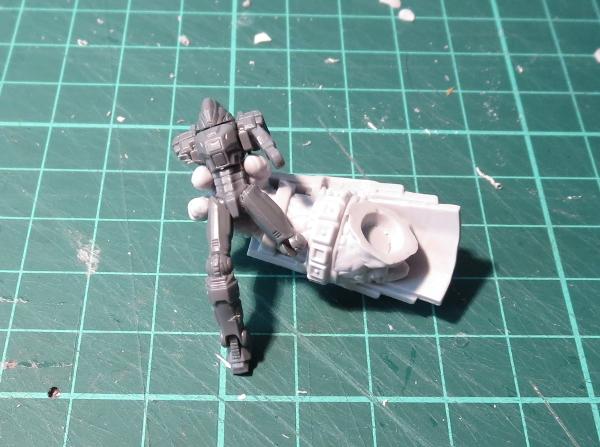
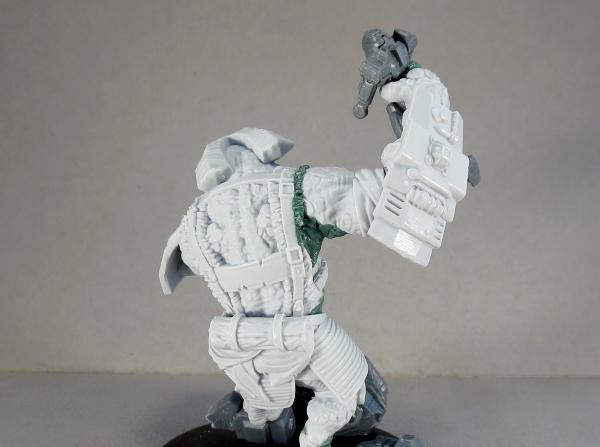
The left hand is in a closed fist, and is designed to sit knuckles-down on the base. I reshaped the flattened bottom surface of the fingers to make them more rounded, and then pinned the scarecrow's left forearm into the Gnolti's grip.
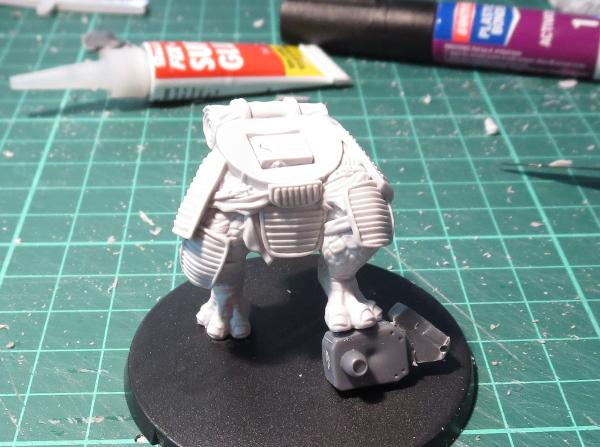
To create a more upright stance, I ran the legs under some hot water and carefully bent the lower right leg out and back. Apparently, I wasn't careful enough, as I managed to snap it off through the shin, but with a little drilling and pinning, I wound up with legs positioned how I wanted them.
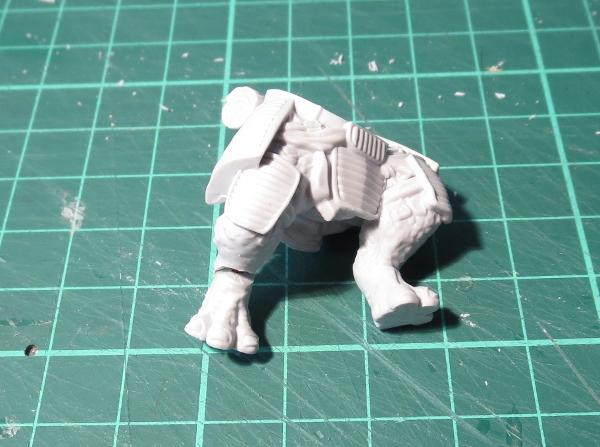
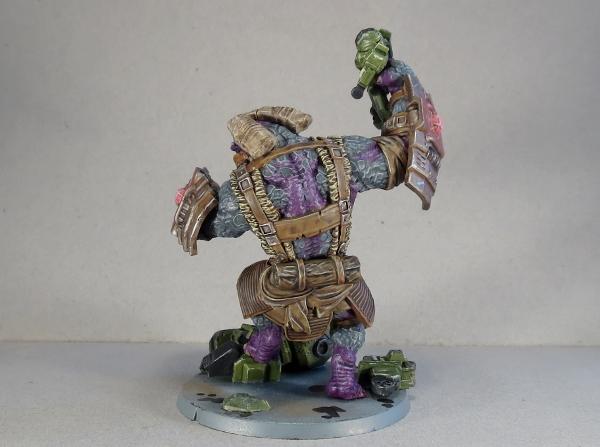
Adding a Hunter mech's leg for the Gnolti to stand on, I glued the legs in place on the base, and added a piece of sprue to fill in the slot for the torso's locator peg.
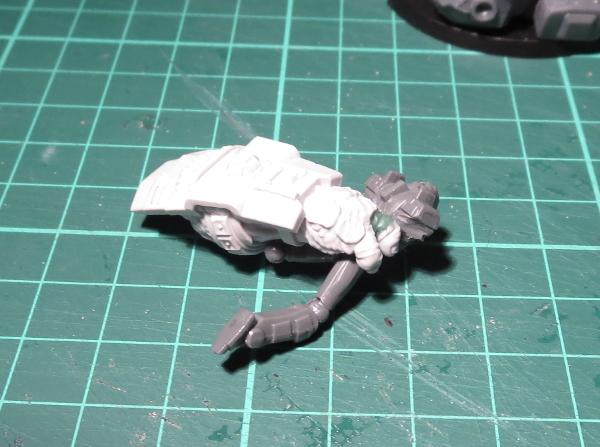
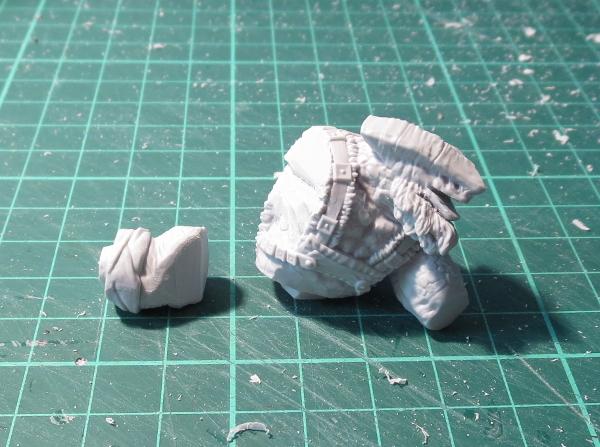
Taking the torso piece, I used a razor saw to slice off the right arm at the shoulder, cutting out a wedge on the top so that it could be reattached in a more raised position. I also cut a thin wedge out from his chin at the top of his beard, and then added a cut between his lips so that I could bend his lower lip down into a mouth-open position.
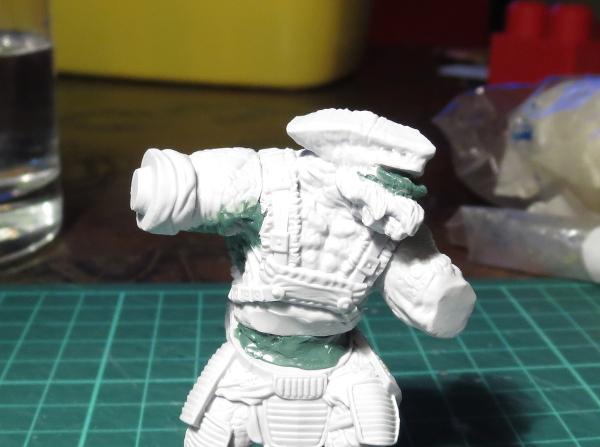
The torso was then glued in place, with the sprue in the waist-hole allowing the torso to sit upright.

The lower lip was padded out with some green stuff to repair the minor damage from sawing it open. I also filled in the cavity in his waist, and started added detail back in under the right arm.
Another layer of green stuff gave him some abdominal muscles, a tongue, and a single flat tusk in his lower jaw.
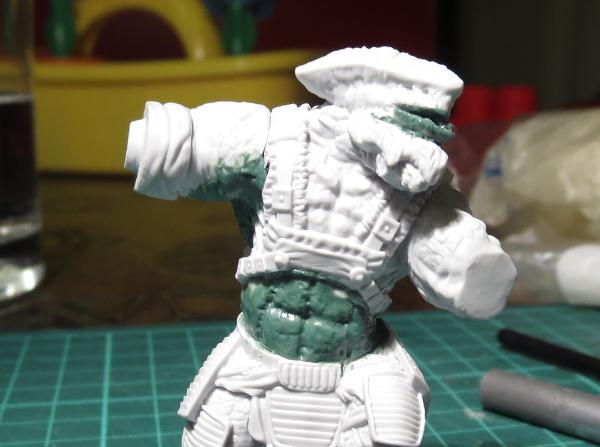
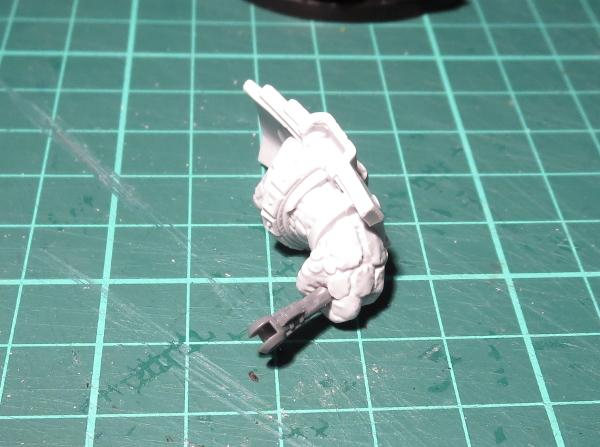
Finally, the forearms were glued on, and a last run of green stuff added to replace the fur trim on his right shoulder strap.
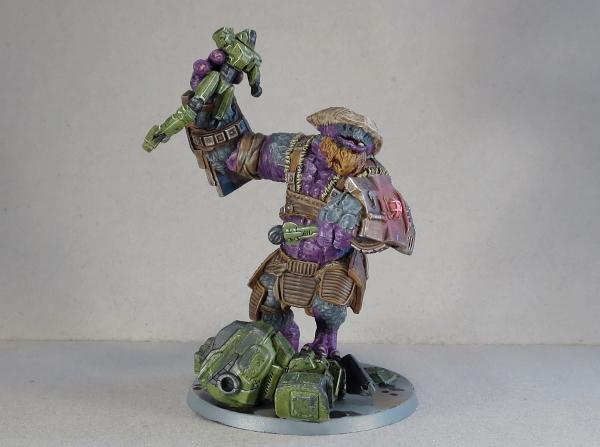
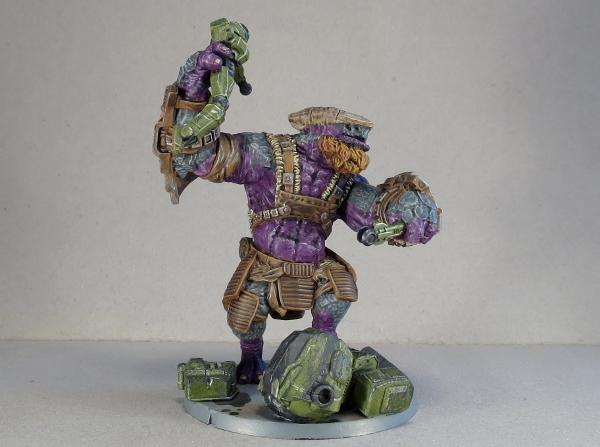
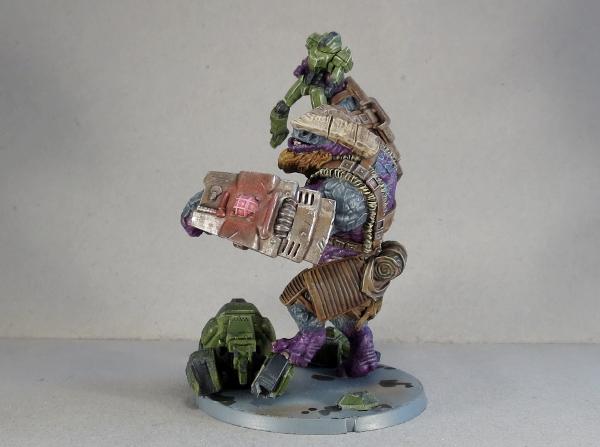
With that, it was time to paint!
I went with a colour scheme that was reminiscent of that used on the studio model shown here, but with slightly more muted colours to fit in with my quick, wash-painted Broken colour scheme.
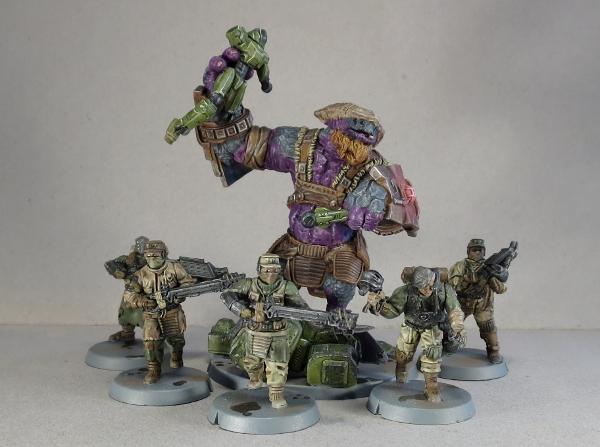
Ready for action!
To pick up your own wee beasty of broken doom, or any of the rest of the Maelstrom's Edge model range, visit the webstore here. As always, be sure to show off your work on the Comm Guild Facebook page!
For other Maelstrom's Edge modeling articles, including tutorials and walkthroughs of a wide range of different building and miniature projects, check out the article roundup here.
Tags: broken conversion gnolti model modeling spotlight tutorial walkthrough

Like this? Like us on facebook to see more...