Terrain Tutorial: Streetlights
Posted on Monday Sept 11, 2017 at 05:00pm in Tutorials
- by Iain Wilson
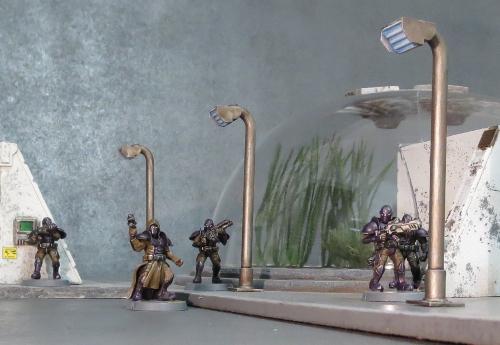
When you're putting together an urban table, little 'real' details can help immensely to bring it all to life. With that in mind, we shared a tutorial a little while back for creating simple hedges made from kitchen scourers and flock. This week we're adding to the urban chaos, and using up some of that leftover sprue, with some quick and easy streetlights.
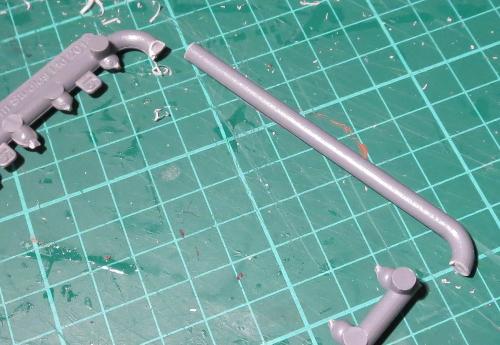
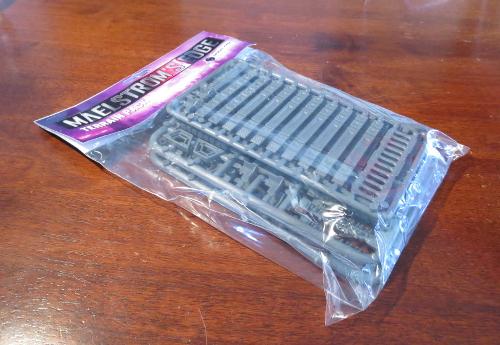
The Maelstrom's Edge terrain sprue has a whole slew of useful components on it, but it also has a nice, rounded frame that is itself rather handy for making pipes, railings or, in this case, streetlight poles. I'm using three emptied sprues (the smaller side of the two frames that make up the terrain sprue), three small pipe fittings, a striplight, some 6mm plastic tubing and some .75mm plasticard.

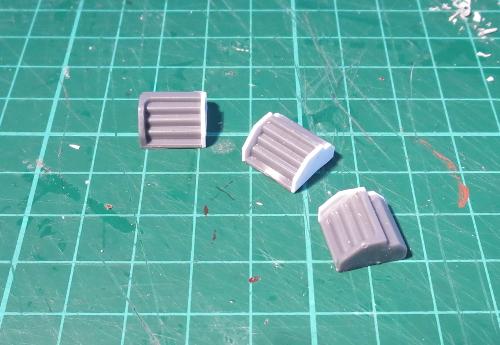
The first step is to take the striplight and cut it into 3 sections. You can do this with a sharp hobby knife if you're patient and not too attached to your thumbs, but a razor saw and hobby mitre box makes the job a lot easier.
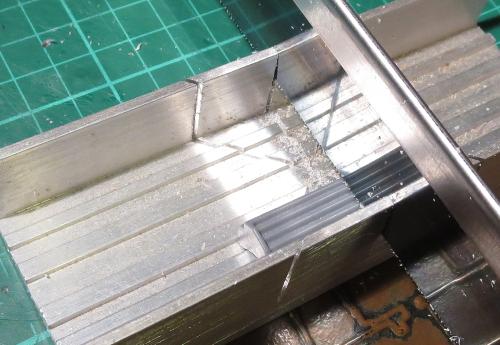
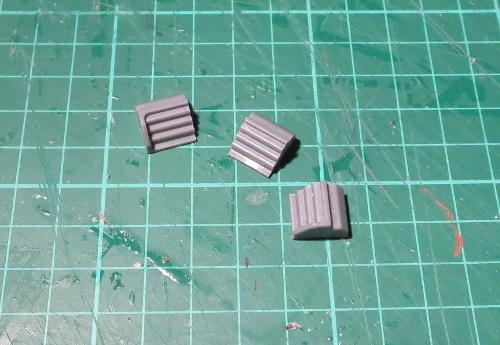
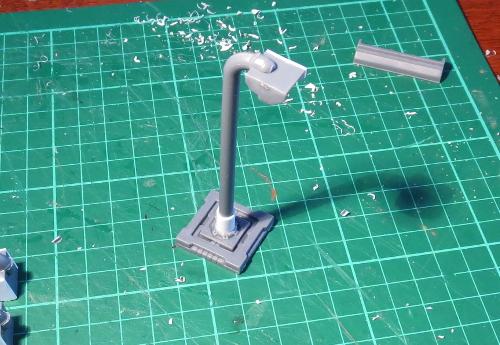
Trace around one of the end sections of the cut striplight to transfer the shape of the light's side panel to the plasticard, and then cut out four panels - 1 each for the light sections from either end, and two for the middle section.
Glue these panels in place. Once the glue is dry, you can shave or file the edges of the panels down so that they are flush with the shape of the light.
The sprue frame has one end that has no connection tabs on it. This end will form the pole for the light. Cut three of them as below:
On the straight end of each of the poles, add a short piece of the plastic tube - I've used a 10mm section, but the exact length isn't important so long as it's consistent on all of your lights.
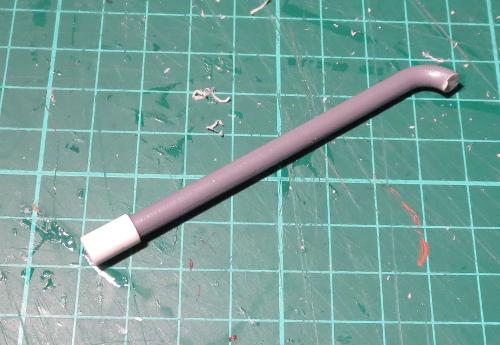
The tube then goes into the pipe fitting.
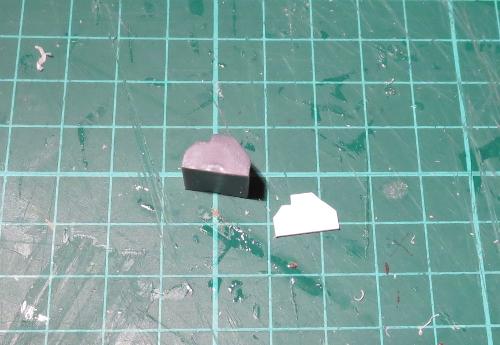
From the leftover sprue, cut three identical connection tabs.
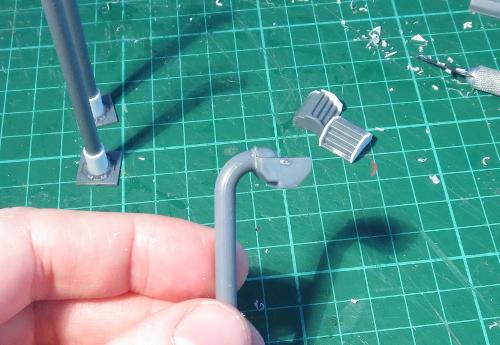
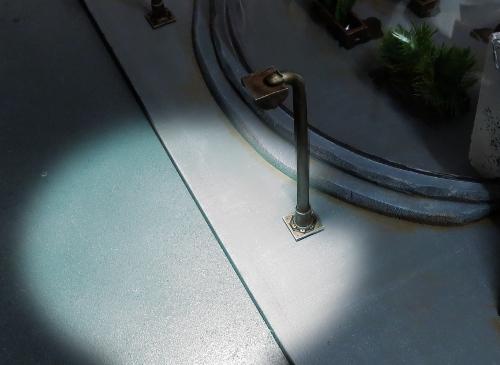
The light is glued in place on the bent end of the pole, and the connection tab is glued on top to add a little detail and bulk up the joint to match the end of the pole.
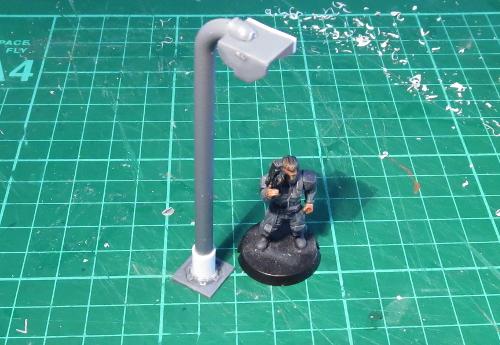
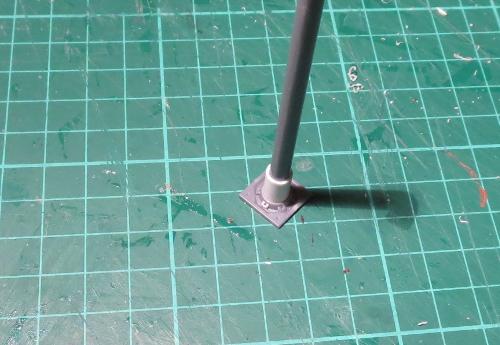
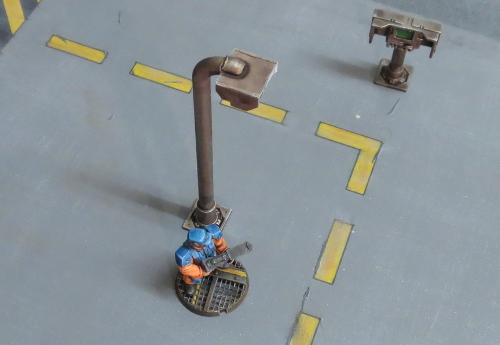
If you're intending to glue the lights onto your terrain, then you're done (aside from painting, obviously). If you want to be able to use the streetlights as scatter terrain, then you might want to glue them to a slightly larger base to make them more stable. You could use a small circle of MDF or plasticard, a spare miniature base, or alternatively the square hatch from the terrain sprue serves for a more high-tech solution.
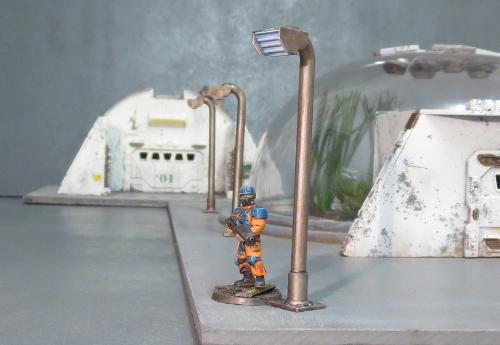
From there, it's all down to painting. The lights shown here have been painting using the weathered metal formula that features in so many of my articles - You can find the tutorial here.
And that brings us to a close once more. Time to pop the chairs up on the tables, grab our umbrellas and saunter off into the gathering dusk...
To put together your own scifi urban utopia, you can pick up the Maelstrom's Edge terrain sprue in a handy two-pack from the webstore here.
As always, feel free to share your creations on the Comm Guild Facebook page!
For other Maelstrom's Edge modeling articles, including tutorials and walkthroughs of a wide range of different building and miniature projects, check out the article roundup here.
