Painting Tutorial: Heat Stress
Posted on Monday Sept 18, 2017 at 05:00pm in Tutorials
- by Iain Wilson
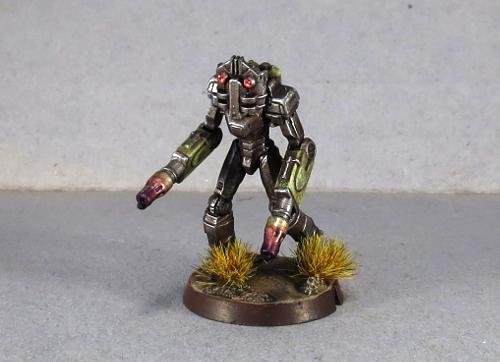
If you're tired of painting your weapon barrels silver and calling the job a good'un, this week's tutorial is for you! Here, we're going to run through how to paint a heat stress effect using Army Painter inks, perfect for Clingfire sprayers or Maglock Chainguns to make them really pop on your models.
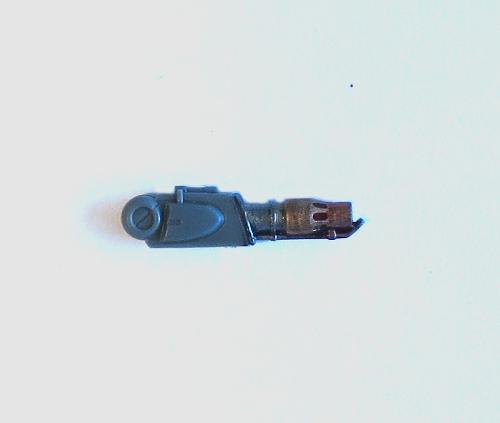
Start with a basecoat of metal. Here, I've used P3 Pig Iron, equivalent to Citadel Leadbelcher (Boltgun Metal, for the old-timers).
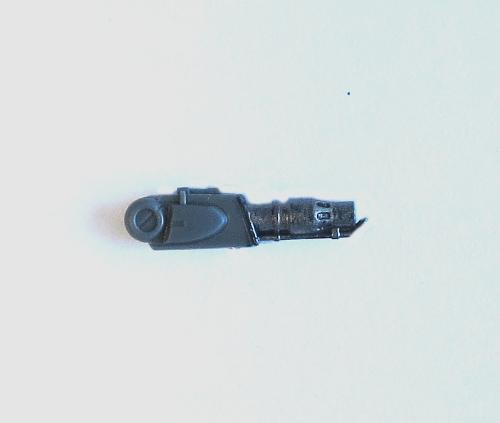
Paint the part that you want to be heatstressed with gold. I've used Coat D'arms Bright Gold here, but any gold will do.
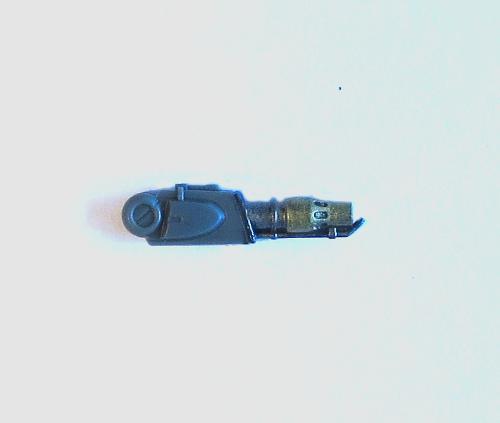
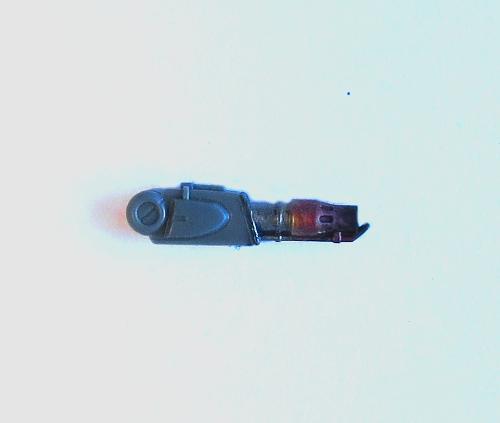
Next, leaving a thin strip of gold at the end furthest from the weapon muzzle, paint the gold area with several thin coats of Army Painter Red Tone. Avoid trying to rush it by slopping the coats on too heavy, as that can cause the colour to go all blotchy. Keep the coats thin and let them dry thoroughly in between (which doesn't take long if you're keeping them thin!), and start each coat just a little bit further away from the start of the gold section, so that you build a natural transition from the gold to the red. Don't be concerned if the first coat or two doesn't look like it's actually doing much - it's a cumulative effect and the colour will build up as you keep going over it.
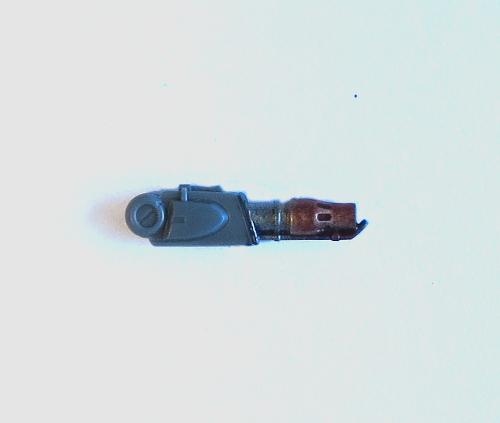
(in case you're wondering, we're doing this with inks rather than normal paints because the ink lets the metallic sheen show through.)
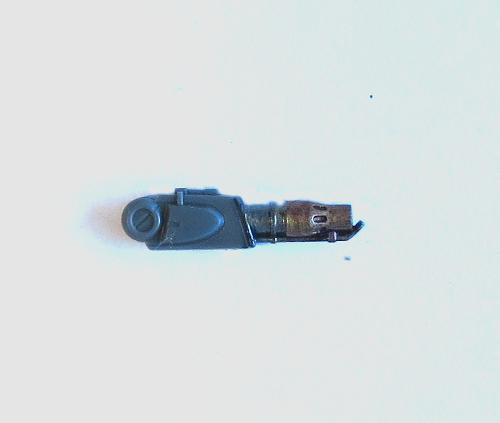
Once you have built up the red to a level you're happy with, switch to Purple Tone. Leave a section of red, and then build up a few layers of purple, starting each layer a little closer to the muzzle of the weapon to build up the transition from red to purple. As before, use thin coats and let each one dry thoroughly before starting the next.
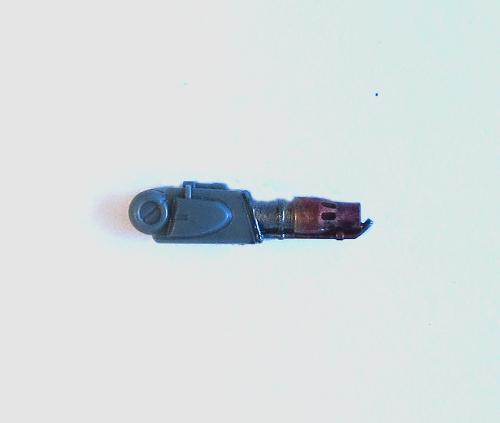
You can also stretch it out a little on longer barrels by using some Blue Tone in between the red and the purple, to give a more gradual transition from red to lighter bluish-purple to darker purple.
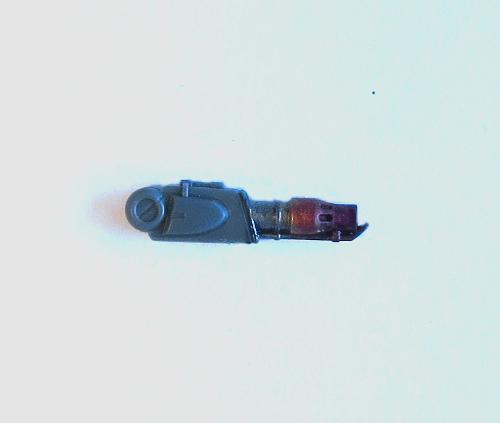
Finally, paint the muzzle of the weapon black. Thin the paint a little and work it back into the purple slightly, giving a sooty appearance to the muzzle area.
If you like your weapons looking a little cleaner, you can leave off that last step and just finish with the purple.
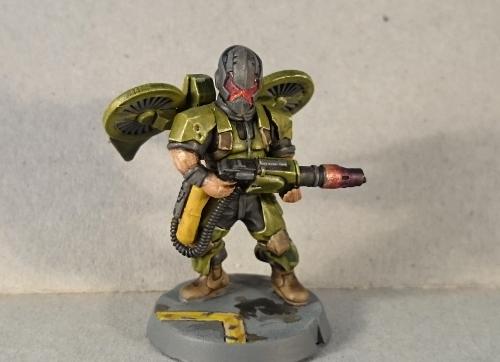
To build your own army of scorchy, melty doom, you can pick up the full range of Maelstrom's Edge miniatures and terrain accessories from the webstore here. As always, feel free to share your creations on the Comm Guild Facebook page!
For other Maelstrom's Edge modeling articles, including tutorials and walkthroughs of a wide range of different building and miniature projects, check out the article roundup here.
Tags: modeling painting tutorial walkthrough

Like this? Like us on facebook to see more...