Terrain Spotlight: Broken Settlement, part 2
Posted on Monday Nov 20, 2017 at 05:00pm in Tutorials
- by Iain Wilson
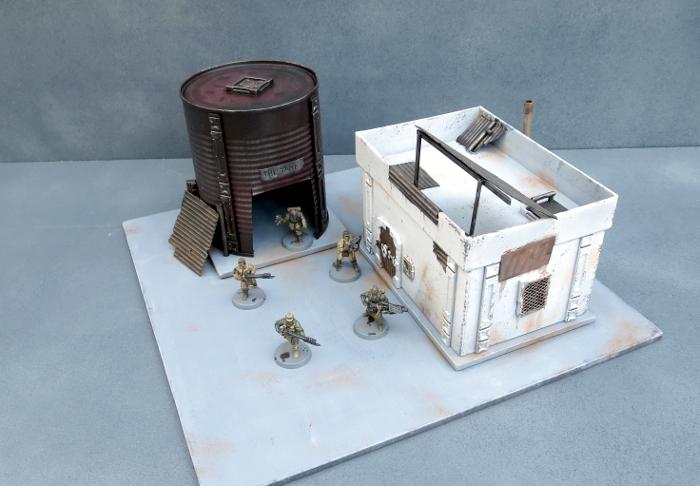
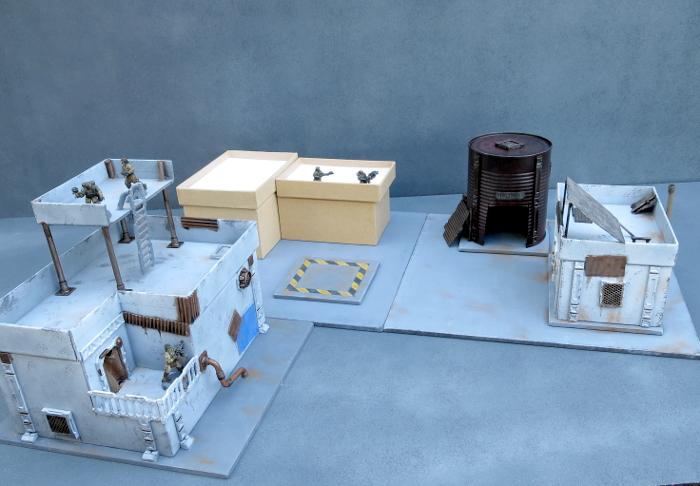
This week, I'm continuing on with the construction of the Broken settlement that I started a few weeks back, which you can find round about here, by adding in another 'renovated' building and a converted water tank shelter.
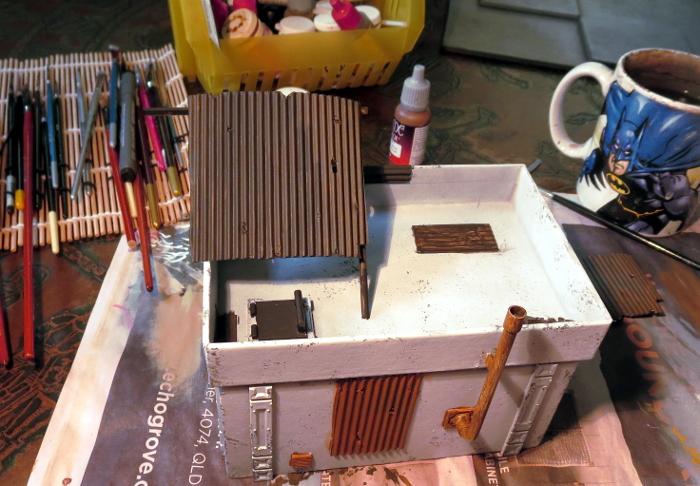
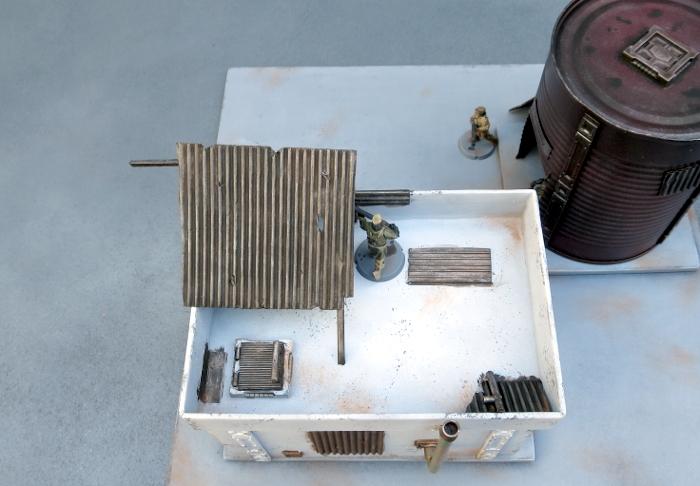
I fast-forwarded a little on construction by grabbing a small building that I made some time ago for a video showing how to make a building from a cardboard gift box and the Maelstrom's Edge terrain sprue (which you can find on Youtube here). This was partly painted as a test run for the sponge-weathering that I used on the first building for this settlement.
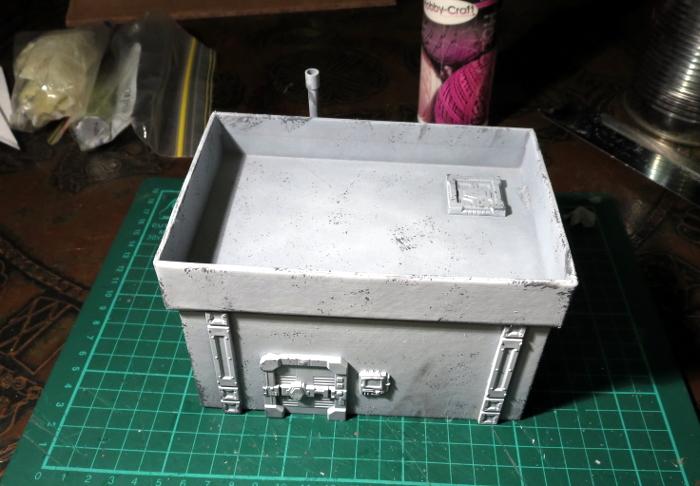
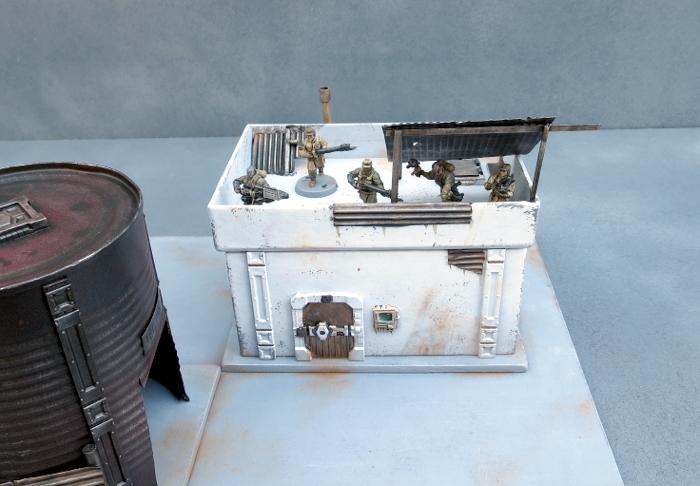
Clearly, this building was still far too pretty looking to fit into a Broken settlement, so I added a bunch of patch-plating using plasticard and corrugated cardboard, and added some mesh over the windows on the sides. I also built a framework on the roof to create a makeshift shelter or sentry point.

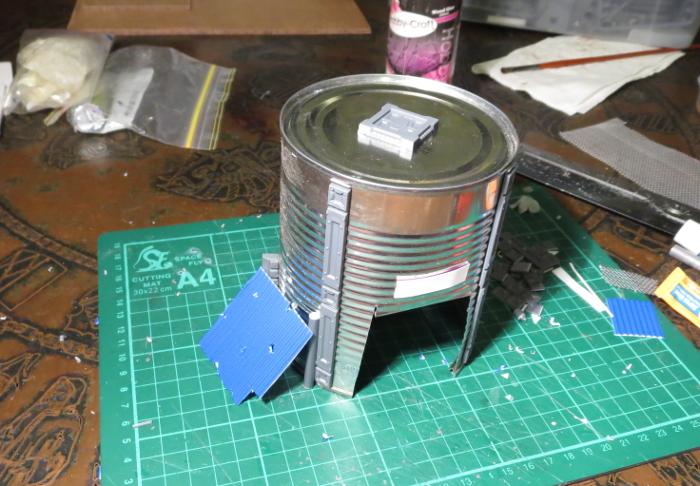
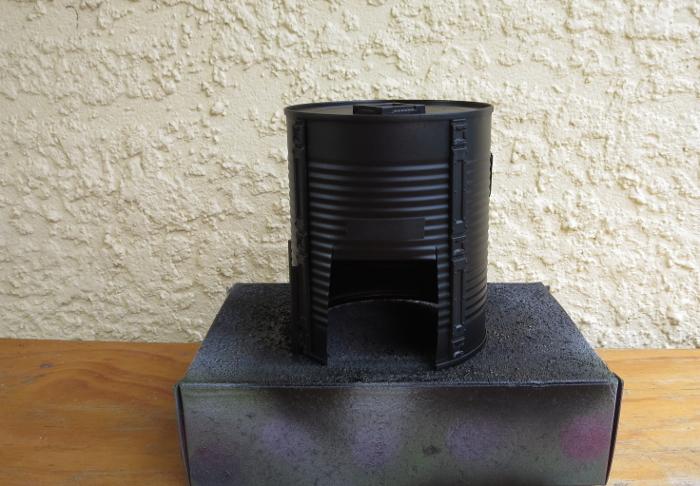
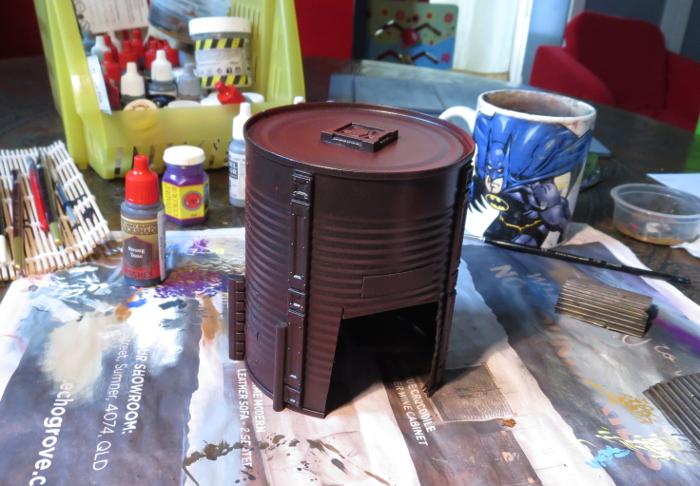
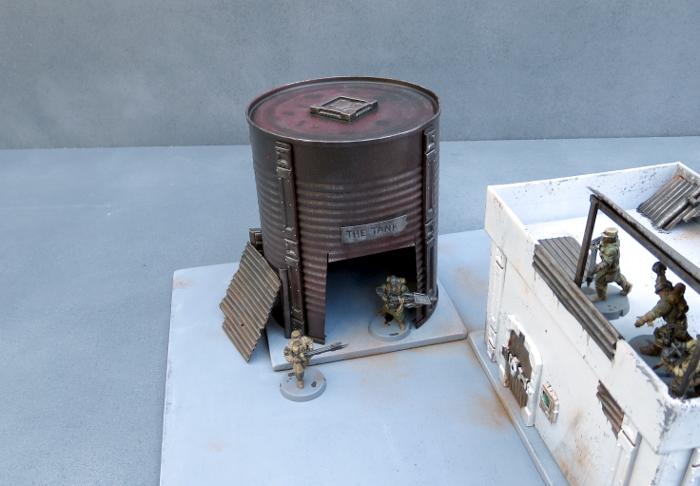
The companion building for the gift box one is made from an old fruit tin. This received a good wash and had the label removed, and then I cut a squarish hole in the side to serve as a doorway.
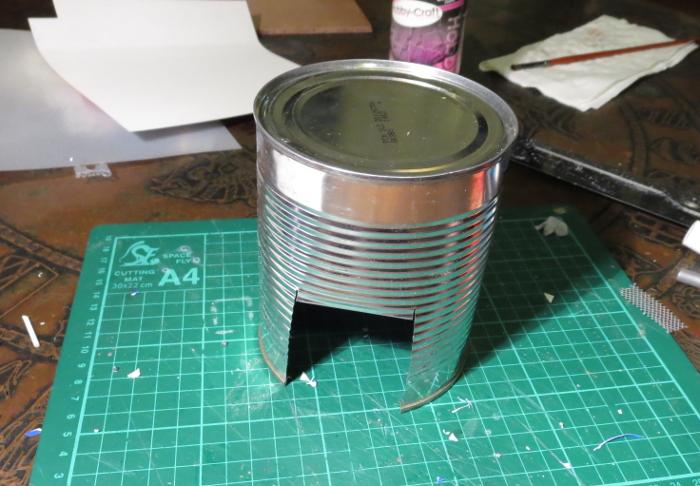
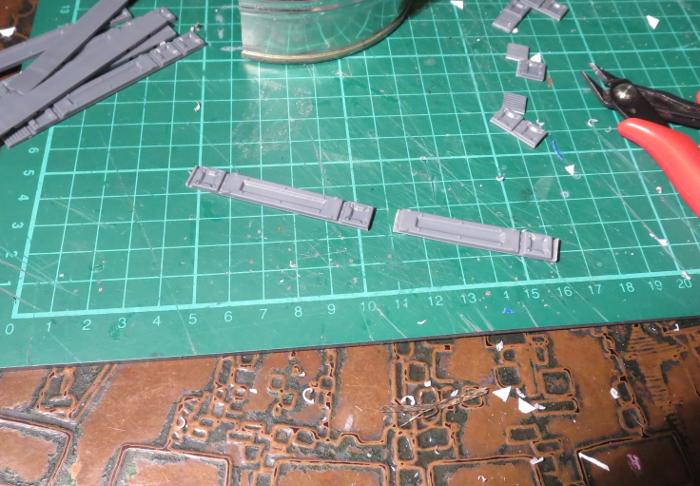
I cut a bunch of reinforcing struts from the terrain sprue to fit neatly down the sides of the tin.
With the addition of some patches, a hatch on the roof and a lean-to on the side, the old tank was ready for painting.
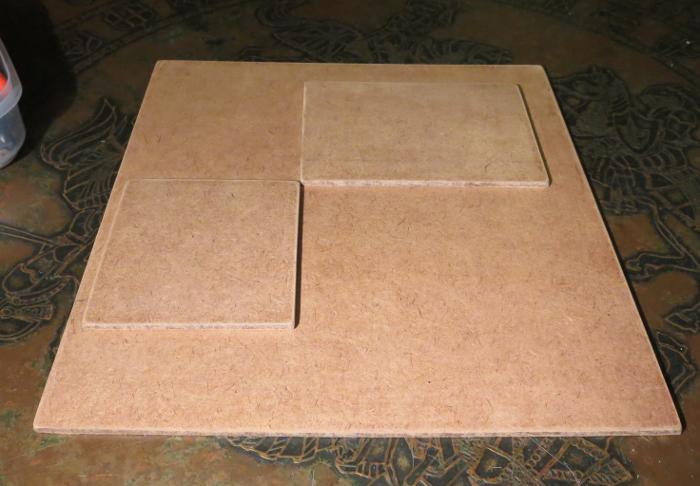
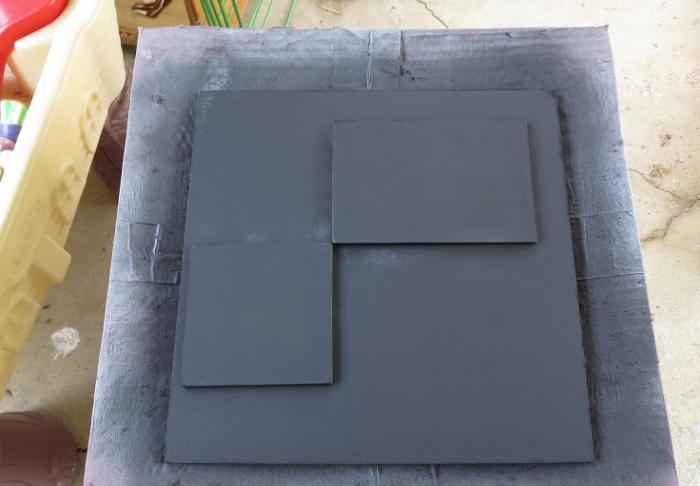
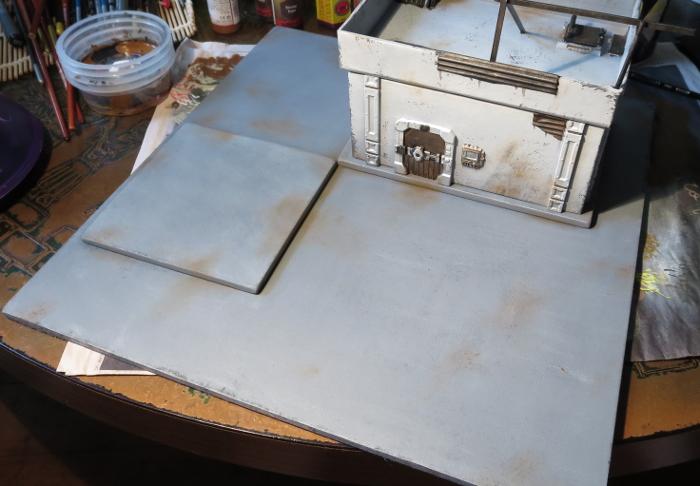
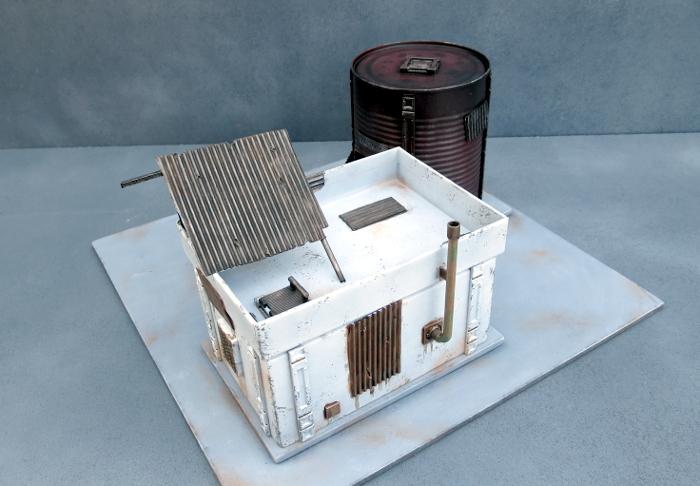
To sit the buildings on, I cut a 12" square of masonite, with a couple of smaller pieces glued on top - a rectangle for the gift box building and a square for the tank. These were cut to size and then sanded around the edges to smooth down the burrs. I then gave the top surface a light sand to break up the shine and give it some texture for drybrushing later, and then glued the building foundation pads on with PVA glue.
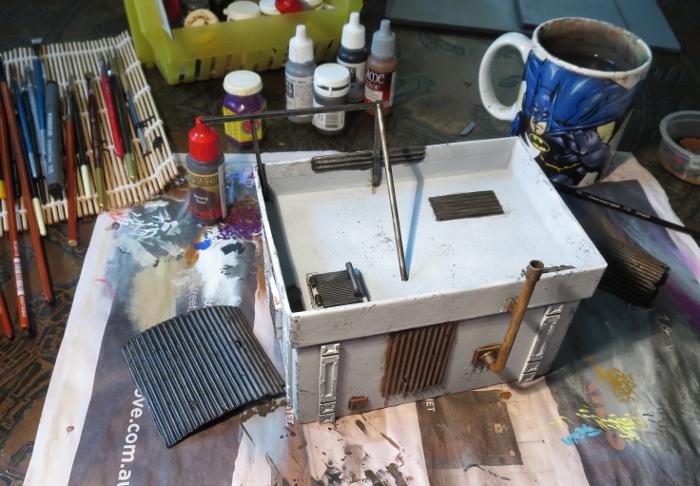
Everything in place, ready for painting:
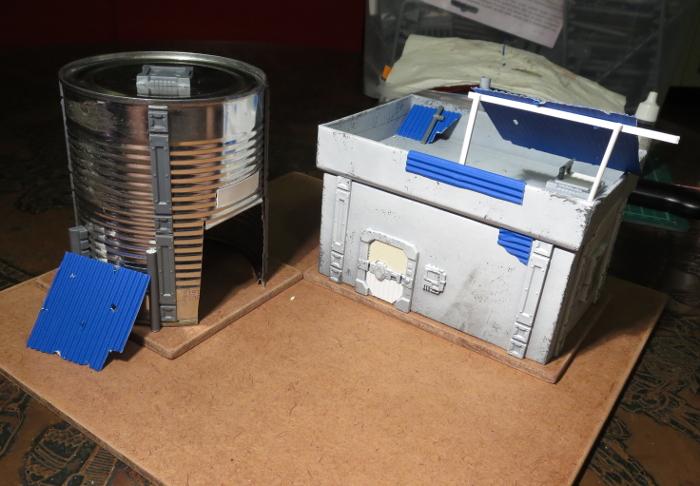
Because the gift box building was already mostly painted, I could skip straight to the detail work. To check how the main bit was done, check out the first article linked back up at the start of this one.
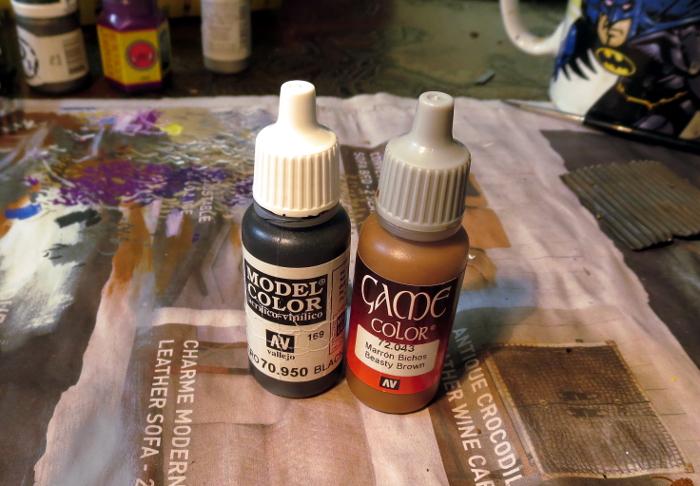
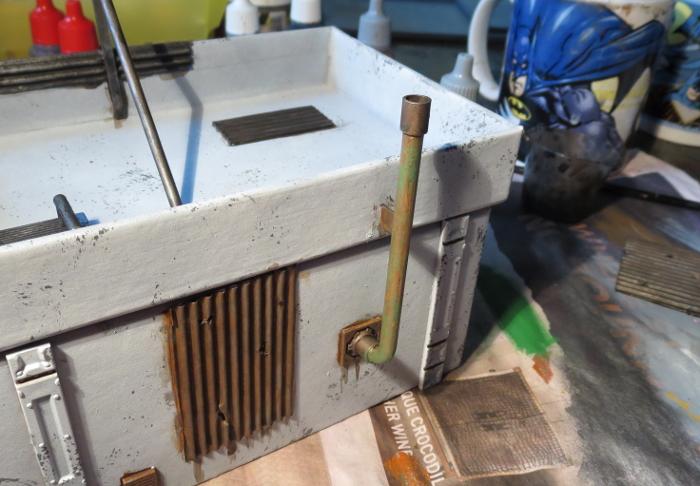
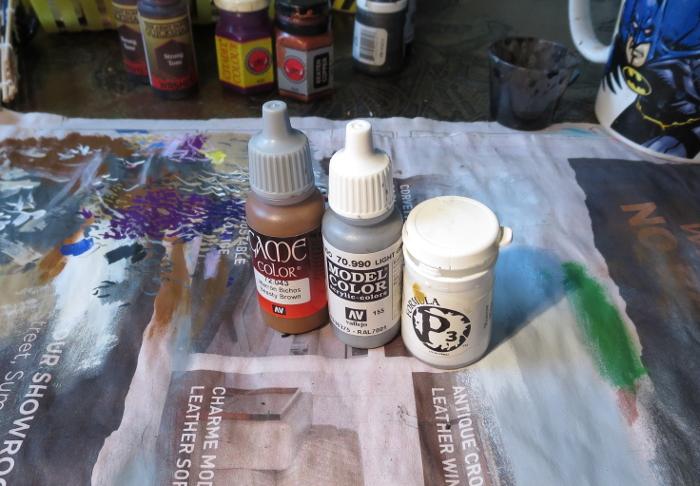
The various metal patches were given a coat of a rough mix of Vallejo Beasty Brown and black.
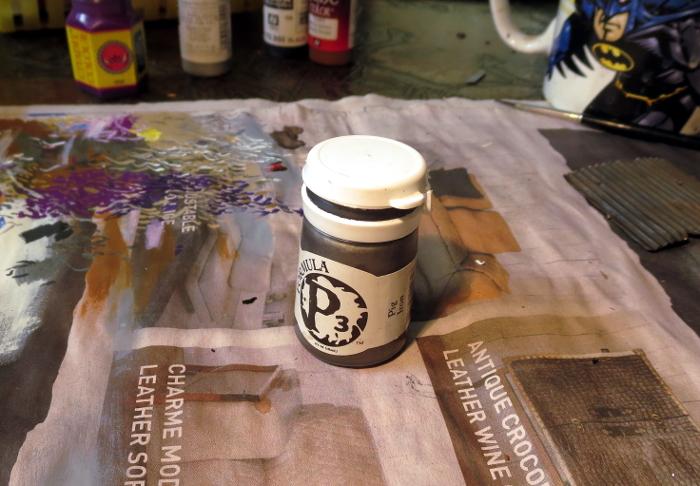
Over this went a light drybrush of P3 Pig Iron.
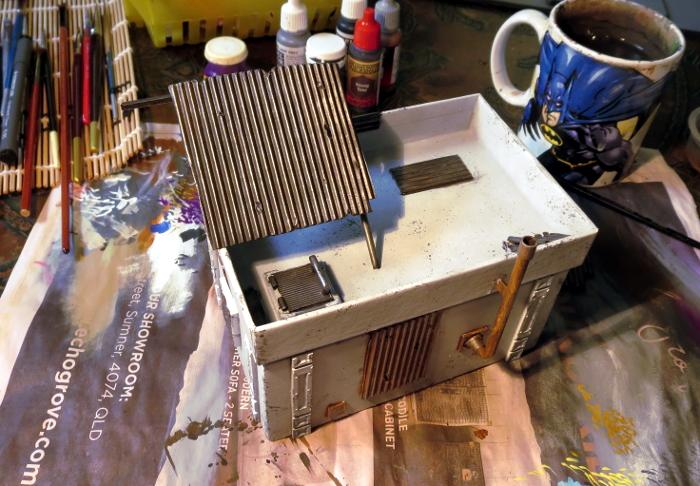
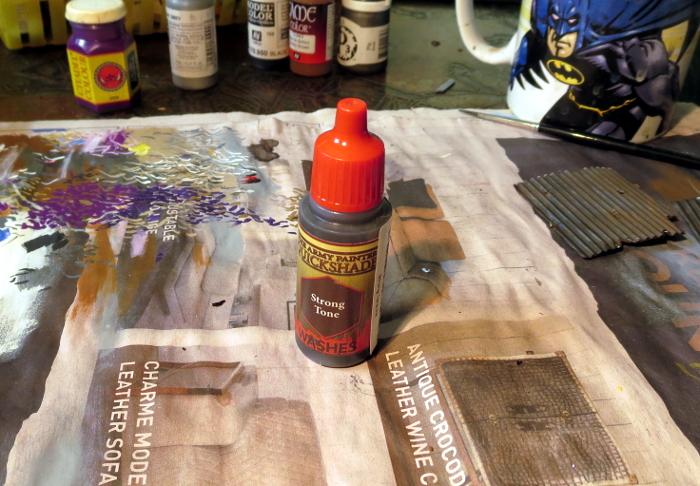
This was followed by a generous coat of Army Painter Strong Tone.
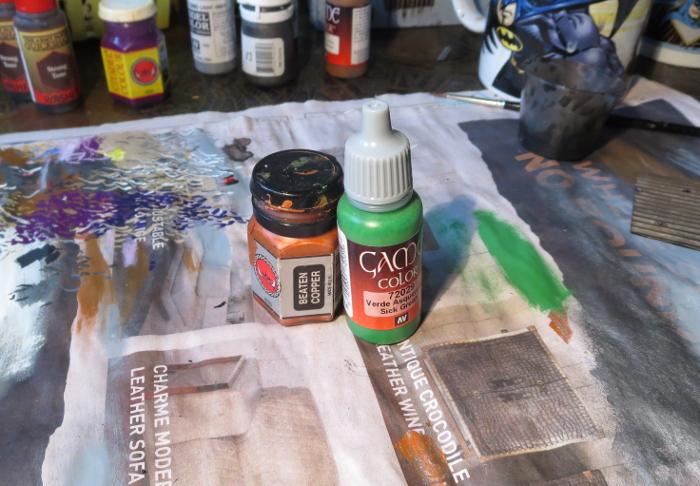
The pipe on the back wall was painted with a coat of Citadel Beaten Copper, and then given a light drybrush of Vallejo Sick Green.
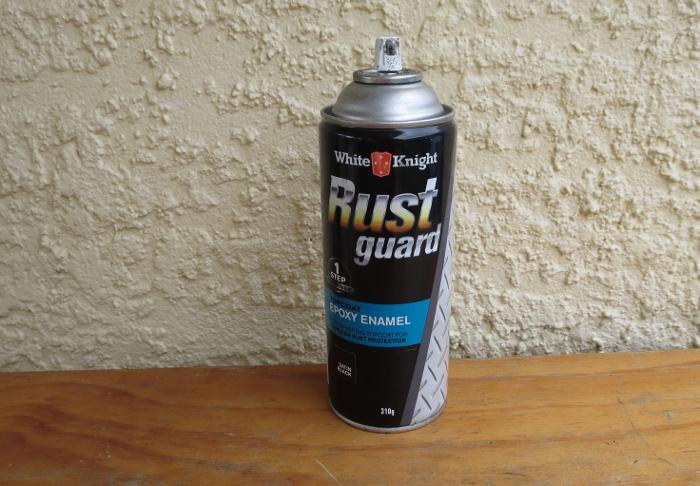
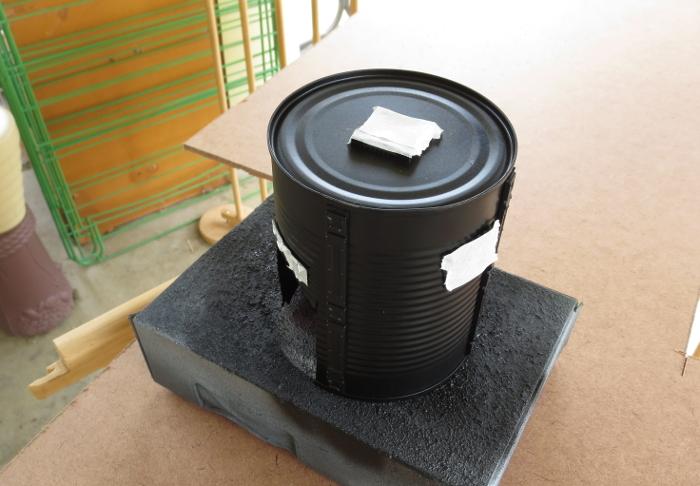
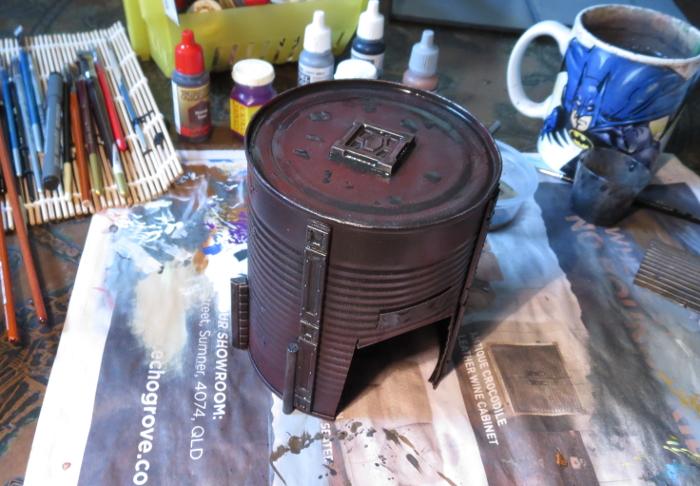
Meanwhile, the tank was given a spray inside and out with black Rustguard, to prevent it from rusting through the paint down the track.
I then masked off the detail parts of the tank building with some masking tape.
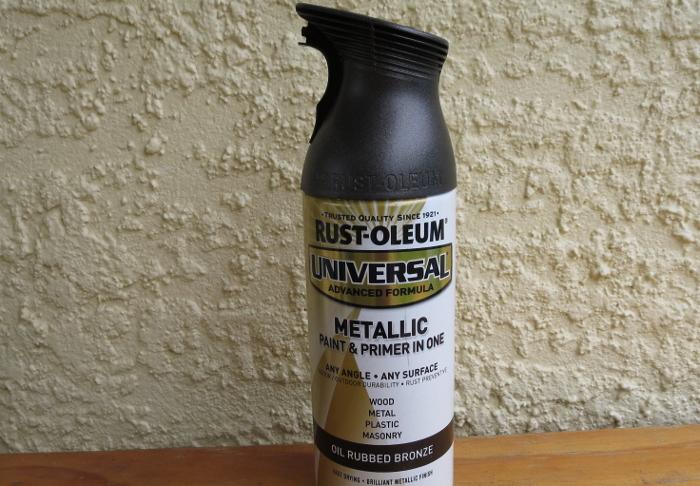
The came a coat of Rust-oleum Oil Washed Bronze. This is a rust-preventing primer like the black, so could have actually gone straight over the bare tin without the layer of black, but I wanted to make sure it was good and dark. The black base helps this without having to spray the bronze on too heavy, as it gets a bit goopy and rough.
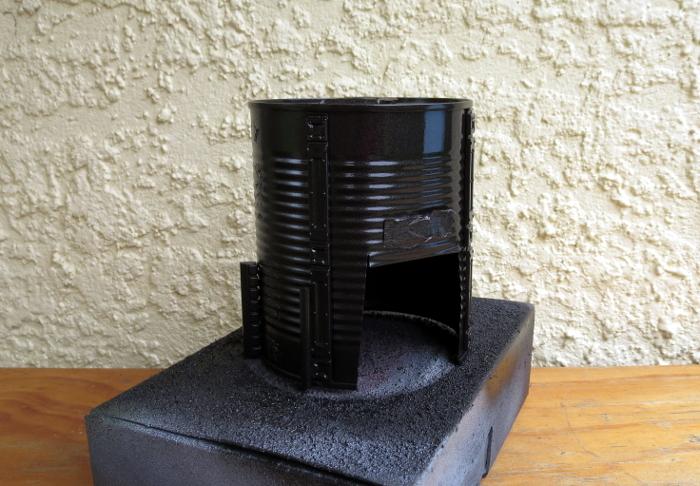
When the bronze was dry, I sprayed lightly over the top surface of the tank with some Army Painter Dragon Red, and then flipped the tank upside down and sprayed lightly around it so that the red caught in the undersides of the tin's corrugations without coating the whole thing in red.
I then drybrushed the whole thing lightly with Pig Iron, going a little heavier on the detail parts to make them stand out a little from the darker tank. The detail parts were then washed with some Strong Tone, and a few puddles of Strong Tone scattered around on the top surface.
While all of this was going on, I undercoated the based board with some flat black, and then gave it a coat of a flat medium grey. I deliberately use a range of different greys to basecoat my 'concrete' terrain bases, to help reduce the uniformity of the vast expanse of concrete on the table. If you look around in a city that has a lot of concrete structures, the colours vary considerably depending on the age of the concrete and the specific mix used, so it creates a better sense of realism on the gaming table if you carry this across in your painting.
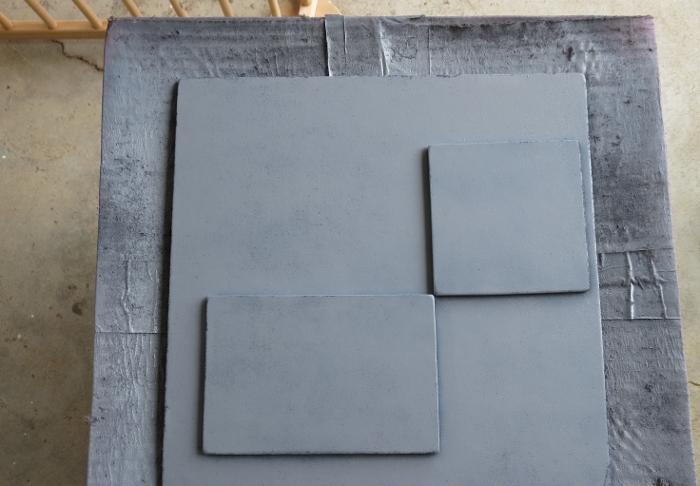
To finish off the base, it was given a drybrush of Vallejo Light Grey mixed roughly with white, and then some patches of worn grime were added with a light drybrush of Beasty Brown, on both the base and the gift box building.
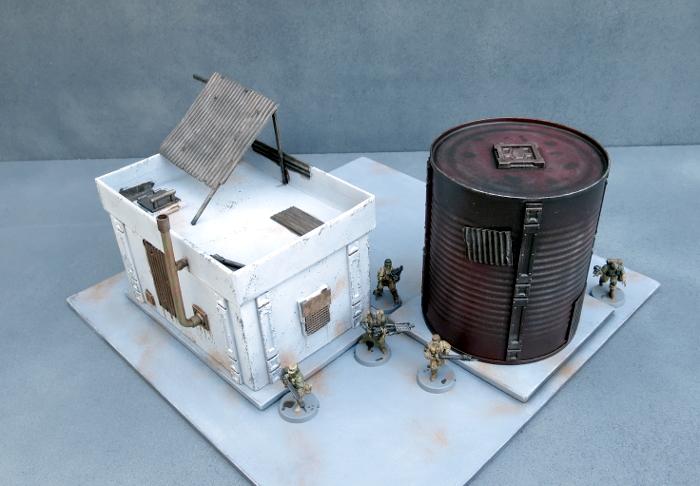
With the addition of a couple of final details (some lettering above the tank's doorway, the light above the door and the comm panel screen), this little building cluster is about done for now.
The tank still needs a blanket door covering, which I'll be going through in an upcoming tutorial, and I will go back over all of the buildings in the settlement to add some more characterful detailing once I have some more of the bulking out done, but it's at a point where it's not going to look out of place on the table as-is.

So what's next?
Aside from the door covering for the tank, I'll be moving on to another building section that will have some challenges in the roofing department and some sort of interesting detail in the courtyard.
Stay tuned for more!
To build your own stellar refugee settlement, you can pick up the Maelstrom's Edge terrain sprue from the webstore here. As always, feel free to share your creations on the Comm Guild Facebook page!
For other Maelstrom's Edge modeling articles, including tutorials and walkthroughs of a wide range of different building and miniature projects, check out the article roundup here.
Tags: broken buildings modeling models spotlight terrain terrainsprue walkthrough
