Terrain Tutorial: Sleeper Caskets
Posted on Monday Mar 05, 2018 at 05:00pm in Tutorials
- by Iain Wilson
As entire planetary populations attempt to flee the destructive advance of the Maelstrom, many ships pressed into service as evacuation vehicles that not equipped with the facilities to carry large numbers of living, breathing passengers any distance. The obvious answer, where such technology is available, is to put at least some of the passengers into hibernation in sleeper caskets. This solution is not without its risks, however, as poorly maintained and over-used caskets may fail in transit, causing the interned to either wake up early or not at all. And, of course, in systems where the demand is high, the casket can easily wind up being worth more than the poor soul inside, resulting in unscrupulous captains selling off full caskets to equally morally-questionable Edge-dwellers. These new owners will either use the caskets themselves or sell them on at an even higher mark-up, sometimes back to the former occupant.
I hit on the idea of making sleeper caskets from the Maelstrom's Edge terrain sprue a while back, for use as scatter terrain or as part of a larger terrain project, and I was keen to give it a go. This relatively easy build uses a few components from the terrain sprue, some plasticard, and some clear plastic. Read on to find out how it's done.
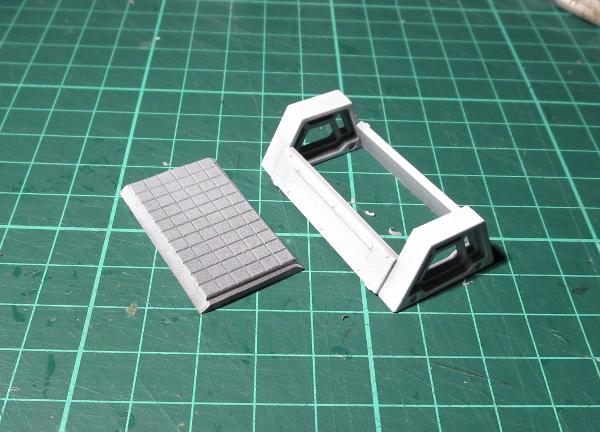
To start, take the two trapezoid windows and two reinforcing struts from the Maelstrom's Edge terrain sprue.
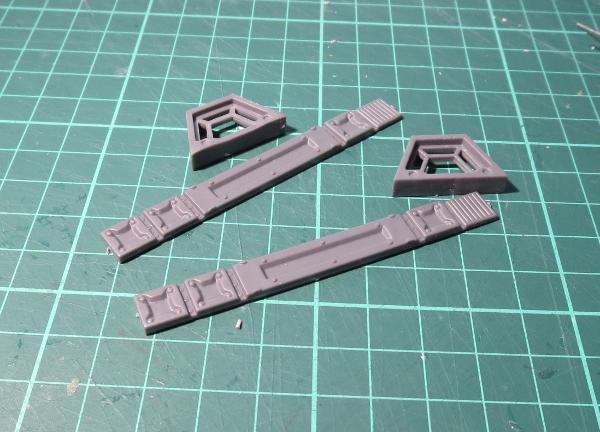
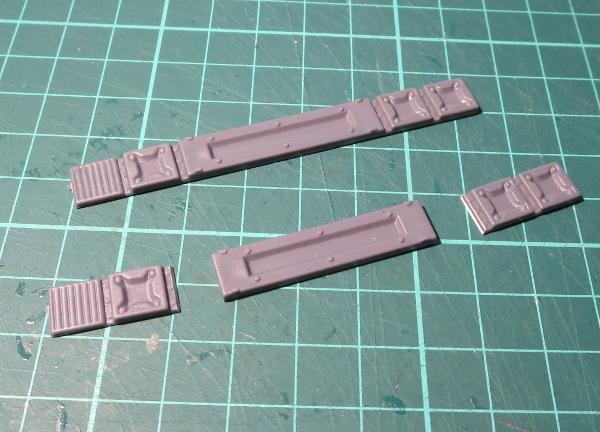
You only need the long middle section of the strut, so use clippers or a hobby knife to cut through the rivet sections on either side.
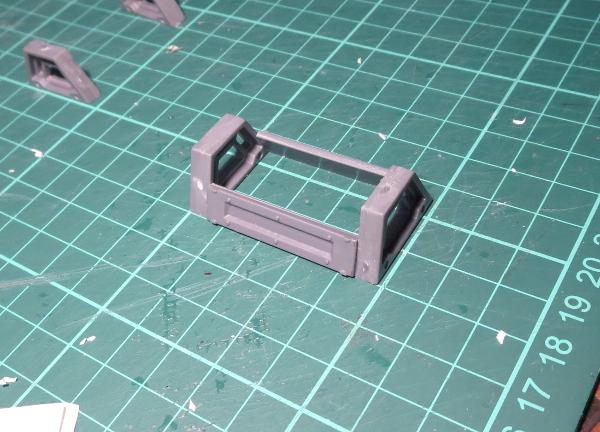
Using plastic cement, glue the ends of the strut section to the trapezoid window frames as below. The inside surface strut should be flush with the inside edge of frame, so that the 'glass' top will sit neatly inside.
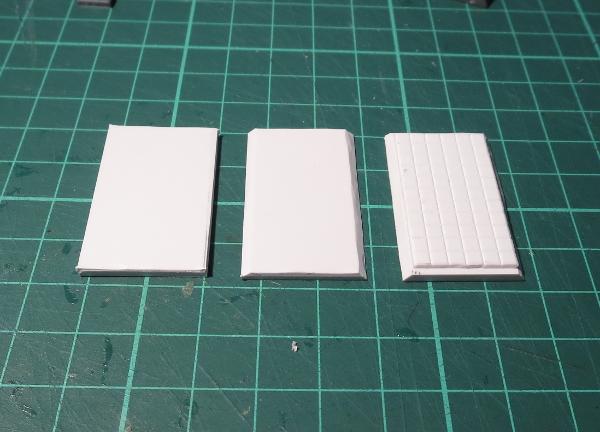
While the glue is setting, cut a rectangle of 2mm plasticard to fit inside the bottom. Bevel off the long edges so that they sit neatly against the inside surface of the struts. You can also add a layer of textured plasticard on top to provide a little surface detail to the inside of the casket.
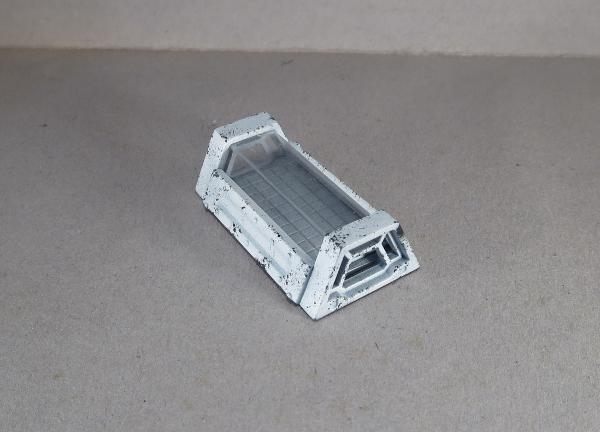
If you're intending to use sprays or an airbrush to paint the casket, now is a good time to stop and do that. If you're brush-painting and think your hands are steady enough to not get paint over the 'glass' then you can easily leave painting until the end, although it may still be easier to do it now, particularly if you want to paint the inside - I've just left mine grey to provide some contrast against the white exterior.
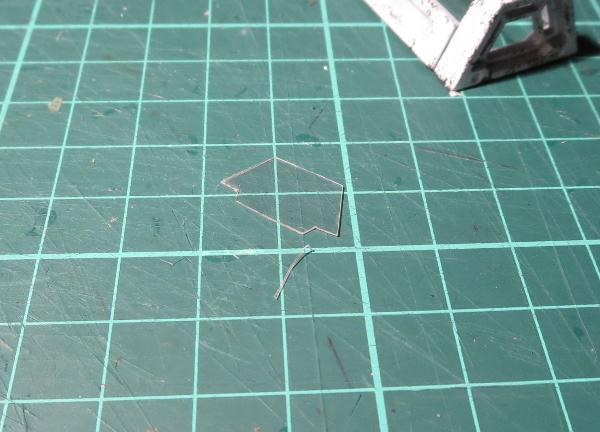
When you're ready to proceed, take some transparent plasticard or other thin, clear plastic (blister pack plastic would probably work fairly well) and cut a 30mm wide rectangle that is just a fraction longer than the strut pieces. You want just enough overlap to glue (half to 1mm on either end) - if you make it too long, you'll have trouble getting it into the casket.
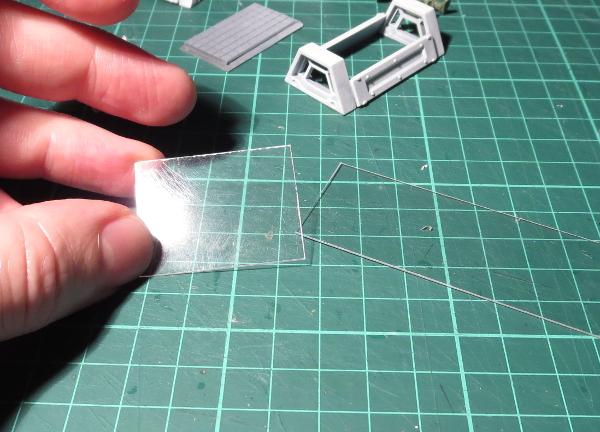
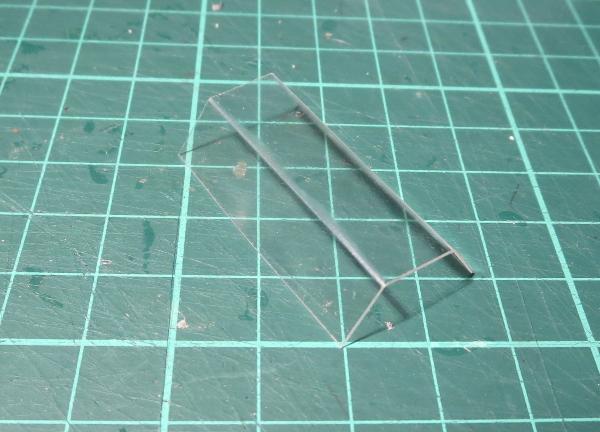
Use a ruler or other straight edge to fold two 10mm strips lengthwise down the plasticard, leaving another 10mm in the middle.

You can also cut pieces of plasticard to fit inside the trapezoid windows, to close in the ends of the casket. If you're not too finicky about details, you can leave this step out - the missing glass won't be too noticeable on the ends.
From there, wiggle the top glass into the casket (it may take some squeezing and a curse or two to go in) and glue it into either end. Add any final painting detail, and glue in the bottom.
Note - as an alternative to the above, back during your initial assembly you can just glue the struts to one of the windows and glue that assembly down to the back plate, and then glue the other window in place once the 'glass' is in.
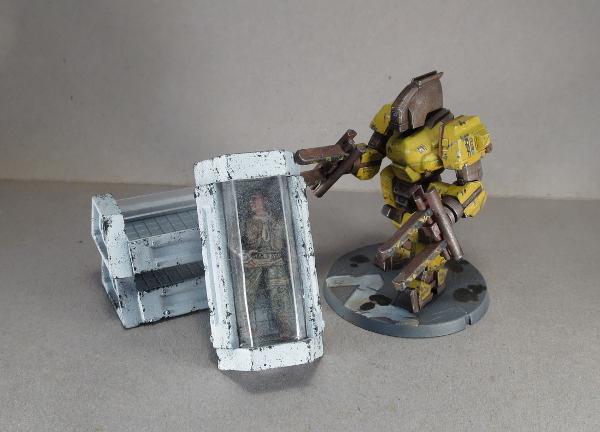
To add a little extra detail to your casket, plastic models can be easily repositioned to fit inside the casket. The 'glass' can also be given a very light frosting of white spray, for a frozen look.
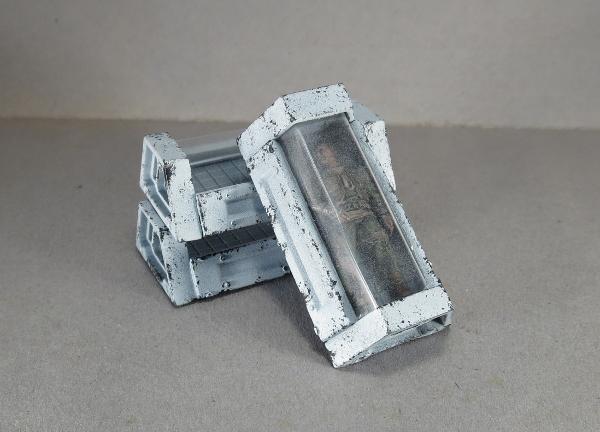
You can use stacks of caskets as line-of-sight blocking scatter terrain...

...although individual caskets will also make handy objective markers.

Of course, now that I've made up a bunch of caskets, at some point I need to make whatever might have been carrying them... Stay tuned!
To make your own sleeper caskets, you can pick up the terrain sprue along with the rest of the Maelstrom's Edge model range from the webstore here. As always, be sure to share your creations on the Comm Guild Facebook page!
For other Maelstrom's Edge modeling articles, including tutorials and walkthroughs of a wide range of different building and miniature projects, check out the article roundup here.
Tags: modeling terrain terrainsprue tutorial

I would love to try and make things from the bits but I only got one set made a safe little base where could I buy more.? Please.?
Posted by ANDREW THORPE on March 05, 2018 at 07:46 pm GMT #
Hi Andrew - You can buy the terrain sprue from the Maelstrom's Edge webstore here - https://www.maelstromsedge.com/medge/store.jsp?acr=slepr
Posted by Maelstrom's Edge on March 31, 2018 at 05:28 am BST #