Magnetizing Karist Heavy Weapon troopers
Posted on Wednesday Feb 28, 2018 at 05:00pm in Tutorials
Originally posted on Dakkadakka by Sgt.Oddball.
Hey all,
When you buy Karist Heavy Weapon troopers, you get two guys a pack, with a selection of 3 weapons. I want to be able to use all the weapon types, but I dón't want to paint three guys just so I can use any of the three weapon types (my chosen way of painting Karists is slow...). Magnets are the answer. Luckily, these guys are quite simple to magnetize. Here's how:

What you get in a pack. I love these sculpts and the model quality is fantastic. Very crisp.

Long thin resin bits can end up bent.

This is easy and quick to fix: dip in hot water, straighten, dip in cold water.

All the bits for one guy, without the ammo I forgot at this point.
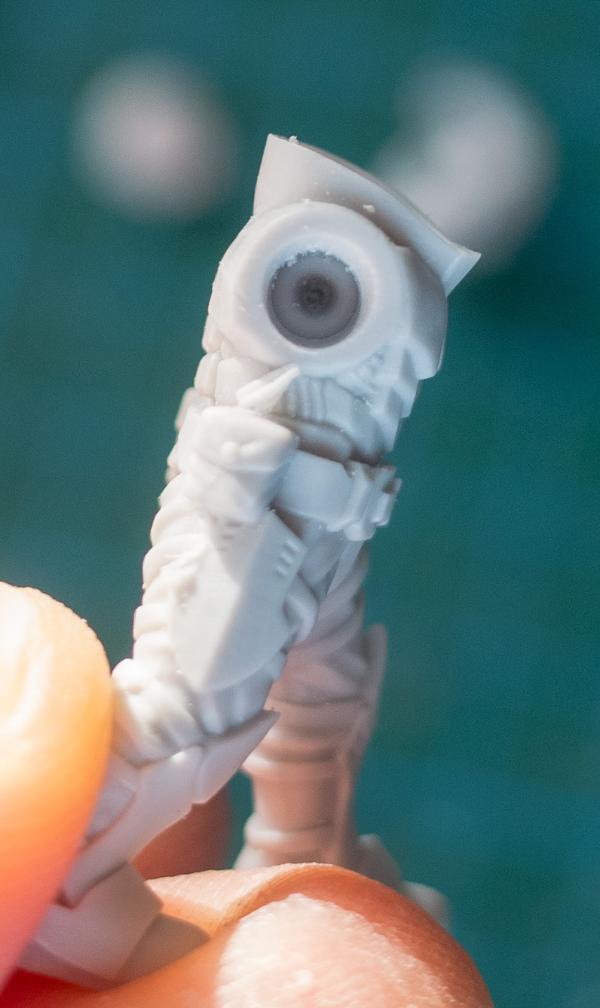
I drilled a 3mm hole in the torso. The sculpt is such that you know exactly where to drill. If you go too deep you may end up making a hole on the other end where the head goes. You won't see this with the head in place.

In the hole goes a 3x2mm magnet. Try to match the amount which the magnet sticks out to the amount the original resin stuck out. If you want to use the left arm that holds the gun, it's critical that the magnet doesn't stick out too much, or you won't be able to line up the gun with the left arm.

Then put a magnet in the gun arm in the same way. The sculpt shows you where to drill. Don't drill too deep or you'll go out the shoulder guard. Also, if you lay the arm down like this and then press down hard with your drill, you could deform the shoulder guard a little.

As with the torso, you want the magnet to stick out as much as the resin did, or else your left arm won't line up. It's not just the amount by which the magnet sticks out, but also the angle. It's better to have the magnet in a little too deep: it'll still catch and your alignment will work. Of course, if you just use the left arm that holds the ammo, alignment isn't a problem. Easiest way to get it right is to have the left arm glued in place and then dry-fit.

The other guns get the same treatment. Beware of polarity ;)

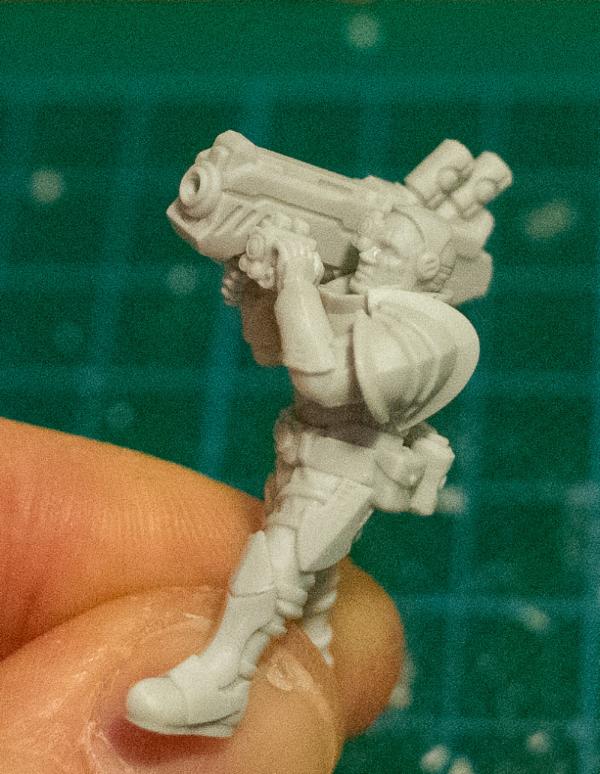
Here's the missing ammo, which I glued to his belt. Also, you can see the torso and arm line up nicely on the rear.

Front alignment also works out with the left arm in place.
Ravager gun works too.
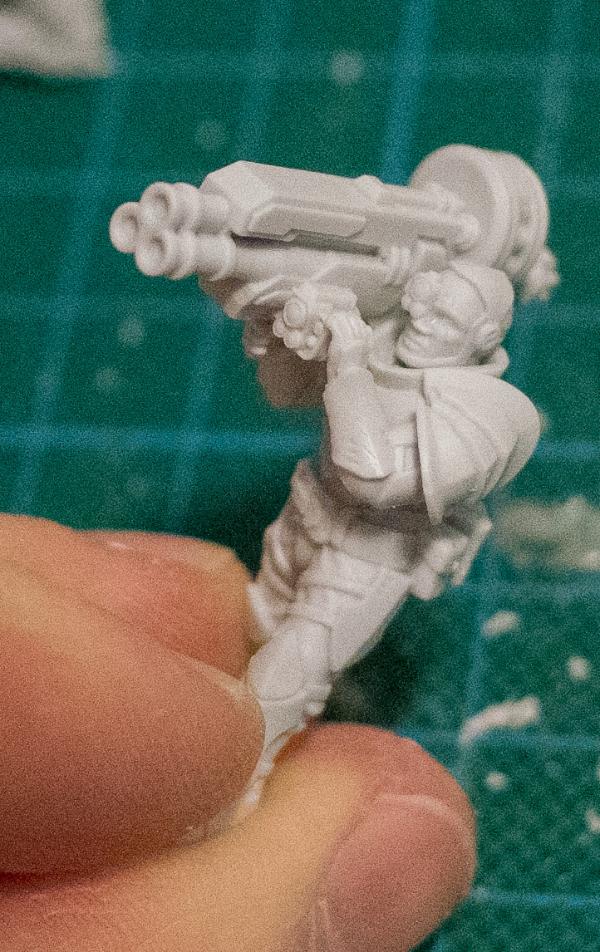
As does the grenade launcher.
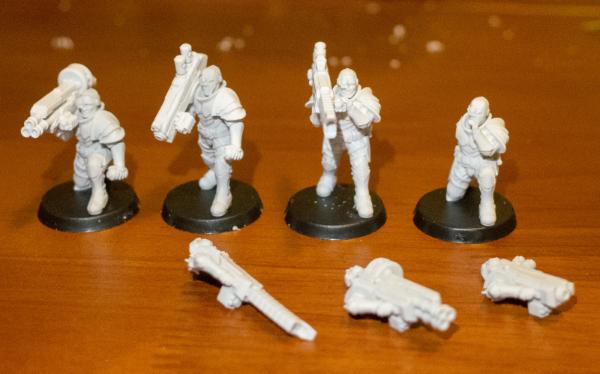
Four guys with interchangeable weapons.
Once I paint these, they'll show up in my 'painted stuff' topic on Dakka :)
Tags: assembly heavy karist modeling trooper tutorial walkthrough

Like this? Like us on facebook to see more...