Terrain Spotlight: Epirian-themed Dice Tower
Posted on Monday Apr 16, 2018 at 05:00pm in Tutorials
- by Iain Wilson
There's nothing worse than throwing a bucketload of dice on the table and having a stray ricochet take out that carefully-painted model sitting perched on the edge of a piece of terrain, or having to launch an expedition under the table when the dice decide to go on an adventure. There are a few common solutions to this problem - dice trays, rolling on another table, never painting anything, ever - but this week, I decided to build a dice tower from a Knights of Dice blank and some bits from the Maelstrom's Edge terrain sprue.

For the uninitiated, a dice tower is a box or tube that has some angled ledges inside. Instead of flinging your dice all over the table like some sort of uncultured barbarian, you drop them into the top of the tower where they roll down from ledge to ledge, eventually rolling out into the tray at the base of the tower where their predilection for wanton destruction is safely contained.
The KoD tower that I used as a base for the build is a plain, laser-cut MDF affair, that when assembled as standard looks like this:
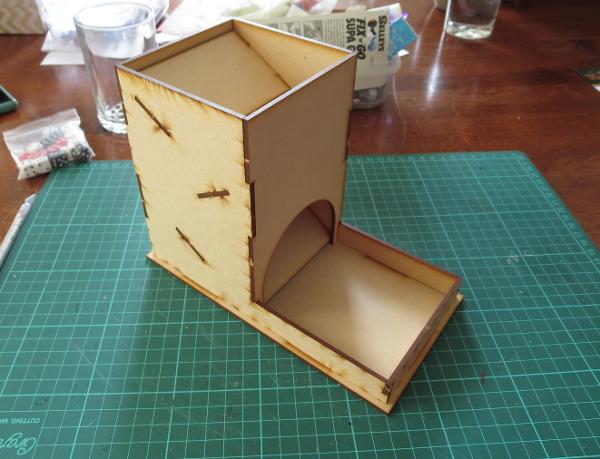
I wanted something that would look like it belonged on the table, and so dug out some terrain sprues and tools, and went to work.
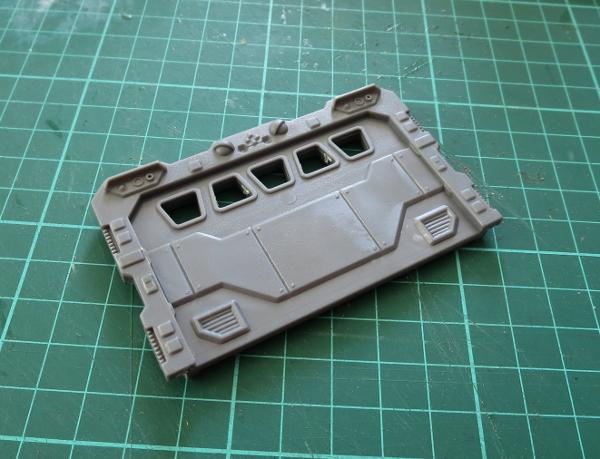
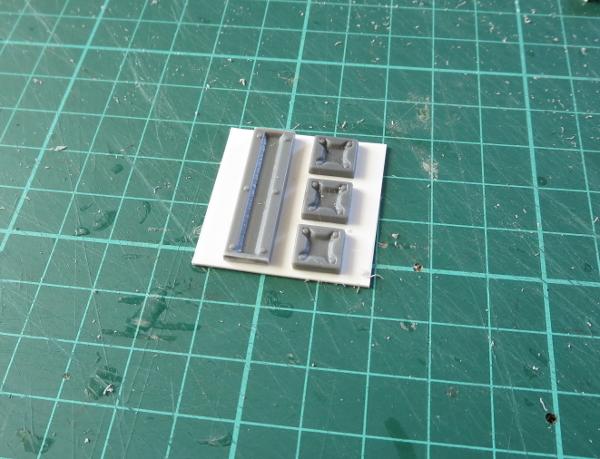
First step was to pretty up the opening at the bottom. I took a garage door from the terrain sprue, and found that it would fit into the existing arch with some cutting for the top corners, and something to fill in the top of the arch as it was higher than the door frame. So I marked out the door frame against the front wall of the tower, and also marked the scrap piece that was cut from the arch to leave an arc that would fit in above the door.

I then used a razor saw and exacto knife to cut the door out of the door frame, and glued the frame and the MDF arc in place in the archway.
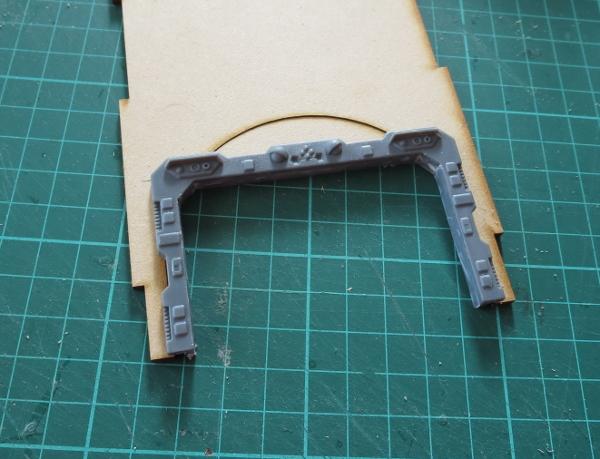
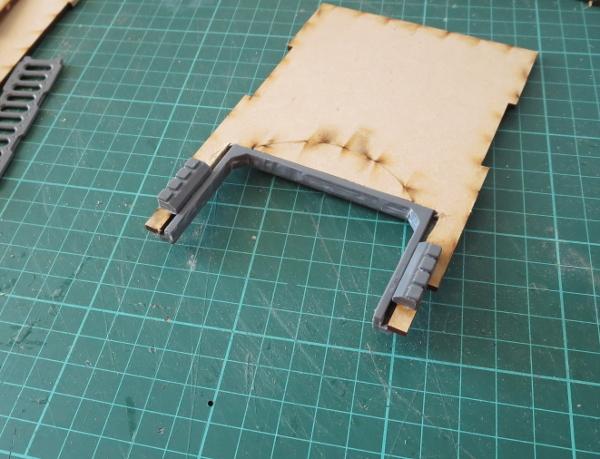
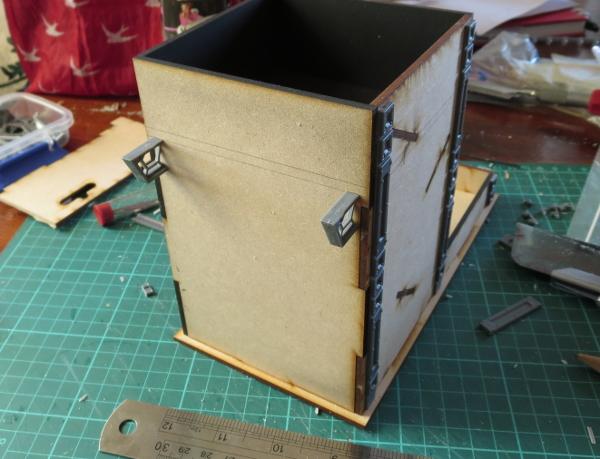
With a dry fit of the tower, I discovered that the dice were sometimes getting stuck behind the sides of the door frame, as the plastic addition made the opening for the dice narrower than was originally intended. I fixed this by taking a lintel piece from the terrain sprue, cutting it in half, and gluing the two pieces on either side of the doorway, creating a bevel to funnel the dice out the door.
One of the less pleasant things about dice towers is that they can be rather loud and echoey when the dice are working their way through. I fixed this by taking some craft foam and cutting it to the size of the ledges, and then gluing it on top.

At this point, I also sprayed the interior of the tower black to match the foam. This would also make it relatively unobtrusive on the table.

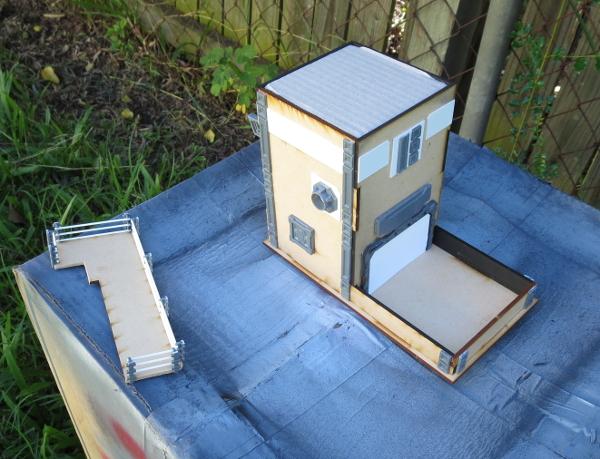
I assembled the walls of the tower, and started adding detail to the outside. I took a piece of scrap MDF, and cut it to serve as a balcony. I used the top halves of a bunch of energy fence posts and some plastic rod to make handrails. (You can find other ideas for handrails in my catwalk article here!)

To support the balcony, I cut the sides off two trapezoid windows, and glued them in place on the back wall of the tower.

Finally, two ladders and some cut down corner reinforcing pieces made an extending ladder that could be hung from the balcony, fire-escape-style.

To add a little extra detail to the front of the building, I made a large Epirian Foundation symbol using pieces from a reinforcing strut from the terrain sprue.
With the addition of a few more bits on the sides to hide the ends of the interior ledges, and a sign board made from the cutaway garage door to disguise the filled-in archway, the tower was ready for painting. To avoid getting spray on the interior, I filled in the top and the doorway with some cardboard and a piece of foamcore.
Painting was a quick and easy spray with a grey primer, and then a quick downwards spray with some white to leave the grey in the recesses and shadowed areas.
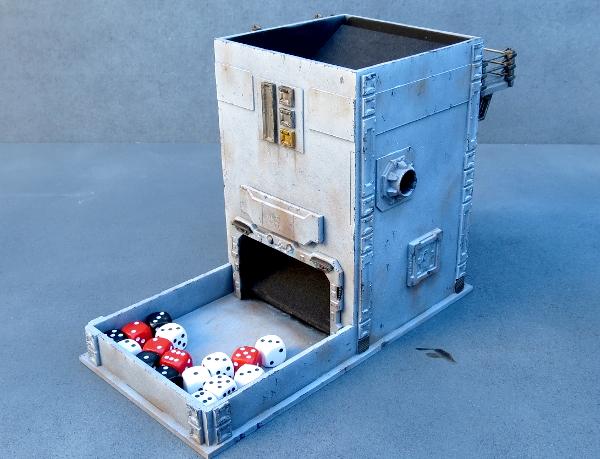
The metal parts were painted with P3 Pig Iron and then washed with Army Painter Strong Tone, and the white parts given some weathering with a sponge. (You can find a handy sponge weathering tutorial here!)

Once the wash was dry, everything was dirtied up a little with a drybrush of Vallejo Beasty Brown.

A little detail work here and there, and the tower was ready for the table.
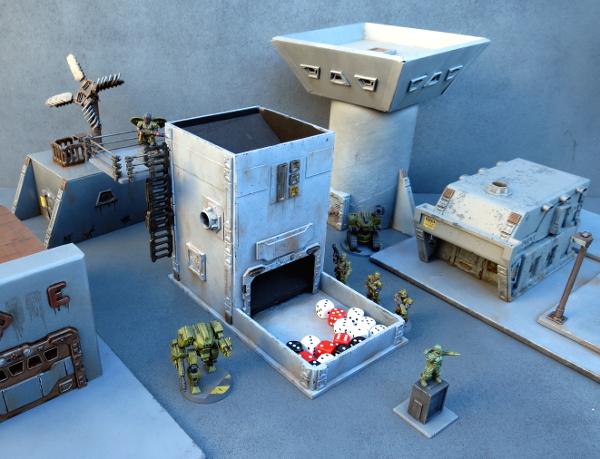
Feeling inspired? You can pick up the Maelstrom'd Edge terrain sprue, along with the rest of the model range, from the webstore here. As always, we would love to see your creations on the Comm Guild Facebook page!
For other Maelstrom's Edge modeling articles, including tutorials and walkthroughs of a wide range of different building and miniature projects, check out the article roundup here.
