Quick-painting the Broken
Posted on Monday Nov 06, 2017 at 05:00pm in Tutorials
- by Iain Wilson
The arrival of the Broken into Maelstrom's Edge adds a new element to the game: Vast, raggedy hordes of cheap troops swarming all over the battlefield shooting stuff and stealing all the good boots. Which, of course, means lots of shiny new models to paint! You might be happy taking your time with this, but for those a little more time-poor, or who just want to get their new models on the table as quickly as possible, here's a guide to quick-painting your Broken recruits.
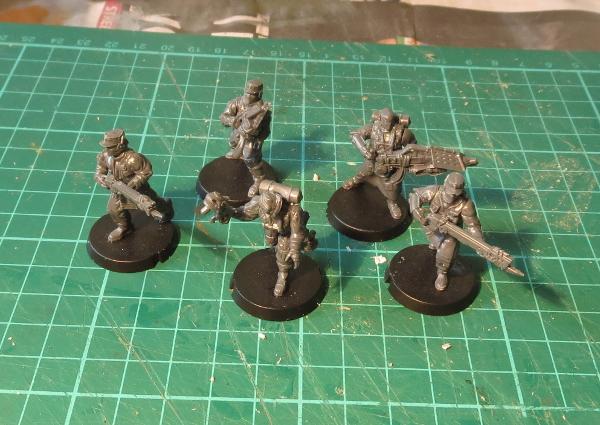
I'm painting up an Assault squad that I have assembled and ready to go, but obviously this could just as easily work for any of the Broken units.
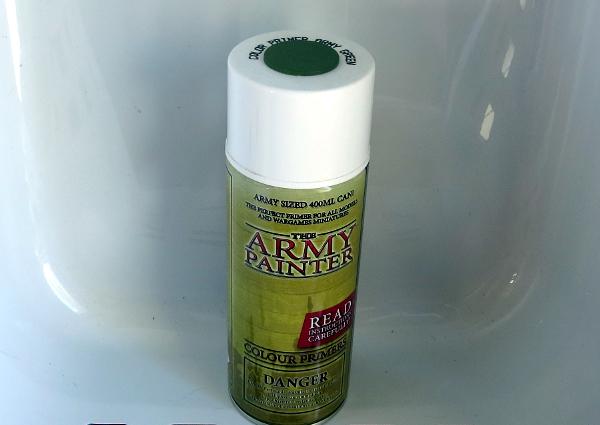
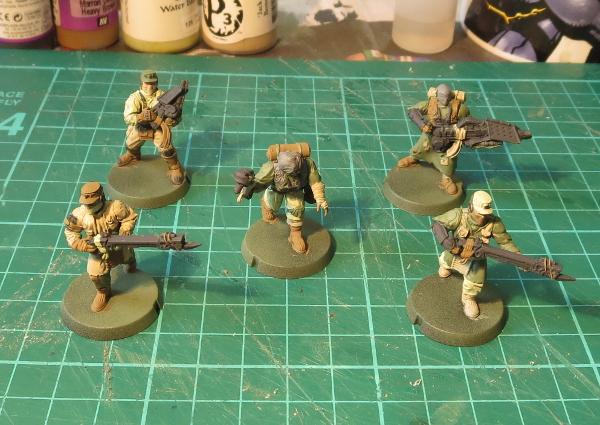
I started out with a basecoat of Army Painter Army Green primer.
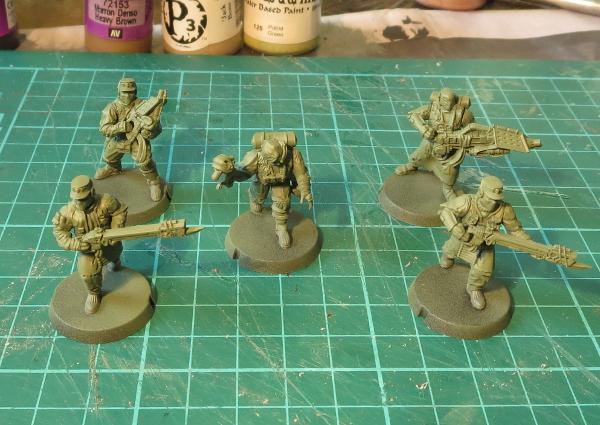
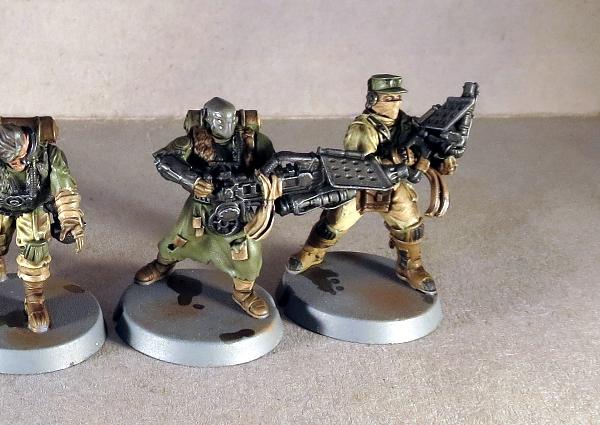
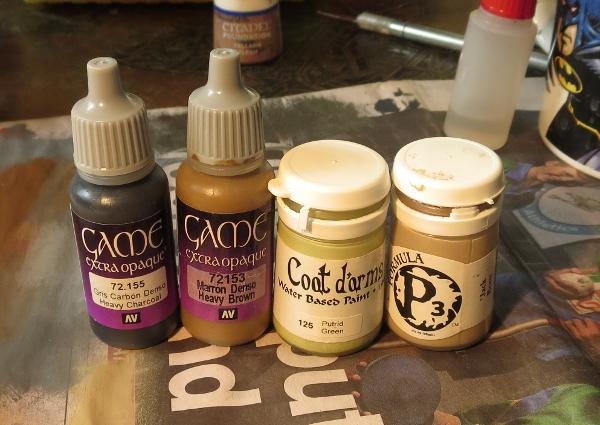
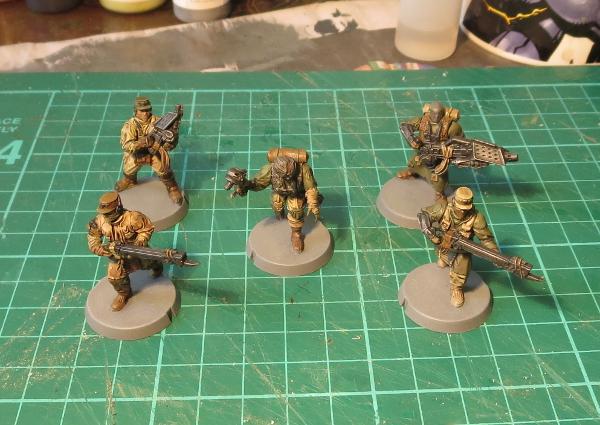
To get a suitably rag-tag look, I used a range of brown and grey tones, but the specific colours you choose aren't particularly important. The idea is to create a random distribution of different coloured clothing, while keeping to a limited colour palette to maintain some cohesiveness throughout the force. Weapons were painted with Vallejo Heavy Charcoal, and skin with Citadel Tallarn Flesh.
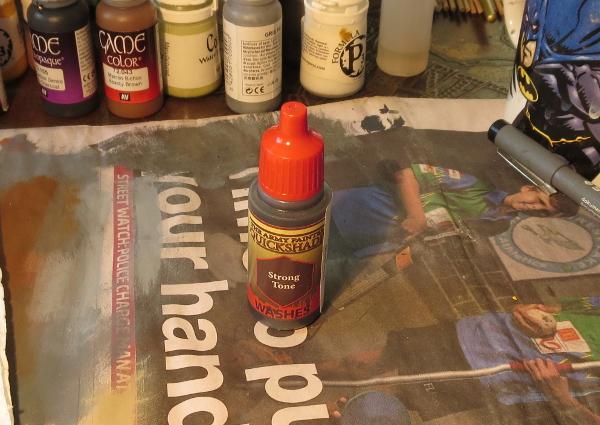
Everybody then got a wash coat of Army Painter Strong Tone. This settles nicely into the creases to add shading, and 'dirties' everything up a little.
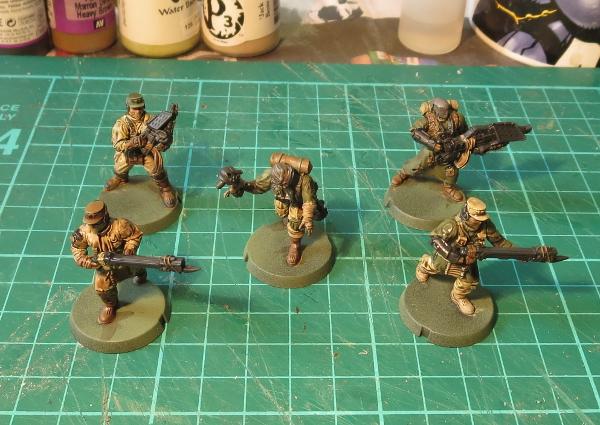
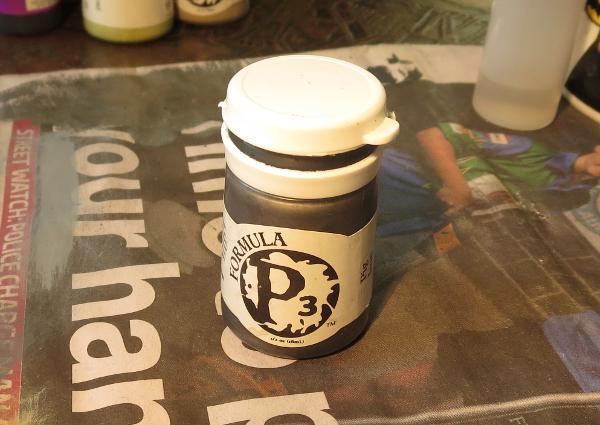
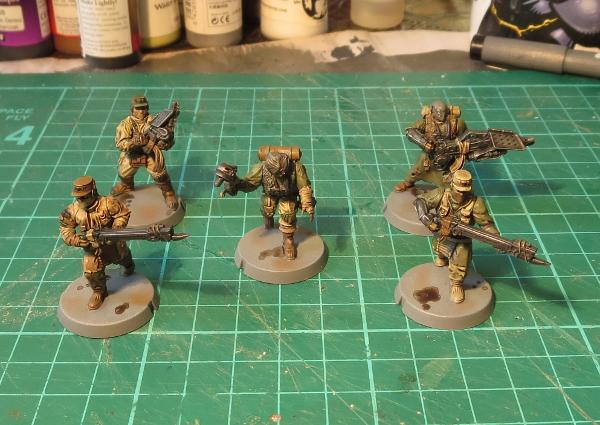
Once the wash was set, I gave the weapons and other metal parts a light drybrush with P3 Pig Iron.

At this point, you could also give the clothing a light drybrush or a little edge highlighting with the original colours - This will lighten them up slightly if the wash was too heavy and has left them too muddy and homogenous, but otherwise isn't really necessary.
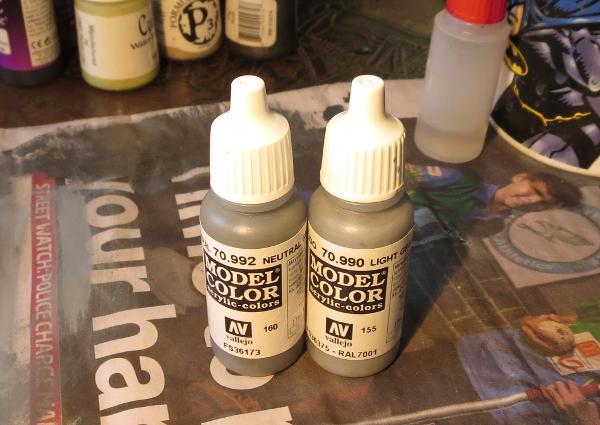
Bases were done to match my urban board set-up. This was done with a coat of Vallejo Neutral Grey, drybrushed with Light Grey.
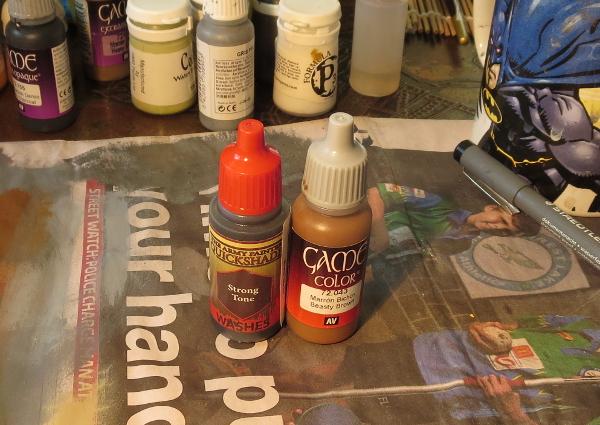
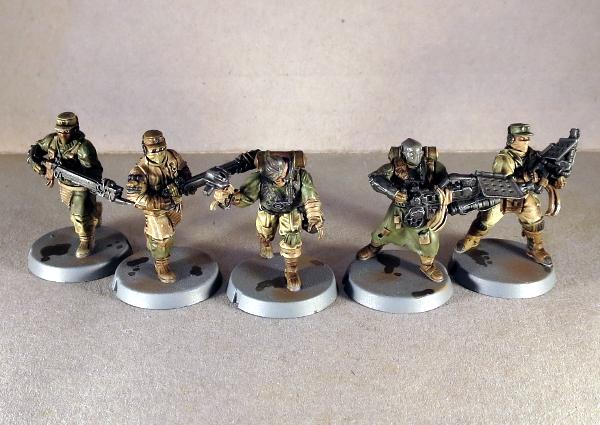
To finish up the bases, I added some patches of drybrushed Vallejo Beasty Brown and some puddles of Strong Tone.
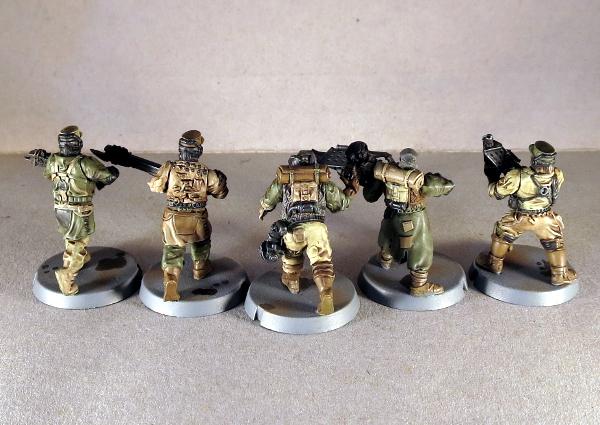
At this point, you could easily plonk these on the table and have at it, but I always like to add eyes wherever possible to finish off my models. This is done with a fine detail brush and some white paint for the whites of the eyes, with a dot of black added either with the same fine brush or with a fineliner pen.
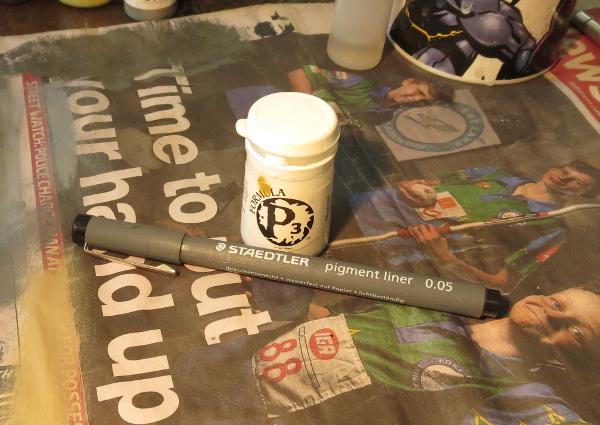
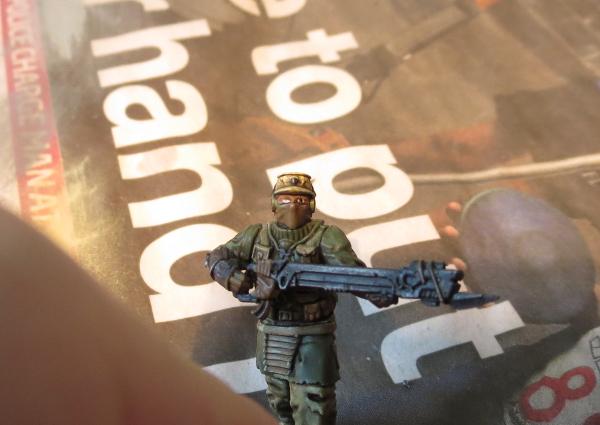
The black should cover most of the white, and touch both the top and bottom of the eye to avoid a wide-eyed, crazy look. Unless, obviously, you want a wide-eyed, crazy look.
And with that, the squad is ready for action!
To paint up your own vast, screaming horde of rabble, you can pick up the Maelstrom's Edge Broken Infantry pack from the webstore here. As always, feel free to share your creations on the Comm Guild Facebook page!
For other Maelstrom's Edge modeling articles, including tutorials and walkthroughs of a wide range of different building and miniature projects, check out the article roundup here.

Like this? Like us on facebook to see more...